Showing posts with label Easter. Show all posts

Friday, May 2, 2025

Easter 2025 Layout

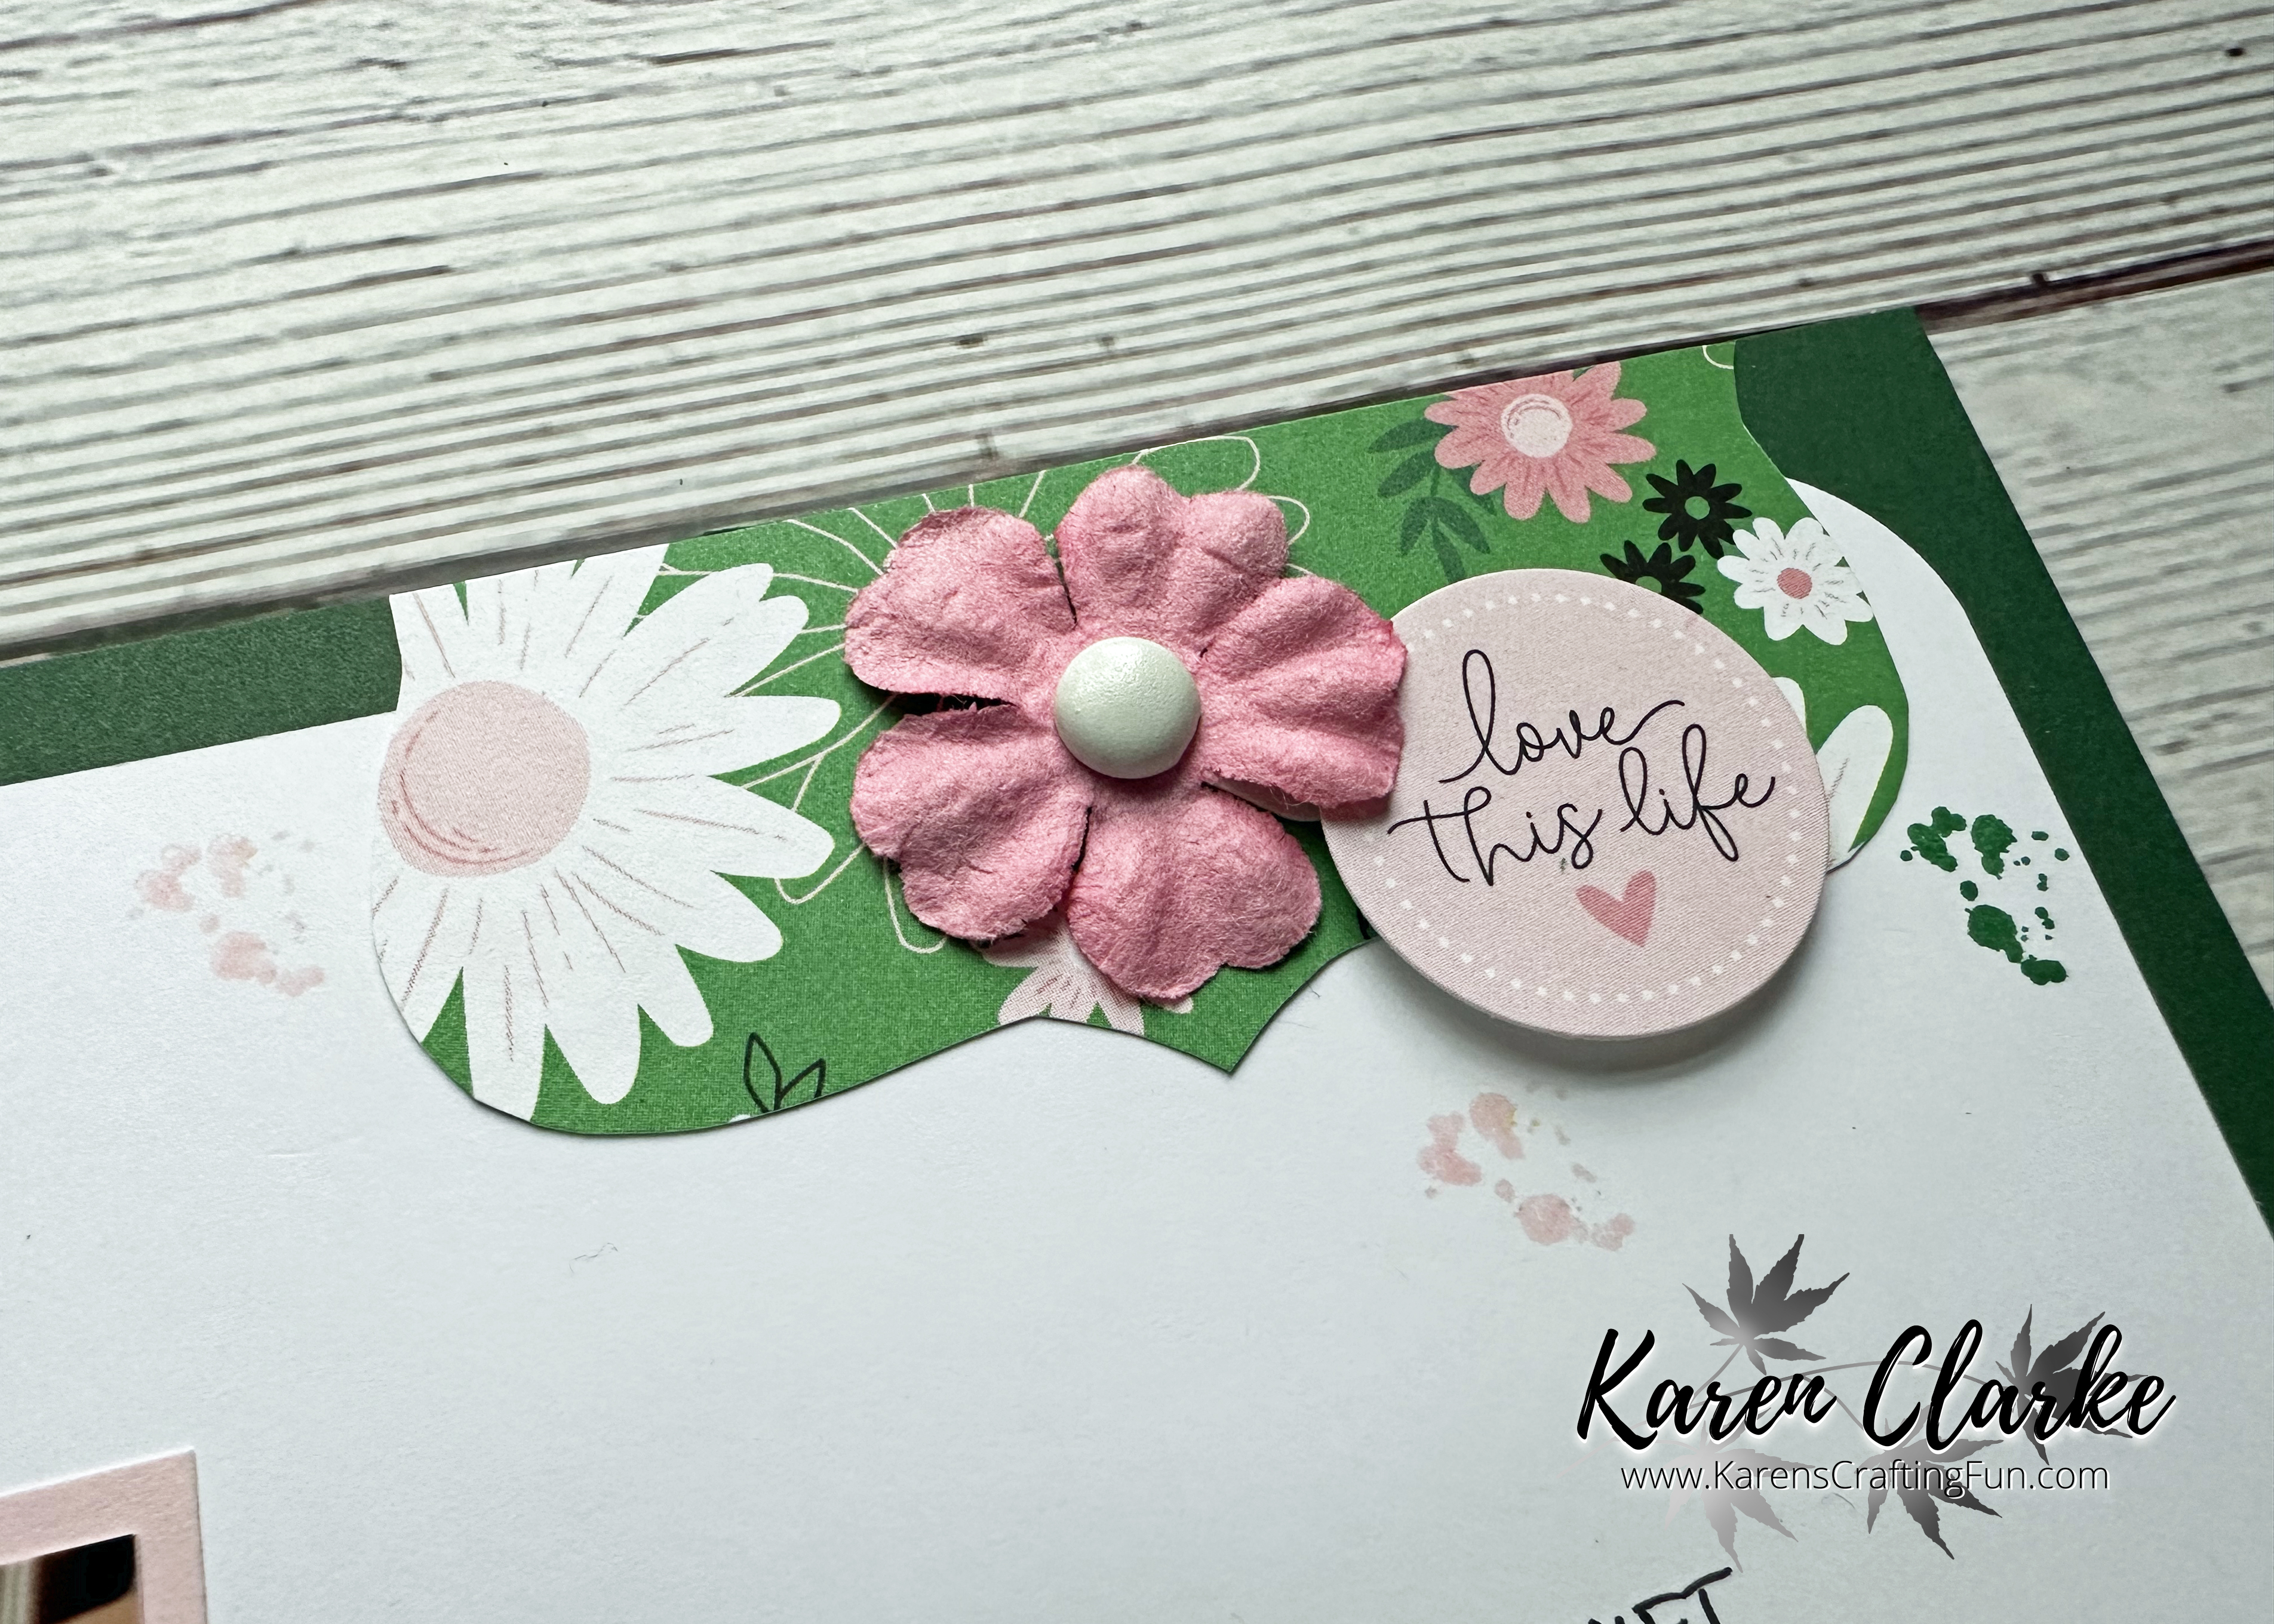
We enjoyed a quiet Easter this year with just the 4 of us. Slept in a bit and then enjoyed a delicious Easter Sunday brunch at a local restaurant. I created this layout during a recent Scrapbook with me using papers from the Floral Delight DSP from Stampin' Up. Love how this layout came out!


The inspiration for this layout came from this sketch I found on Pinterest.


I used some Garden Green cardstock for the base of the page. The title was die cut using the Alphabet a' la mode dies. I fussy cut some flowers from the DSP and added some enamel dots from my stash to embellish the layout.


If you are interested in joining me for one of my Scrapbook with me events make sure to Like and Follow my Facebook page to get updates on upcoming events.

I hope you like this layout. Thanks for stopping by!


Thursday, March 28, 2024

Hoppin Down The Bunny Trail Card

Finally getting back into my crafting a bit as I recover from the shoulder surgery. I created this Easter card this past weekend on a girls weekend away. I used the Honey Bunny collection for this with the paper, stamp set and embellishments.


The inspiration for this card came from Pinterest. I used the Honey Bunny Scrapbooking stamp set for the images and sentiment. I love being able to use the stamp sets differently from their original purpose. I stamped the images in Intense Black Exclusive Ink and then colored in using the Colorista Bright & Vivid Colored Pencils. I added some retired Blush ribbon and some of the Honey Bunny Dots to finish the card.


I hope you like this card. Thanks for stopping by!

Supplies list:

X7302B - Honey Bunny Paper Packet

X7302C - Honey Bunny Coordinating Cardstock

X7302D - Honey Bunny Dots

Z7135 - Honey Bunny Scrapbooking Stamp Set + Thin Cuts

X254 - White Cards & Envelopes Value Pack

Z4189 - Intense Black Exclusive Ink

Wednesday, April 19, 2023

Sweet Moments Layout

I completed this layout during Monday's Scrapbook with me and am happy to say that it was definitely a scrap bashing layout. I had saved some Daisy Daisy paper to use for an Easter layout and used up almost all of what I had left of this collection with this one.

The inspiration for this layout comes from the sketch from Sketch Savvy. You can see this sketch along with others here.

I converted the sketch to 8 1/2" x 11" from 12" x 12". The title and a few other stickers come from the Daisy Daisy paper pack. I added some brackets I cut with a template I had along with some flowers and brads from my stash to embellish the layout. I also added a few stamped splatters to break up some of the white space on the top panels.


If you are interested in joining me for one of my Scrapbook with me events make sure to Like and Follow my Facebook page to get updates on upcoming events.

I hope you like these layout. Thanks for stopping by!

Friday, March 24, 2023

Easter Tall Treat Box Tutorial and a Process Video

Spring just started here along with some, thankfully, warmer weather and that means Easter is coming soon. I knew I wanted to create something fun to share some Easter treats with my family, friends and coworkers so I came up with this tall treat box with a window design.


I am including a link to a downloadable PDF with instructions as well as a process video at the end of this blog post. The PDF contains cutting diagrams along with more detailed instructions on the cutting, preparation, and assembly of this treat box.

Cut the cardstock to 10 1/2" x 9" for the box base and 9" x 3" for the reinforcement piece according to the diagram. You will also need a 4 1/8" x 3 1/8" piece of cardstock but I cut that from the piece I cut out for the window to save cardstock. You will also need a 6 1/4" x 5 1/4" piece of acetate for the window.


Before scoring the box base piece you will need to cut out the window piece by using either a trimmer with a ruler along the cutting area or a ruler and craft knife, cut out the window by:

Align 9" side of piece at the 1 1/4" in mark on the trimmer. Cut from 1 1/2" to 6".


Rotate the piece 90 degrees to the left. Align the 10 1/2" side of the piece at the 1 1/2" mark on the trimmer. Cut from 3 3/4" to 9 1/4".


Rotate the piece again 90 degrees to the left. Align the 9" side of the piece at the 3 3/4" mark on the trimmer. Cut from 3" to 7 1/2".


Rotate the piece one last time 90 degrees to the left. Align the 10 1/2" side at the 3" mark on the trimmer. Cut from 1 1/4" to 6 3/4". This will complete the window.

Score the cardstock pieces according to the diagrams. Fold along the score lines and cut create the tabs.


Place strong adhesive along the tabs of the box base and lid fronts as shown.


Place strong adhesive along the backside of the box base around the window opening and along the backside of the reinforcement piece as shown.


Remove backing from adhesive around window opening and adhere acetate to the window.


Remove backing from the 1/2" tab and adhere. You will need to slightly "crease" the acetate as you create the box shape. I did not score the acetate to keep the window "clear".


Remove backing from the top part of the reinforcement piece and insert inside against the back of the box base. This will add stability to the treat box.


Starting with the bottom part of the reinforcement piece, remove the backing from the adhesive. Adhere the left side tab to this. Next adhere the right side tab to this. Follow with the back tab and finish with the front tab. This will give a clean look to the front of the box.

Remove the backing from the adhesive on the box lid tabs and adhere to create the lid.


Decorate the box base and lid with patterned paper, stamped images, and embellishments. Fill it with some candy or other treats and send some love to someone!

Click here for the downloadable PDF of instructions. You can also watch the process video below.


Supplies list:

Z9963 - 12" x 12" Acetate

Z5024 - Adhesive Tape

I hope you enjoy using these directions to share some Easter holiday treats!

Thanks for stopping by! 
Sunday, March 19, 2023

Easter Gnomes Card and a Challenge

Worked on my Easter cards for this year at my Virtual Day Crop this past Saturday. I am actually glad I got them done early this year. As soon as I saw the Easter Gnomes stamp set in the January-March catalog from Close To My Heart I knew I wanted to use it for this year's cards. I paired the set up with some Daisy, Daisy paper and Triblend markers and love how it came out.

The inspiration for these cards comes from this sketch at Atlantic Hearts Sketch Challenge. You can see this sketch along with others here.

I pulled out my Mini-Misti to stamp the gnome and sentiment banner using Intense Black Exclusive Ink and then colored the gnome in using Triblend Markers. I added a few Wild Berry Sequins to finish the card.


I needed to make several cards to send so I did different variations of the sketch for the other cards using the other gnomes in the stamp set.


I hope you like the cards. Thanks for stopping by!

Supplies list:

Z4682 - Easter Gnomes Stamp Set + Thin Cuts

X254 - White Cards and Envelopes Value Pack

Z4189 - Intense Black Exclusive Inks

Triblend Markers

Z5021 - Wild Berry Loose Sequins


Saturday, March 19, 2022

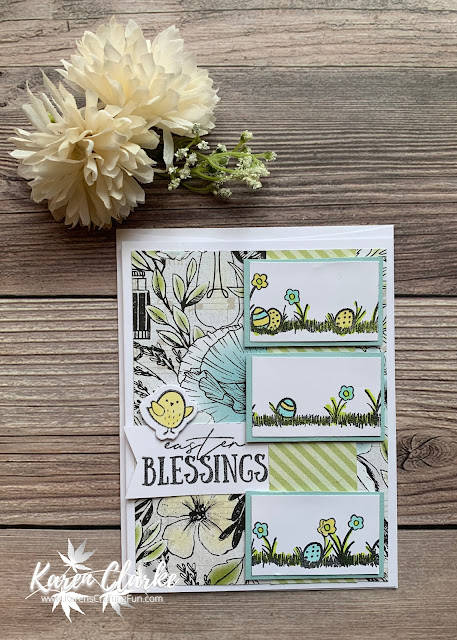
Easter Card and a Sketch Challenge

 I am continuing to work with the In Full Bloom Collection this weekend in making some fun things for Easter. I just finished the Easter Woven Treat Basket that I recently shared and moved on today to making cards for this Easter. I am really happy how this card came out and it will be cute to send to my family and friends for this coming Easter.


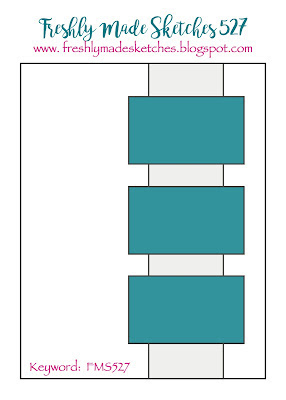
The inspiration for this card comes from this sketch from the Freshly Made Sketches blog. You can see this sketch along with others here.

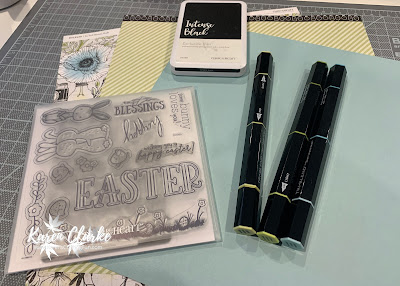
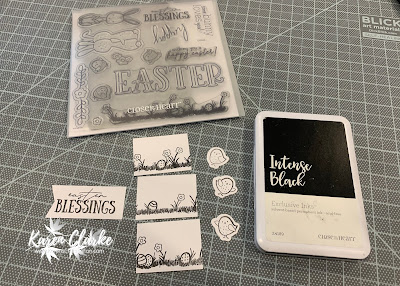
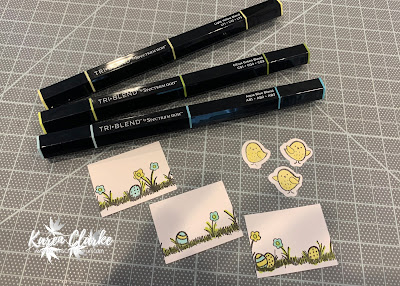
In addition to the In Full Bloom papers I added some stamped images and a stamped sentiment from the Somebunny Loves You Stamp Set + Thin Cuts. I die cut the little chick and then stamped it along with the grass and flower border in Intense Black Exclusive Ink. I then colored these in using the Triblend markers.


I changed up the sketch a bit in moving the rectangles a bit to make room for the sentiment banner.

I hope you like the card. Thanks for stopping by!

Supplies list:

X7279B - In Full Bloom Paper Pack

X7279C - In Full Bloom Coordinating Cardstock

D2085 - Some Bunny Loves You Stamp Set

Z4189 - Intense Black Exclusive Ink

Z2483 - Light Yellow Triblend Marker

Z2484 - Citrus Green Triblend Marker

Z2524 - Aqua Blue Blend Marker


Easter Woven Treat Basket and a Tutorial

With Easter being just around the corner and the In Full Bloom collection from the March/April catalog I could not wait to make this woven treat basket featuring these papers along with the Some Bunny Loves You Stamp Set. I cannot wait to fill this with some Easter treats for my family and coworkers.

The treat bag uses cardstock for the basket base and handle. The woven parts of the sides and the trim piece are from patterned paper. I also stamped some fun images to add to the front of the basket. I have included a link to a PDF of instructions at the end of this post as well as a process video.

To create this treat basket you will need 1 piece of cardstock and 1 piece of patterned paper.  Cut the cardstock into an 8 1/2" x 8 1/2" square and a 3/4" x 12" strip. From the patterned paper cut 5 strips that are 1/2" x 12" and 1 strip that is 3/4" x 12"


Use the following diagram to score and cut the 8 1/2" x 8 1/2" piece of cardstock.


After you have scored and cut the basket base it will look like this.


Fold the 3/4" x 12" trim stip of patterned paper in 1/2 lengthwise. Put strong adhesive on the backside of this on either side of the fold. Put a small piece strong adhesive on the front side of each weaving strip and the handle piece.


Fold the right-hand side of each weaving strip in by about 1/2". Taking one strip at a time, remove the adhesive backing and adhere it behind one of the left-hand side vertical strips. Work your way in a clockwise fashion around the basket weaving the strips over and under the vertical strips. Create a crease each time you come to a corner. I do add a little bit of adhesive to the back of some vertical strips to adhere them to the front of the weaving strips for added stability. At the end of the a strip, remove the adhesive backing and tuck it inside the basket adhering it to the starting point.


Follow this same process for each row as you work your way to the top. It is a good idea to use your fingers to nudge the strips in tight with the row below and add some bits of adhesive to secure the woven strips to the vertical strips as you go. When you reach the top there will be some bits of the vertical strips leftover, use your scissors to trim these back to the top of the last woven row.


Remove the adhesive back from one side of the trim strip and adhere to the front of the basket working your way around aligning the fold line with the top of the woven strips. Use scissors to cut each corner down to the score line from the top to make folding this inside.


Remove the adhesive backing from the other side of the trim strip and fold it inside to cover the tops of the woven strips.


Adhere the handle to the inside of the basket to complete it.


Add some stamped elements and a bow to embellish. Fill with candy or gifts and share for a fun Easter treat. I hope you have fun with this! 

You can download the PDF of instructions here.  This process video walks you through the steps as well.


I hope you like the treat basket. Thanks for stopping by!
Supplies list:

X7279B - In Full Bloom Paper Pack

X7279C - In Full Bloom Coordinating Cardstock

D2085 - Some Bunny Loves You Stamp Set

Z4189 - Intense Black Exclusive Ink

Z2496 - Pale Pink Triblend Marker

Z2483 - Light Yellow Triblend Marker

Z2484 - Citrus Green Triblend Marker

Z2524 - Aqua Blue Blend Marker