Thursday, March 30, 2023

It's Cold Outside Layout

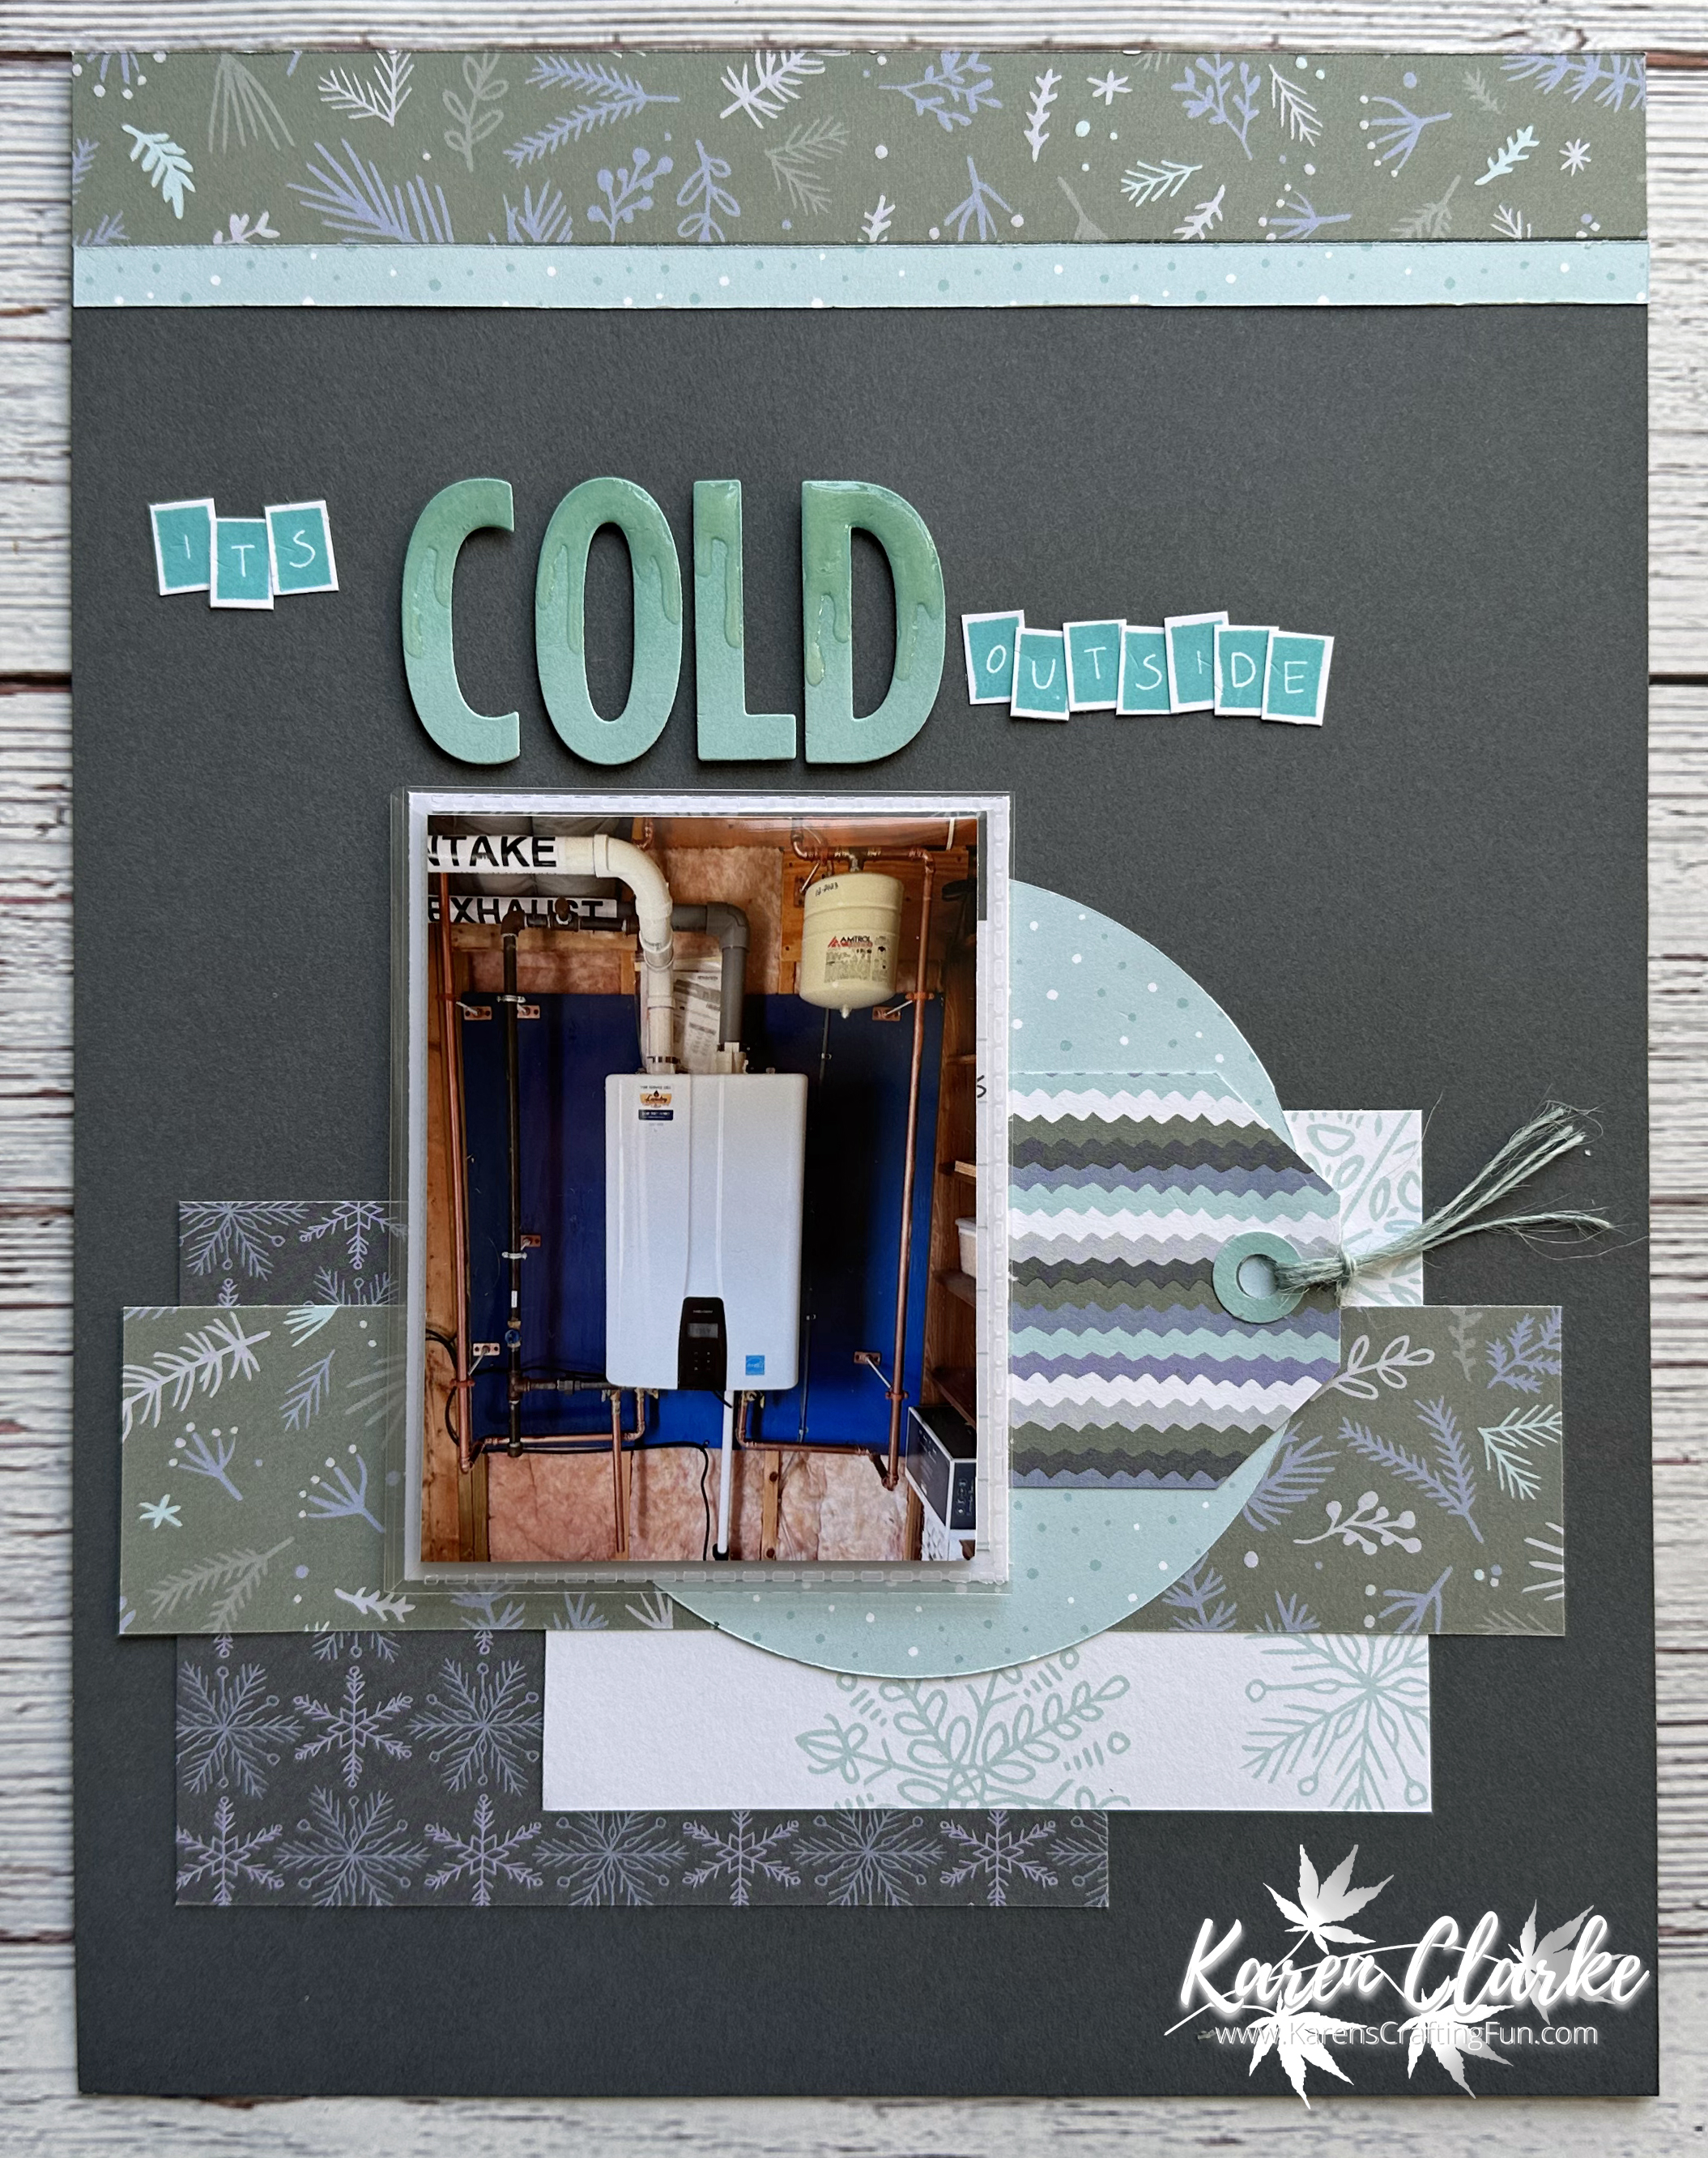
My latest layout from Wednesday's Scrapbook with me. Our tankless water heater iced over and died during a particularly cold night in February and I knew I wanted to scrapbook the event. I dug into my stash of the Wonderland collection for the patterns for this layout. I am continuing with my challenge to myself to add at least one element from my stash of embellishments, pocket cards and other ephemera to each layout I create for the rest of this year.


This layout was inspired by this sketch from the Scrap Much. You can see this sketch along with others here.

I converted the sketch from 12" x 12" to 8 1/2" x 11" to fit with my 2023 album format. I pulled out my stash of Wonderland and used some scraps of the patterned paper along with some leftover Picture My Life Cards. I added a Flip Flap to show an additional photo as well as the journaling to go along with this event. I added a little bit of twine from my stash on the tag.


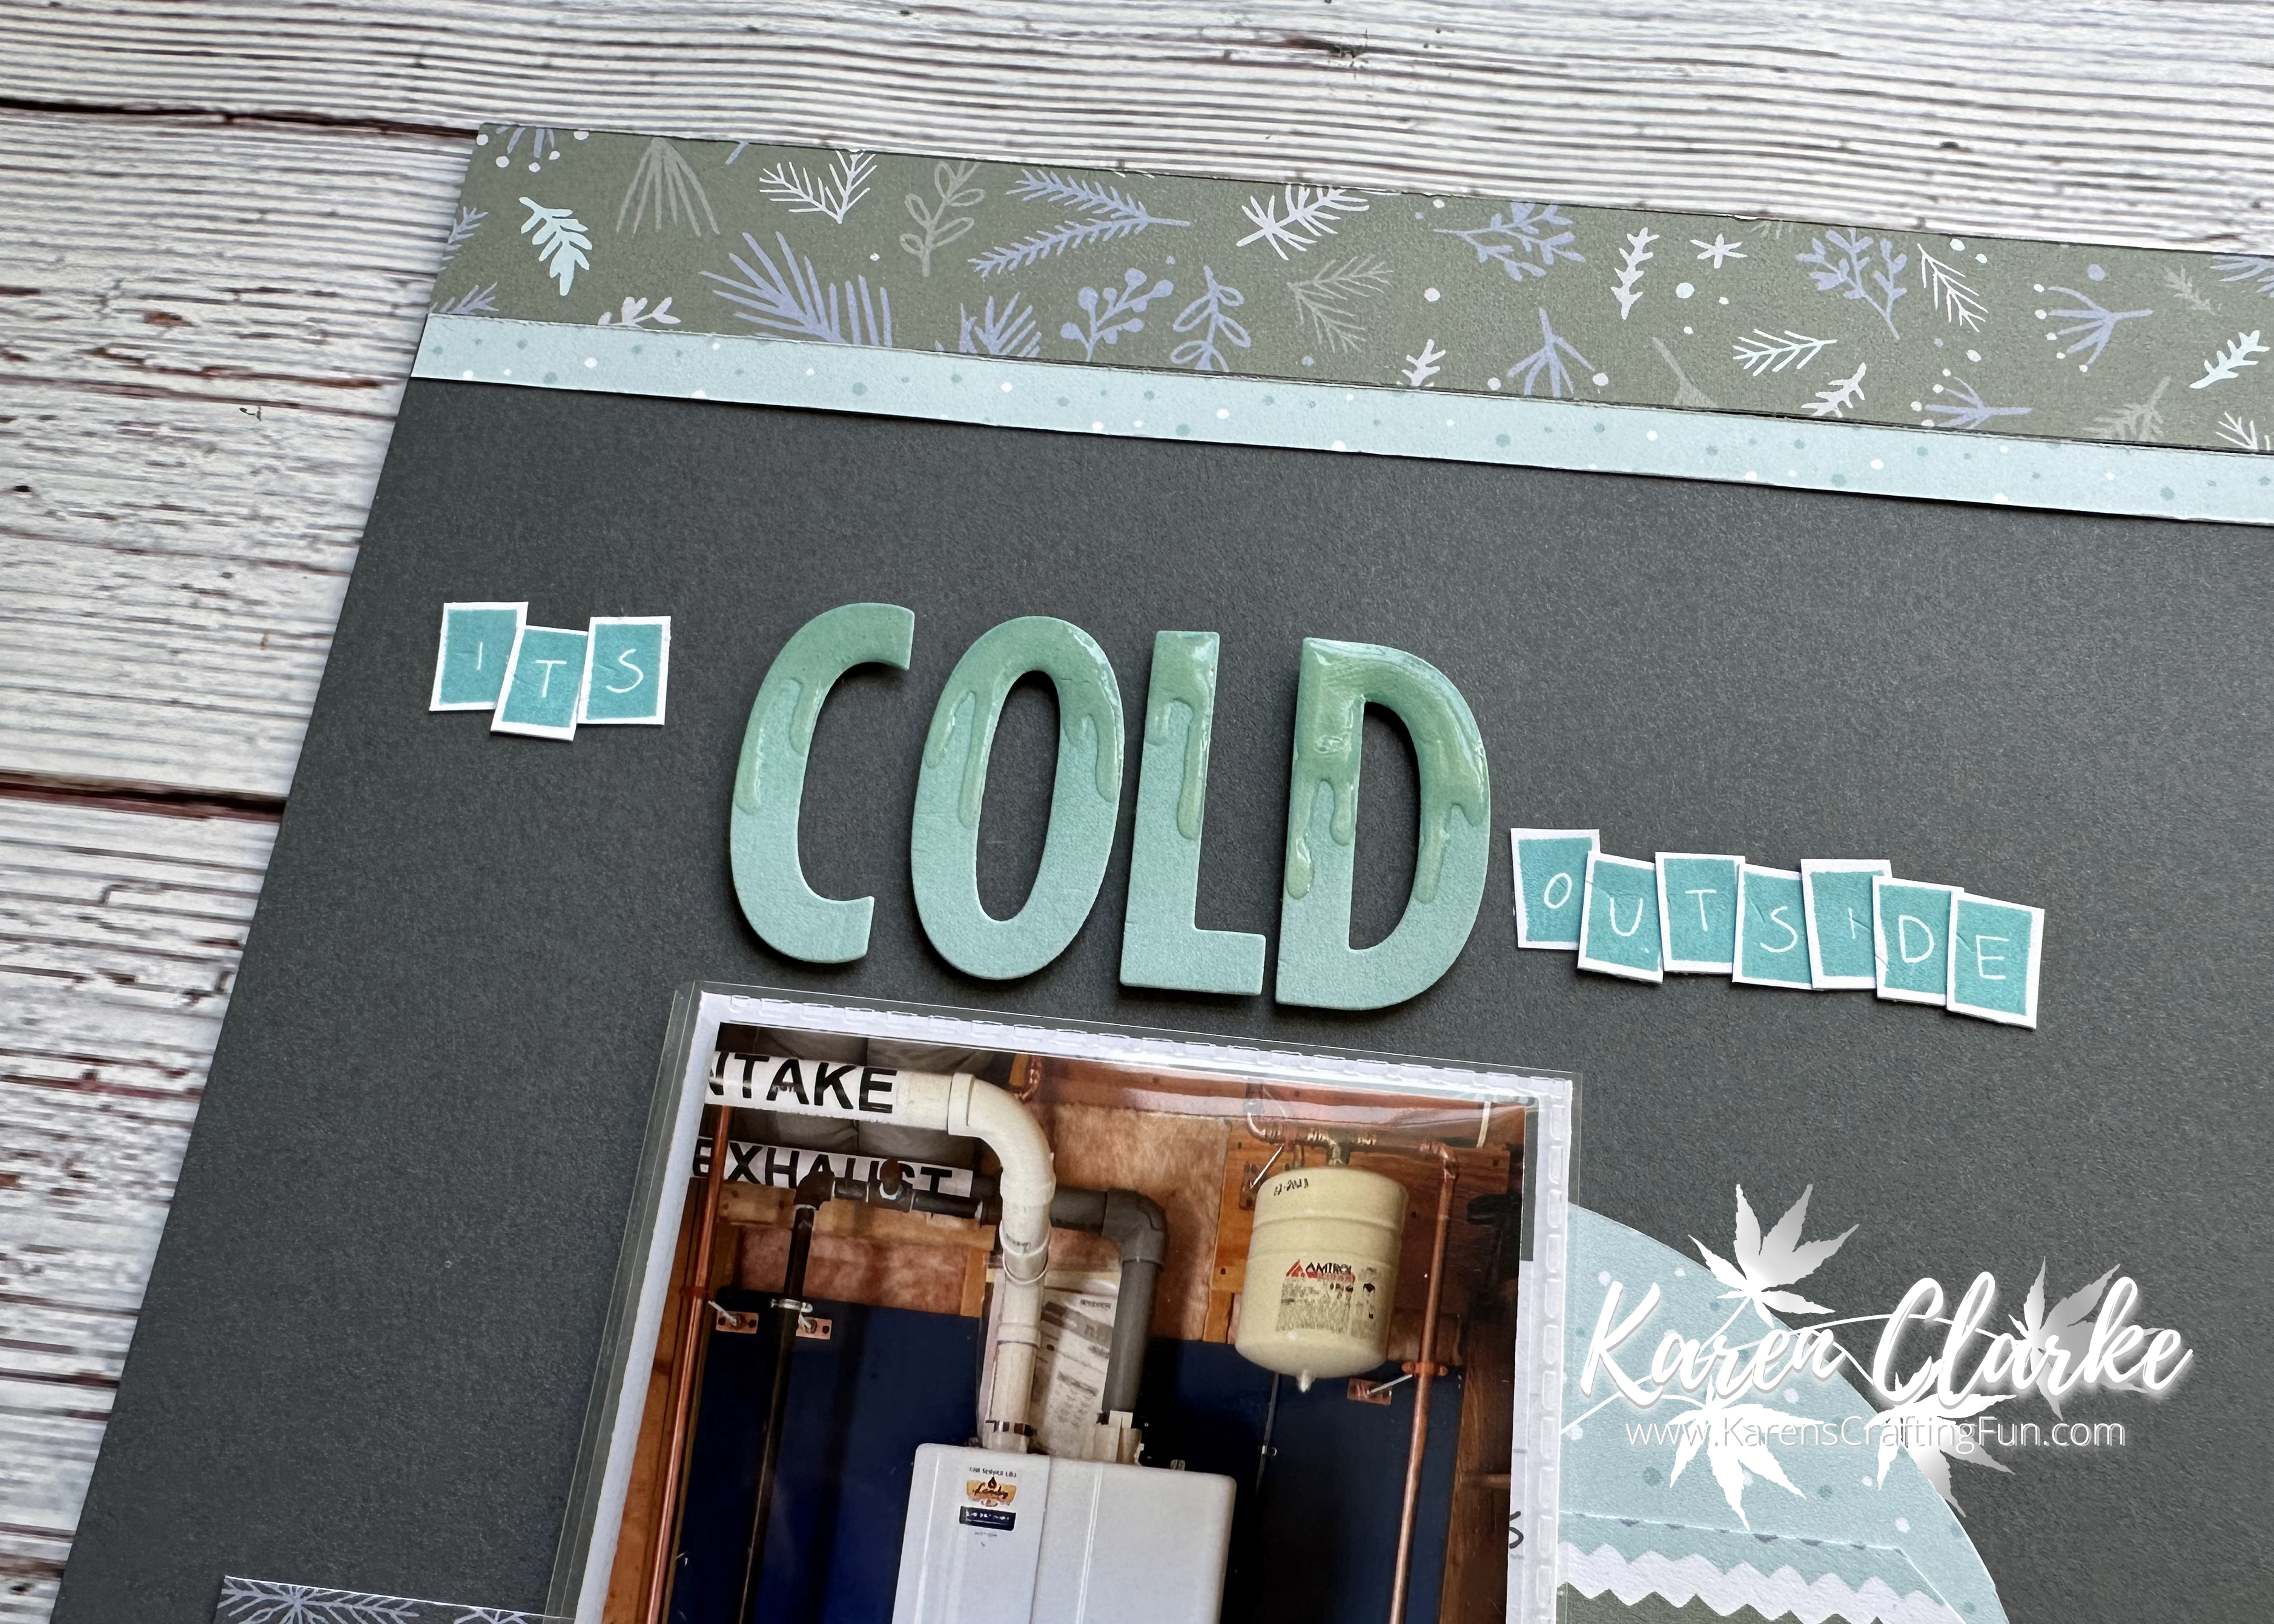
To create the title I knew I wanted to play off the ice and cold temps. I die cut the word COLD from Glacier cardstock using the Block Alphabet Thin Cuts set. I sponged some Glacier Exclusive ink along the top of each letter with a blending brush then using Liquid Glass I added the "ice" dripping down the letter from the top. The other title letters were stamped on White Daisy using Lagoon Exclusive Ink and a stamp set from my stash.


If you are interested in joining me for one of my Scrapbook with me events make sure to Like and Follow my Facebook page to get updates on upcoming events.

I hope you like these layout. Thanks for stopping by!


Wednesday, March 29, 2023

Thank My Lucky Stars Layout

I cannot believe it but my oldest daughter is now 25 years old! We had fun celebrating her birthday recently and I could not wait to scrapbook the occasion. I pulled out some scraps from the January - March Mix-In paper pack along with some embellishments from my stash for this.

The inspiration for this layout came from this sketch from Scrapbook & Cards Today. You can see this sketch along with other sketches as well as how you can modify the sketch on their blog here.

I converted this from 12" x 12" to 8 1/2" x 11" to work with my current album format. I changed the strip size from 1" tall to 3/4" tall. The title block came from a pocket scrapbooking card and I added some flowers and twine from my stash to finish the layout.


If you are interested in joining me for one of my Scrapbook with me events make sure to Like and Follow my Facebook page to get updates on upcoming events.

I hope you like these layout. Thanks for stopping by!

Supplies list:

X9046 - January - March Mix-In Paper Pack

X9047 - January - March Coordinating Cardstock

1385 - White Daisy Cardstock


Saturday, March 25, 2023

For You Birthday Card and a Challenge

Created this card for a family birthday party this weekend. I knew I wanted to use a stencil and Distress Oxide inks to create the main pattern and had fun with blending the colors to create this.

The inspiration for the card comes from this sketch challenge from Freshly Made Sketches. You can see this sketch along with others here.

I used some scraps from the January-March Mix-In paper pack and cardstock pack to begin.

I cut a 3" x 4" piece of White Daisy and using the T-Square ruler and pencil created a border around the edge. I used the masking tape and my All Purpose mat to mask off the border area. I used a stencil from the Card Front Pattern Stencil Pack along with Distress Oxide inks  to create the pattern. I blended from lighter to darker with the inks. 


I used the For You Thin Cuts set to die cut the sentiment. I actually cut the sentiment 3 times and layered them to give some additional dimension.


I hope you like the card. Thanks for stopping by!

Supplies list:

X9046 - January - March Mix-In Paper Pack

X9047 - January - March Mix-In Coordinating Cardstock

Z4521 - Mermaid Lagoon Distress Oxide Ink

Z3833 - Peacock Feathers Distress Oxide Ink

Z3834 - Chipped Sapphire Distress Oxide Ink

Z4679 - Card Front Pattern Stencil Pack

Z4606 - 1" Masking Tape

Z2045 - All Purpose Mat

Z3886 - Mini Ink Blending Tool

X254 - White Cards & Envelopes Value Pack

Z4650 - For You Thin  Cuts


Love These Moments Layout

Started working on my 2023 Family album layouts at Wednesday's Scrapbook with me event. My girls had done a day out together and gone to Level 99 which is an entertainment center with various challenges. 


The inspiration for this layout came from this sketch from Got Sketch. You can see this sketch along with others here.

I modified the sketch to 8 1/2" x 11" and changed the picture sizes to work with the smaller layout format. I die cut the circles using the Circles Thin Cuts set. The title came from my stash and I added some Bitty Sparkles to add some bling to the finished layout.


If you are interested in joining me for one of my Scrapbook with me events make sure to Like and Follow my Facebook page to get updates on upcoming events.

I hope you like these layout. Thanks for stopping by!

Supplies list:

CC12317 - It's The Little Things Paper Pack

X6047 - Black cardstock

1385 - White Daisy cardstock

Z3943 - Circles Thin Cuts

Z1263 - Bitty Sparkles

Friday, March 24, 2023

All Lit Up Layout

Now that I have completed the layouts from my New York City trip with Meghan I am working on catching up on the rest of my 2022 layouts and starting 2023. This layout was done during Monday's Scrapbook with me event and I had so much fun creating this using just solid cardstock and Distress Oxide Inks.

We had so much fun visiting Tower Hill Botanical Garden for their annual Night Lights event that goes on during November and December each year. It is so cool to see the gardens all done up in various light displays.


The inspiration for this layout comes from this sketch from Even More Scrappin'. You can see this sketch along with others here.

I changed the sketch up to 8 1/2" x 11" from 12" x 12" for my current album format. I used Distress Oxide inks and blending brushes to color the White Daisy cardstock with swirls of different colors to work with the many colors of lights in the photos. I added some splatters of the inks using a stamp from my stash. The title is die cut using the Simple Serif Uppercase Thin Cuts set. The stars were die cut from White Glitter Paper using some star dies from my stash.


If you are interested in joining me for one of my Scrapbook with me events make sure to Like and Follow my Facebook page to get updates on upcoming events.

I hope you like these layout. Thanks for stopping by!

Supplies list:

X6047 - Black Cardstock

1385 - White Daisy Cardstock

Z3237 - White Glitter Paper

Z3760 - Simple Serif Uppercase Thin Cuts

Z4521 - Mermaid Lagoon Distress Oxide Ink

Z3825 - Abandoned Coral Distress Oxide Ink

Z3830 - Mustard Seed Distress Oxide Ink

Z3832 - Mowed Lawn Distress Oxide Ink

Z8016 - Villainous Potion Distress Oxide Ink

Z4572 - Blending Brushes


Easter Tall Treat Box Tutorial and a Process Video

Spring just started here along with some, thankfully, warmer weather and that means Easter is coming soon. I knew I wanted to create something fun to share some Easter treats with my family, friends and coworkers so I came up with this tall treat box with a window design.


I am including a link to a downloadable PDF with instructions as well as a process video at the end of this blog post. The PDF contains cutting diagrams along with more detailed instructions on the cutting, preparation, and assembly of this treat box.

Cut the cardstock to 10 1/2" x 9" for the box base and 9" x 3" for the reinforcement piece according to the diagram. You will also need a 4 1/8" x 3 1/8" piece of cardstock but I cut that from the piece I cut out for the window to save cardstock. You will also need a 6 1/4" x 5 1/4" piece of acetate for the window.


Before scoring the box base piece you will need to cut out the window piece by using either a trimmer with a ruler along the cutting area or a ruler and craft knife, cut out the window by:

Align 9" side of piece at the 1 1/4" in mark on the trimmer. Cut from 1 1/2" to 6".


Rotate the piece 90 degrees to the left. Align the 10 1/2" side of the piece at the 1 1/2" mark on the trimmer. Cut from 3 3/4" to 9 1/4".


Rotate the piece again 90 degrees to the left. Align the 9" side of the piece at the 3 3/4" mark on the trimmer. Cut from 3" to 7 1/2".


Rotate the piece one last time 90 degrees to the left. Align the 10 1/2" side at the 3" mark on the trimmer. Cut from 1 1/4" to 6 3/4". This will complete the window.

Score the cardstock pieces according to the diagrams. Fold along the score lines and cut create the tabs.


Place strong adhesive along the tabs of the box base and lid fronts as shown.


Place strong adhesive along the backside of the box base around the window opening and along the backside of the reinforcement piece as shown.


Remove backing from adhesive around window opening and adhere acetate to the window.


Remove backing from the 1/2" tab and adhere. You will need to slightly "crease" the acetate as you create the box shape. I did not score the acetate to keep the window "clear".


Remove backing from the top part of the reinforcement piece and insert inside against the back of the box base. This will add stability to the treat box.


Starting with the bottom part of the reinforcement piece, remove the backing from the adhesive. Adhere the left side tab to this. Next adhere the right side tab to this. Follow with the back tab and finish with the front tab. This will give a clean look to the front of the box.

Remove the backing from the adhesive on the box lid tabs and adhere to create the lid.


Decorate the box base and lid with patterned paper, stamped images, and embellishments. Fill it with some candy or other treats and send some love to someone!

Click here for the downloadable PDF of instructions. You can also watch the process video below.


Supplies list:

Z9963 - 12" x 12" Acetate

Z5024 - Adhesive Tape

I hope you enjoy using these directions to share some Easter holiday treats!

Thanks for stopping by!