Showing posts with label Father's Day. Show all posts

Thursday, June 5, 2025

Father's Day Card

With Father's Day coming up and having the He's the Greatest Stamp Set from Stampin' Up to play with I was excited to work on some cards for my husband and father-in-law. I pulled out some of the Boho Vibes 6"x6" DSP along with some of the new In-Color cardstock for this. Really happy with how it came out!


The inspiration for this card came from this card sketch in the latest Stampin' Up Annual Catalog. I had been wanting to challenge myself with the sketches in this catalog and this was a great opportunity.


I played around a bit with different combinations of the patterns from the Boho Vibes DSP before deciding on this one. I also changed it up a bit to enlarge the circle elements and add a sentiment strip.


I did a second one with just changing the sentiment on it for my father-in-law.


I hope you like these cards. Thanks for stopping by!


Sunday, July 21, 2024

Father's Day Layout

Finished this layout during last Wednesday's Scrapbook with me. I knew as soon as I saw the Trusty Tools stamps and dies from Stampin' Up that these would be perfect for Father's Day as Mike is definitely a very handy husband. I used the stamps and dies along with some of the 6"x6" 2023-2025 In Color paper and the Metal Plate embossing folder to create this layout.


The inspiration for this layout came from this sketch I found on Pinterest. 


I converted the sketch from 12" x 12" to 8 1/2" x 11" to work with the album size I am currently using. I changed it from 6 spaces on the photo mat to just 4 to work with the layout size change. I added a background mat to the photo mat using pieces of the In Color patterned paper. For the scallop strip I embossed the cardstock first using the Metal Plate embossing folder before I used a scallop punch to make the border. I die cut the title using a die from the Something Fancy set and the tab at the top using the Keeping Tabs die. I did cut and stamped the tools using the cardstock, Memento Ink, and some silver paper from my stash. To embellish the layout I used some of the Smoky Slate and Basic Grey Pearls along with some ribbon from my stash.


If you are interested in joining me for one of my Scrapbook with me events make sure to Like and Follow my Facebook page to get updates on upcoming events.

I hope you like these layout. Thanks for stopping by!


Friday, August 11, 2023

Best Dad Layout

Finally got around to scrapbooking Father's Day during Wednesday's Scrapbook with me event. I had been holding on to some of the Hey Handsome collection for this layout and love how it came out! This definitely helped me use up my stash of this paper.


The inspiration for this layout came from this sketch I found on Scrapbook.com. You can see this sketch along with others here.


I converted this sketch from 12" x 12" to 8 1/2" x 11" to keep with the other layouts from the album. I modified the photo sizes to work with the new layout size. I did keep the main circle element fairly close to the original size. The title comes from some acrylic letters and letter stickers from my stash. I colored the acrylic letters using a Triblend marker. I love using these markers and white acrylic shapes to customize them to work with any layout. I added some hand stitching and used an old tool from my stash to create the stitching holes. The remaining embellishments came from my stash.


If you are interested in joining me for one of my Scrapbook with me events make sure to Like and Follow my Facebook page to get updates on upcoming events.

I hope you like these layout. Thanks for stopping by!


Saturday, June 3, 2023

Authentic Layout

This layout comes from the second workshop I taught at this weekend's Ready Set Crop Summer Lovin' retreat. I kept with the Father's Day theme I used for the first workshop with this layout using the Hey Handsome collection that works perfect for Father's Day or any other celebration for those men in our lives.


The layout design came from an older Close To My Heart scrapbooking workshop for the Zoe Collection.


I changed the workshop layout to use the Black cardstock for the base and then added the Mink for the second color. I also stamped the strips along the bottom instead of using Zip Strips for this.


I used the Hey Handsome Scrapbooking Stamp Set + Thin Cuts to create the title label and the embellishments for this layout. I love working with these images and can definitely use the set for other projects.


I hope you like the layout. Thanks for stopping by!

Friday, June 2, 2023

Father's Day Double Z-Fold Card and a Process Video

I shared the Father's Day Toolbox Gift Card Holder with you and now I am sharing the Double Z-Fold card. I demonstrated both of these at a retreat I was a vendor at this weekend. I love how these came out and cannot wait to give these on Father's Day this year! I used the papers and stamp set from the Hey Handsome Cardmaking Workshop kit for this and changed up what cards to make from the kit.


I am including a link to a downloadable PDF with instructions as well as a process video at the end of this blog post. The PDF contains cutting diagrams along with more detailed instructions on the cutting, preparation, and assembly of this card.

To create this purse you will need a piece of patterned paper (double sided), a card base and envelope and 3 pieces of cardstock. I prefer to use a heavier weight cardstock such as 60lb for my paper crafting projects.  You will also need a stamp set to decorate the card, 12" trimmer, a scoring platform or blade for the trimmer, and strong adhesive.

Cut the cardstock as follows:

  • 2 4 1/4" x 5 1/2" pieces of Harbour cardstock. Cut one of these in 1/2 to 2 1/8" x 5 1/2".
  • 3 1/2" x 7 3/4" piece of Paprika cardstock
  • 2 2" x 3 1/4" pieces of White Daisy cardstock


Cut the patterned paper as follows:
  • 2 4" x 5 1/4" pieces. Cut one of these into 2 pieces of 1 7/8" x 5 1/4"
  • 3 1/4" x 3 1/4" piece
  • 3 1/4" x 1/2" piece

Fold the card base in 1/2 at the seam line and then fold the front flap backwards in 1/2".


Score the 3 1/2" x 7 3/4" piece of Paprika along the 7 3/4" side at 3 1/2" and 5 5/8". Fold along score lines.


Mat the patterned paper and White Daisy on the Harbour and Paprika cardstock pieces as shown. Adhere the Harbour mat pieces to the card base as shown.


Place strong adhesive on the back of the Paprika pieces at the two outer sides as shown.


Center and adhere the Paprika piece to the card base as shown. Tip - line up the piece with both the card and fold piece closed to ensure correct placement.


Decorate the front of the card with die cut pieces, stamped images and glitter gems as shown.


Click here for the downloadable PDF of instructions. You can also watch the process video below.


Supplies list:

G1279 - Hey Handsome Cardmaking Workshop 

Z5024 - Adhesive Tape

I hope you enjoy using these directions to send cards to the wonderful dads in your life!

Thanks for stopping by! 
Father's Day Toolbox Gift Holder and a Process Video

As soon as I saw the Hey Handsome collection I knew I wanted to make something fun for this coming Father's Day. I made this Toolbox Gift Card Holder along with a coordinating Double Z-Fold Card and demonstrated both of them at a retreat this weekend. I love how these came out and am excited to share the directions for the Toolbox here with you. I will be sharing the directions for the card in a follow up post.

I am including a link to a downloadable PDF with instructions as well as a process video at the end of this blog post. The PDF contains cutting diagrams along with more detailed instructions on the cutting, preparation, and assembly of this gift card holder.

To create this purse you will need 1 piece of cardstock for the toolbox and a smaller piece for the decorations and handle. I prefer to use a heavier weight cardstock such as 60lb for my paper crafting projects.  You will also need a 12" trimmer, a scoring platform or blade for the trimmer, strong adhesive, and a Velcro dot.

Cut the main cardstock into the following pieces:

  • 4 1/4" x 4 5/8" for the lid
  • 4" x 6" for the base
  • 3 1/2" x 3 1/4" (2 pieces) for the sides

Cut the accent cardstock into the following pieces:

  • 1/2" x 12" (2 pieces) for the straps
  • 2" x 2" for the handle


Score the cardstock pieces according to the following diagram. On the side pieces and handle piece cut away the grey areas as shown.


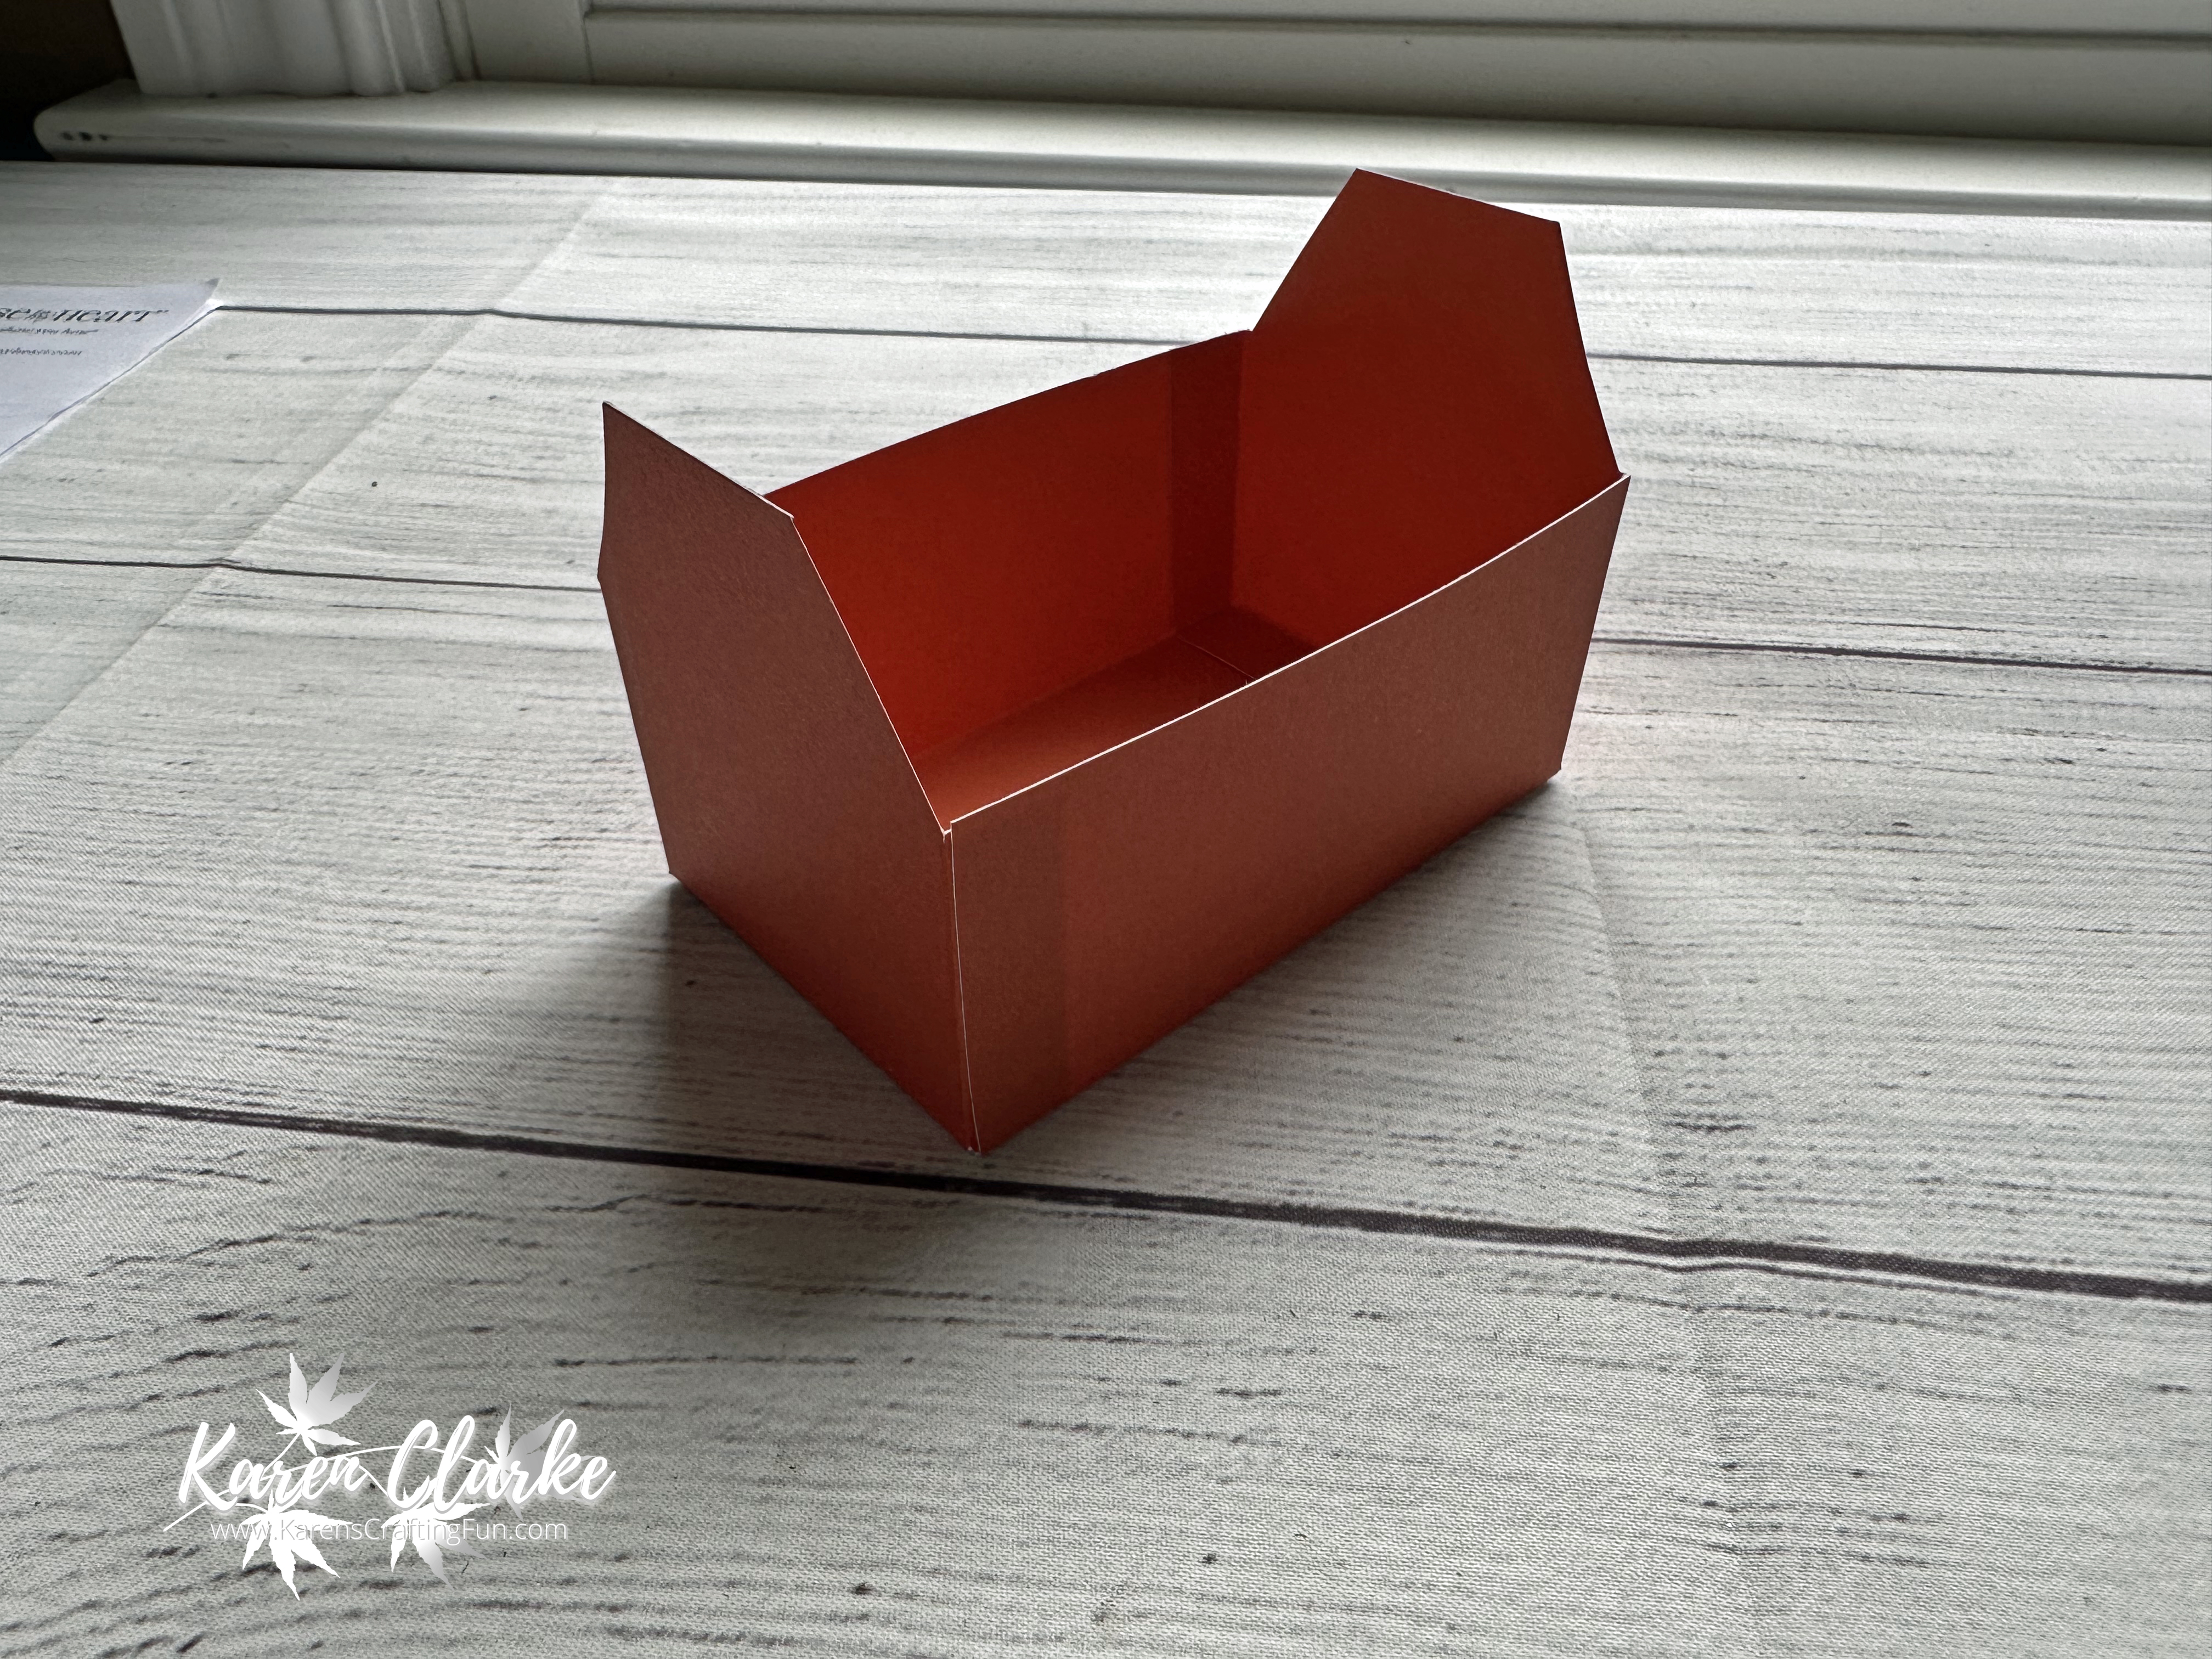
On the two side pieces cut the angled tops by marking 1 1/8" in from either end along the top of the piece using a ruler and pencil. The cut at an angle from the mark to the corner of the tab and side as shown.


Place strong adhesive on the front of the tabs on the side pieces and on the back of the lid and handle pieces as shown.


Remove the backing from the adhesive on the side tabs and adhere to the base as shown. Working your way around the base, adhere each tab.


Remove the backing from the adhesive on the lid and adhere to the base. The lid will slightly overhang the base.


Remove the backing from the handle and fold to secure. Adhere the handle to the top of the lid. Add a Velcro dot behind the front of the lid and secure to the front of the base to provide closure.


Decorate the toolbox with straps along with a clasp on the front and add some details using a Gold Paint Marker.


There are so many fun ways to decorate this toolbox and so many uses for it! Have fun!


There are so many ways you can add your own details to this fun purse. Try adding some faux-stitching to the handles and straps. You can even emboss the cardstock on either (or both) the purse or straps and handles to give it a textured look. You can even add some metal embellishments for the clasp and at the end of the handles. The possibilities are endless!

Click here for the downloadable PDF of instructions. You can also watch the process video below.


Supplies list:

X7292C - Hey Handsome Coordinating Cardstock

Z5024 - Adhesive Tape

Z4579 - Liquid Gold Metallic Paint Markers

I hope you enjoy using these directions to send some gifts to the wonderful dads in your life!

Thanks for stopping by!