My older daughter, Meghan, has been trying out different recipes recently on the nights she cooks dinner. This has been a lot of fun since we have all enjoyed what she has made and I am happy to see her learning new cooking skills. I knew I wanted to capture this in a layout and did this one during a recent Scrapbook with me.
The inspiration for this layout came from this sketch from Sketch Savvy. You can see this sketch along with others here.
I converted the sketch from 12" x 12" to 8 1/2" x 11". I pulled out some scraps from the It's The Little Things paper pad along with some die cuts from the collection. I wanted to stick with black, white and grey for this layout with a pop of Ballerina pink. I colored in a few of the flowers in the paper using Watercolor Pencils and a Water Brush to add a bit more color. The title is die cut from both Black and Ballerina cardstock using the Block Alphabet Thin Cuts.
If you are interested in joining me for one of my Scrapbook with me events make sure to Like and Follow my Facebook page to get updates on upcoming events.
I hope you like these layout. Thanks for stopping by!
Completed this layout during a Scrapbook with me event last week but was so busy with other projects (stay tuned for more information on these) I did not get a chance to post the layout yet. We had a quiet Valentine's Day this year but in between some fun treats at work and a delicious dinner at home I knew I wanted to dig into my stash of Now & Forever to do this layout.
The inspiration for this layout came from this sketch from Page Maps. You can see this sketch along with others here.
I converted the sketch from 12" x 12" to 8 1/2" x 11". I also changed the number of photos to fit better with the different page size. The embellishments come from the sticker sheet from the Now & Forever collection.
If you are interested in joining me for one of my Scrapbook with me events make sure to Like and Follow my Facebook page to get updates on upcoming events.
I hope you like these layout. Thanks for stopping by!
During this month I am celebrating my 5th year with Close To My Heart. I knew I wanted to send a little something to thank those customers who have supported my business all these years as well as being a part of the VIP Program with me through Close To My Heart. I came up with this cute "pizza box style" gift box that I put a sticky note holder, a Petite Perks stamp set, and a pen in to send to them with my thanks.
I am including a link to a downloadable PDF with instructions as well as a process video at the end of this blog post. The PDF contains cutting diagrams along with more detailed instructions on the cutting, preparation, and assembly of this gift box.
I designed this to be like a pizza box in that the base, lid and sides all fold in together to form the box. For this box you will need 1 piece of 12" x 12" cardstock, a 12" trimmer, scoring blade and/or platform, scissors, and strong adhesive. Cut the cardstock to 11" wide by 10 3/4" tall. Score according to the following diagram.
After scoring cut away the areas shown in grey on the following diagram and cut to the score lines as shown to create the tabs. I also cut the lid sides corners at an angle to make it easier to close.
Fold along the score lines. Add strong adhesive to the front side of the box on the tabs as shown. Add strong adhesive to the back side of the box on the side outer sections as shown.
Remove the backing from the adhesive on the tabs and fold behind the sides. Remove the back from the adhesive from the side outer sections and fold over to hide the tabs and add extra stability to the box base. To close, tuck the lid sides inside the box.
I added a sticky note holder as a treat inside the box. To create this cut a piece of cardstock to 6 3/4" x 3 1/8". Score at 3 1/8" and 3 5/8". Fold along score line and adhere a sticky note pad inside.
Decorate the box and sticky note holder with patterned paper and stamped images. Fill with some treats or gifts!
Click here for the downloadable PDF of instructions. You can also watch the process video below.
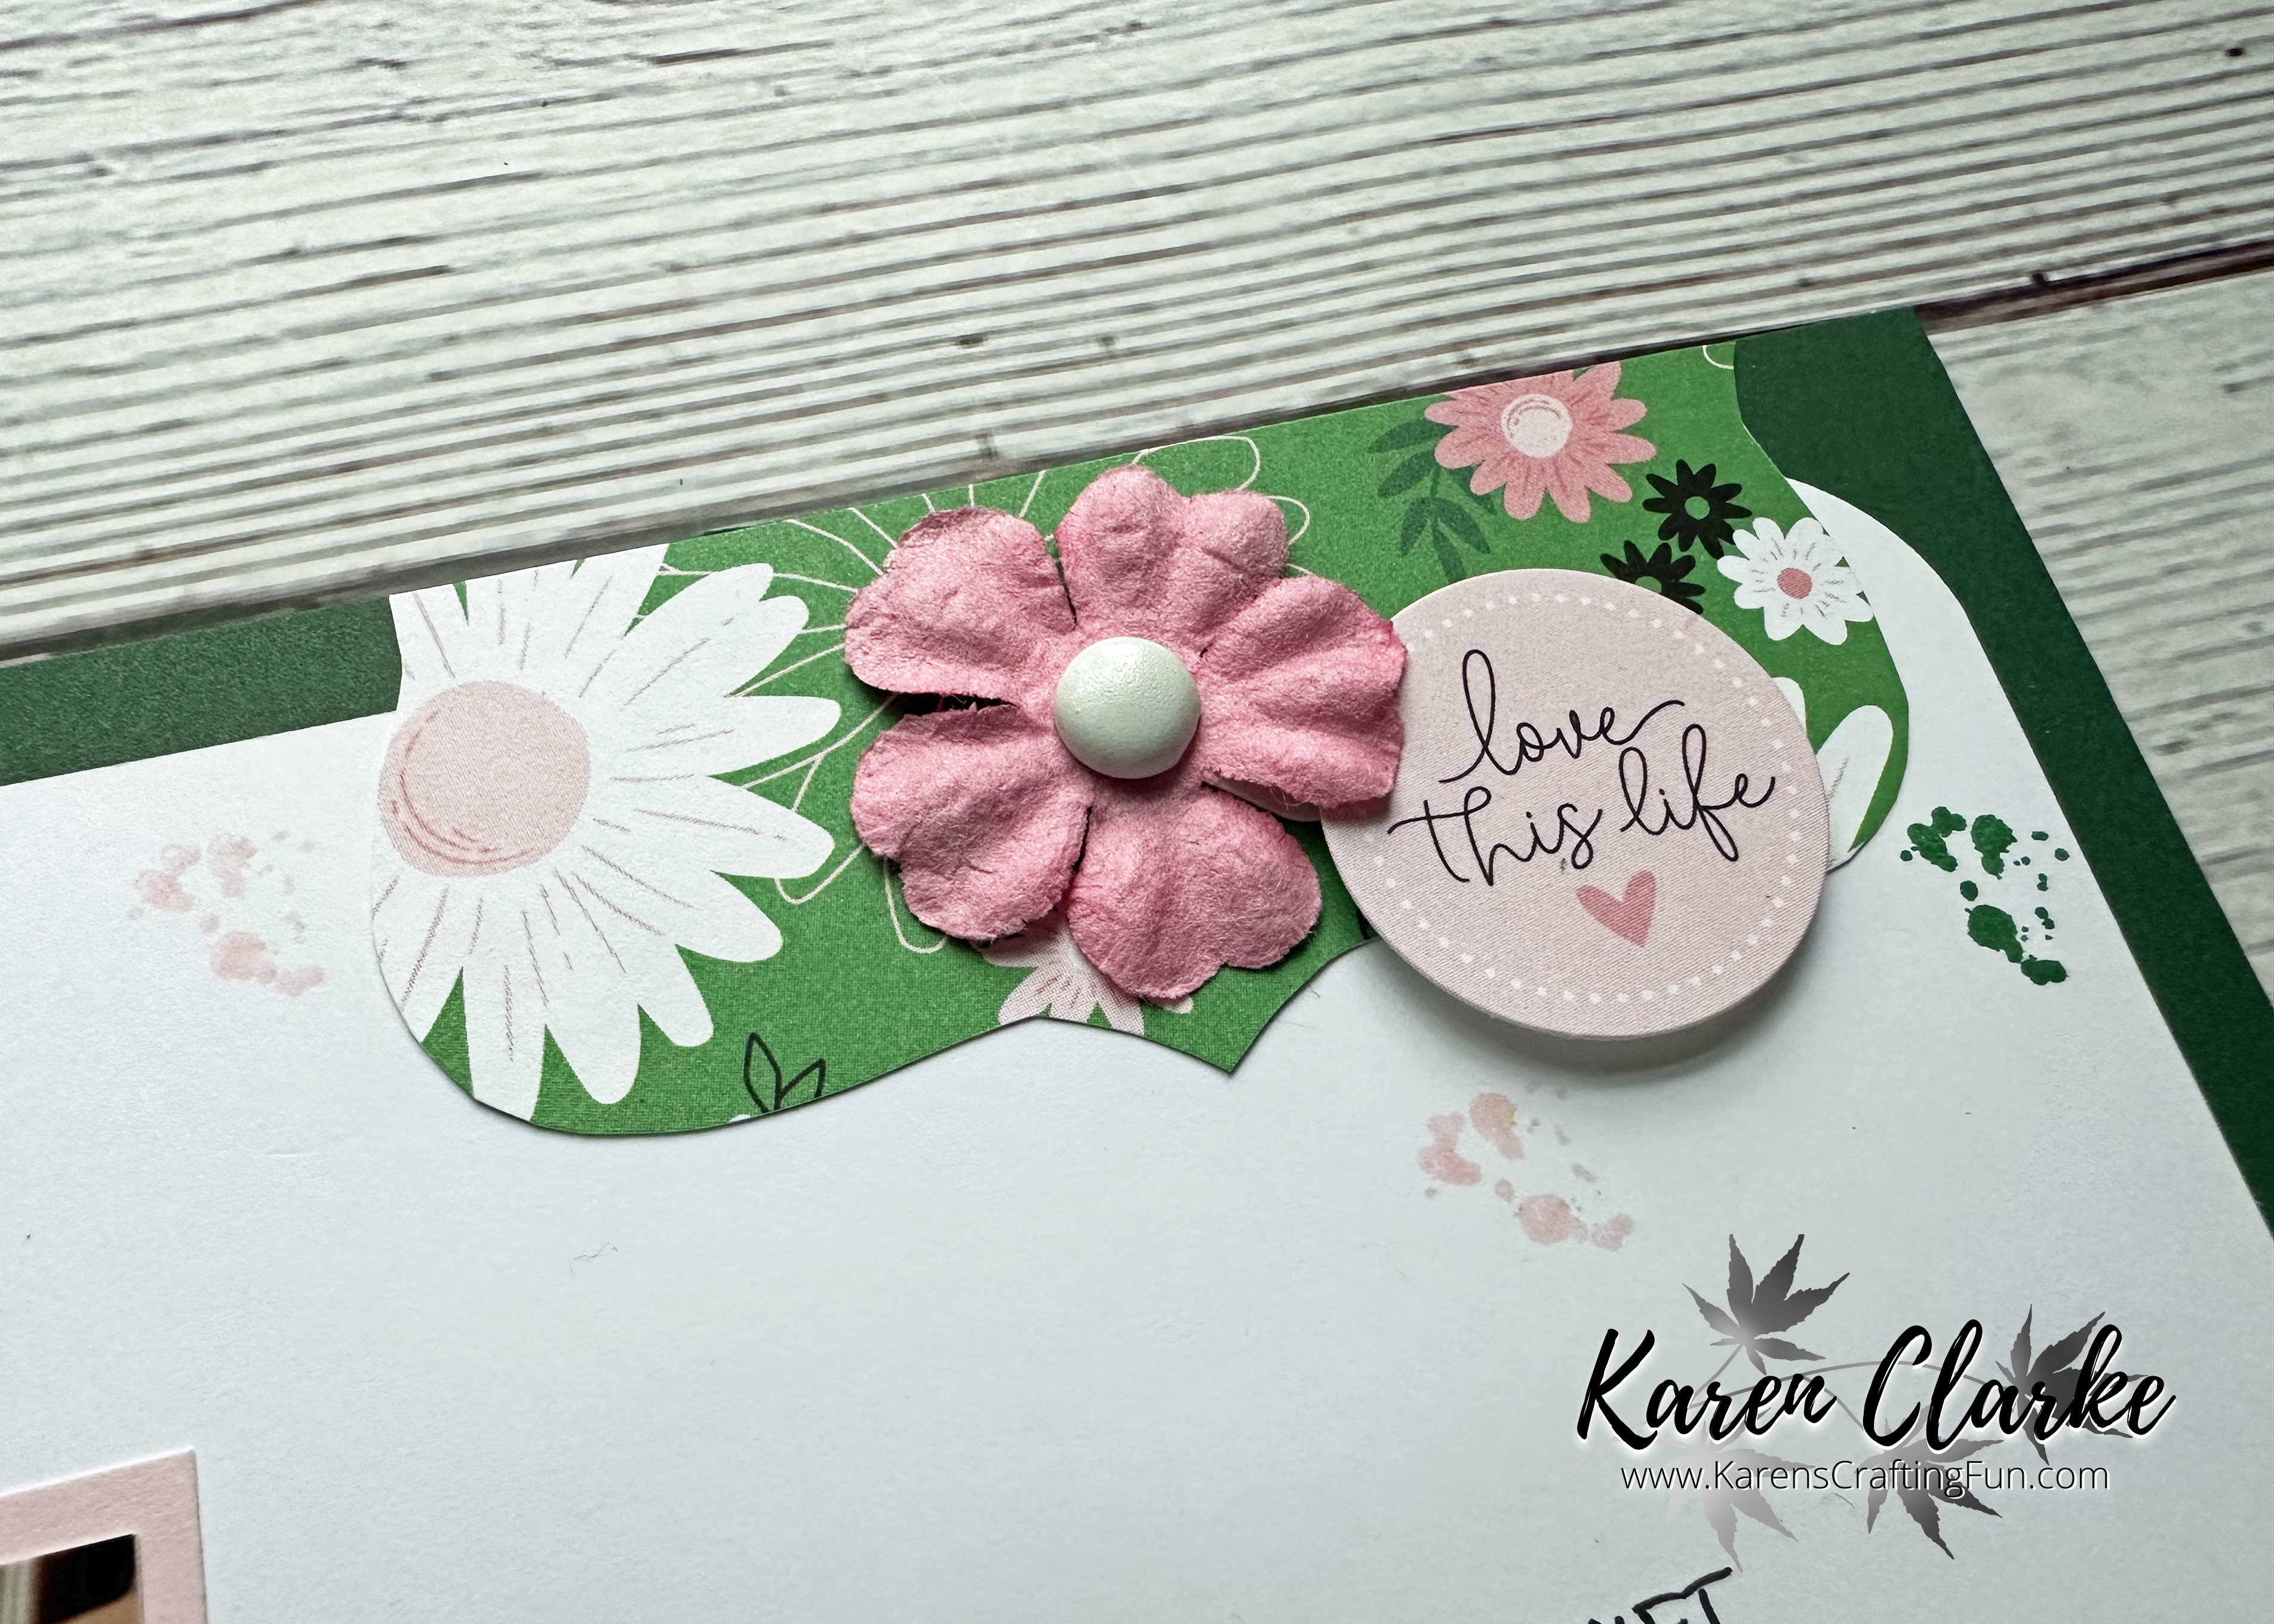
I completed this layout during Monday's Scrapbook with me and am happy to say that it was definitely a scrap bashing layout. I had saved some Daisy Daisy paper to use for an Easter layout and used up almost all of what I had left of this collection with this one.
The inspiration for this layout comes from the sketch from Sketch Savvy. You can see this sketch along with others here.
I converted the sketch to 8 1/2" x 11" from 12" x 12". The title and a few other stickers come from the Daisy Daisy paper pack. I added some brackets I cut with a template I had along with some flowers and brads from my stash to embellish the layout. I also added a few stamped splatters to break up some of the white space on the top panels.
If you are interested in joining me for one of my Scrapbook with me events make sure to Like and Follow my Facebook page to get updates on upcoming events.
I hope you like these layout. Thanks for stopping by!
Layout I finished during last Wednesday's Scrapbook with me event. I have had shoulder issues for several years, including surgery back in 2020 which gave some relief but am back to problems with both shoulders again so had to have a procedure done recently. I knew I wanted to scrapbook this as I am not usually the focus of my layouts.
The inspiration for this layout came from this sketch from Brenda Ragsdale. You can see this sketch along with others here. I converted this sketch from 12" x 12" to 8 1/2" x 11".
I used paper from the Flower Shoppe Collection for this layout. I also added in some pocket scrapbooking cards and other embellishments from my stash. The title comes from some chipboard letters in my stash as well.
If you are interested in joining me for one of my Scrapbook with me events make sure to Like and Follow my Facebook page to get updates on upcoming events.
I hope you like these layout. Thanks for stopping by!
Getting back into doing my monthly recap layouts during my Scrapbook with me events with this layout for January of this year. I am sticking with my Monthly recap series for 2023 as I did for 2022 and also keeping with my challenge to myself of pulling embellishments and other items from my stash to add to each layout I create this year.
The inspiration for this layout comes from this Page Maps sketch from the Scrapbook and Cards Today blog. You can see this sketch along with others here.
I converted the sketch from 12" x 12" to 8 1/2" x 11" so I reduced the number of photos as well as changed the sizing for some of them. The word bubbles were die cut using a die set from my stash. The title came from a stamp set also from my stash. I added some stamped images I had leftover from a workshop kit and some snowflake sequins from my stash to finish the layout.
If you are interested in joining me for one of my Scrapbook with me events make sure to Like and Follow my Facebook page to get updates on upcoming events.
I hope you like these layout. Thanks for stopping by!
Supplies list:
X8037S - Four Seasons Winter Paper Pack + Sticker Sheet