Showing posts with label Mother's Day. Show all posts

Tuesday, May 20, 2025

Mother's Day Layout

I had fun working with the Frames & Flowers DSP from Stampin' Up in creating this layout from Mother's Day this year. I had actually created the layout at an earlier Scrapbook with me but had to wait until after Mother's Day before I added the photos and journaling to it.


The inspiration for this layout came from this sketch by Laura Whitaker I found on Pinterest.


The title is die cut using a set from my stash. I used some Pecan Pie ink and a dauber to ink the edges of the letters in the title. I used some of the die cuts from the DSP pack to embellish the layout and also added some faux-stitching using a white gel pen and ruler. I did use some Dimensionals under the ends of each banner to give a little lift and add dimension to the layout.


If you are interested in joining me for one of my Scrapbook with me events make sure to Like and Follow my Facebook page to get updates on upcoming events.

I hope you like this layout. Thanks for stopping by!


Sunday, May 11, 2025

Mother's Day Picnic Basket and Card

I was inspired by a cute papercraft basket I saw on Pinterest using 6"x6" paper to make this picnic basket as a treat holder for Mother's Day along with a matching card. I used the Floral Impressions 12"x12" DSP and Impressions Abloom Stamp and Die bundle to create my version.


I made the basket bigger using 12"x12" DSP and scaling the cut and score lines accordingly. I designed a lid to be added to the basket. I used 1 piece of the DSP for the basket and the a 2nd piece for the handle and lid. To make this you will need the following pieces: 12"x12" for basket, 12"x1 1/4" for the handle, and 6 5/8"x8 3/4" for the lid. You will also need a scoring platform or scoring blade for your trimmer and some Tear Tape. The following diagrams are what I came up with for the cutting and scoring of this basket.


For the basket base - Score one side of the 12"x12" DSP at 4" and 8". Rotate and score at 1 1/2", 3", 4 3/4", 7 1/4", 9" and 10 1/2". Fold along the score lines and then ut along these score lines on either side as shown, stopping at the 4" and 8" score lines. Cut about 1/8" on each side of the center tabs at an angle as shown.

To assemble the base - work from the outer tabs on each side in, adhere using Tear Tape behind the next tab and then to the center tab. Adhere the handle inside the basket where the center tabs are,


For the basket lid - score along the 6 5/8" side at 1 1/4" and 5 3/8". Rotate and score along the 8 3/4" side at 1 1/4", 3 3/4", 5" and 7 3/8". Fold along the score lines and then cut along these score lines on either side as shown, stopping at the 1 1/4" and 5 3/8" score lines. Cut 1/8" on each side of the center tabs at an angle as shown.

To assemble the lid - fold each corner in and using Tear Tape to create the corners. Attach the lid to the basket using the center tabs and Tear Tape just behind each end of the handle.

Embellish the basket with stamped images and a sentiment. Fill with treats to give as a gift!


I used the remaining DSP from the 2nd piece to create the coordinating card. I die cut the oval and then did faux-stitching around the edge using a black pen. I stamped the flowers using Daffodil Delight ink for the petals and Pecan Pie for the centers. The leaves were stamped using Old Olive ink. I tied some twice around the oval and adhered it to the base using Dimensionals.


I hope you like this basket and card. Thanks for stopping by!


Sunday, September 1, 2024

Love Being A Mom Layout

I had a wonderful Mother's Day this year! Mike and the girls made me breakfast in bed, I got to enjoy a relaxing day with them, plus I had a delicious dinner. I had fun creating this layout using up some of my stash of the retired Forever Greenery Stampin' Up DSP. I love the colors and patterns in this paper and how well they worked with the layout.


The inspiration for this layout came from this sketch from Brenda Ragsdale. You can see this sketch along with others here.


I converted the sketch from 12" x 12" to 8 1/2" x 11". I changed the photo size along with the number of photos to work with the new layout size. The title is a combination of die cut letters and some small block letter stickers from my stash. I also added some clear sparkles from my stash to complete the layout.


If you are interested in joining me for one of my Scrapbook with me events make sure to Like and Follow my Facebook page to get updates on upcoming events.

I hope you like these layout. Thanks for stopping by!


Sunday, May 21, 2023

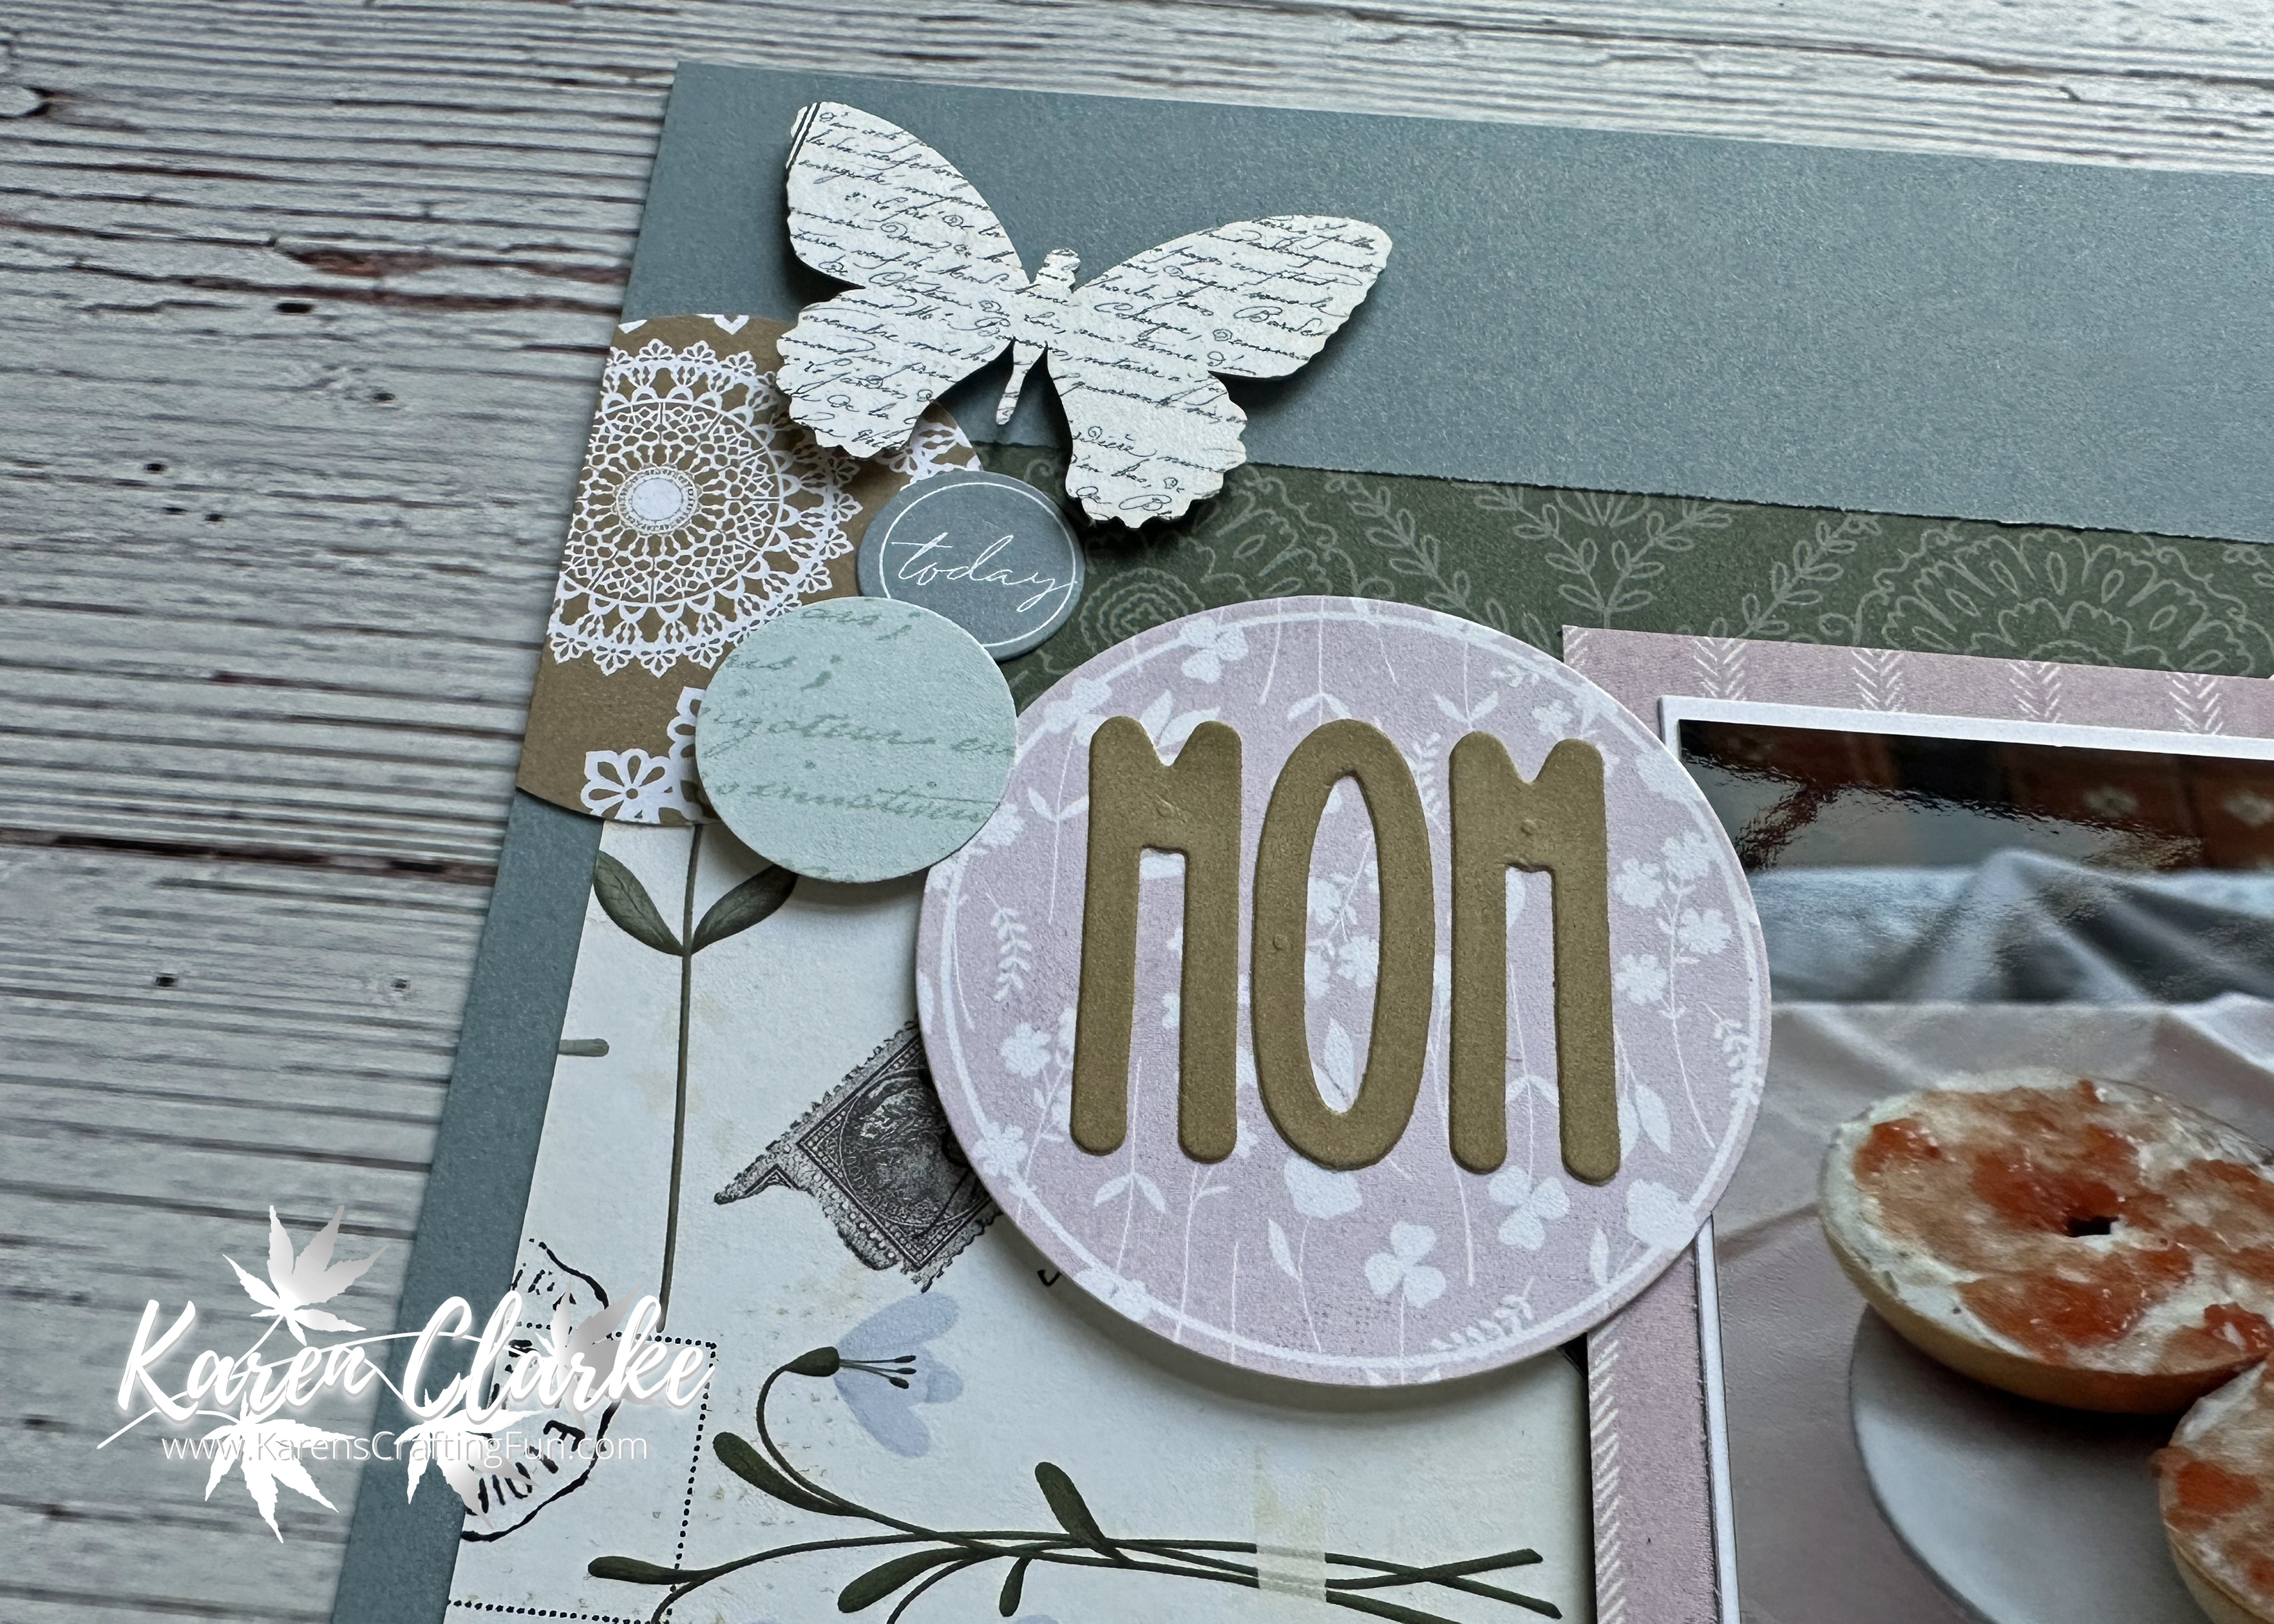
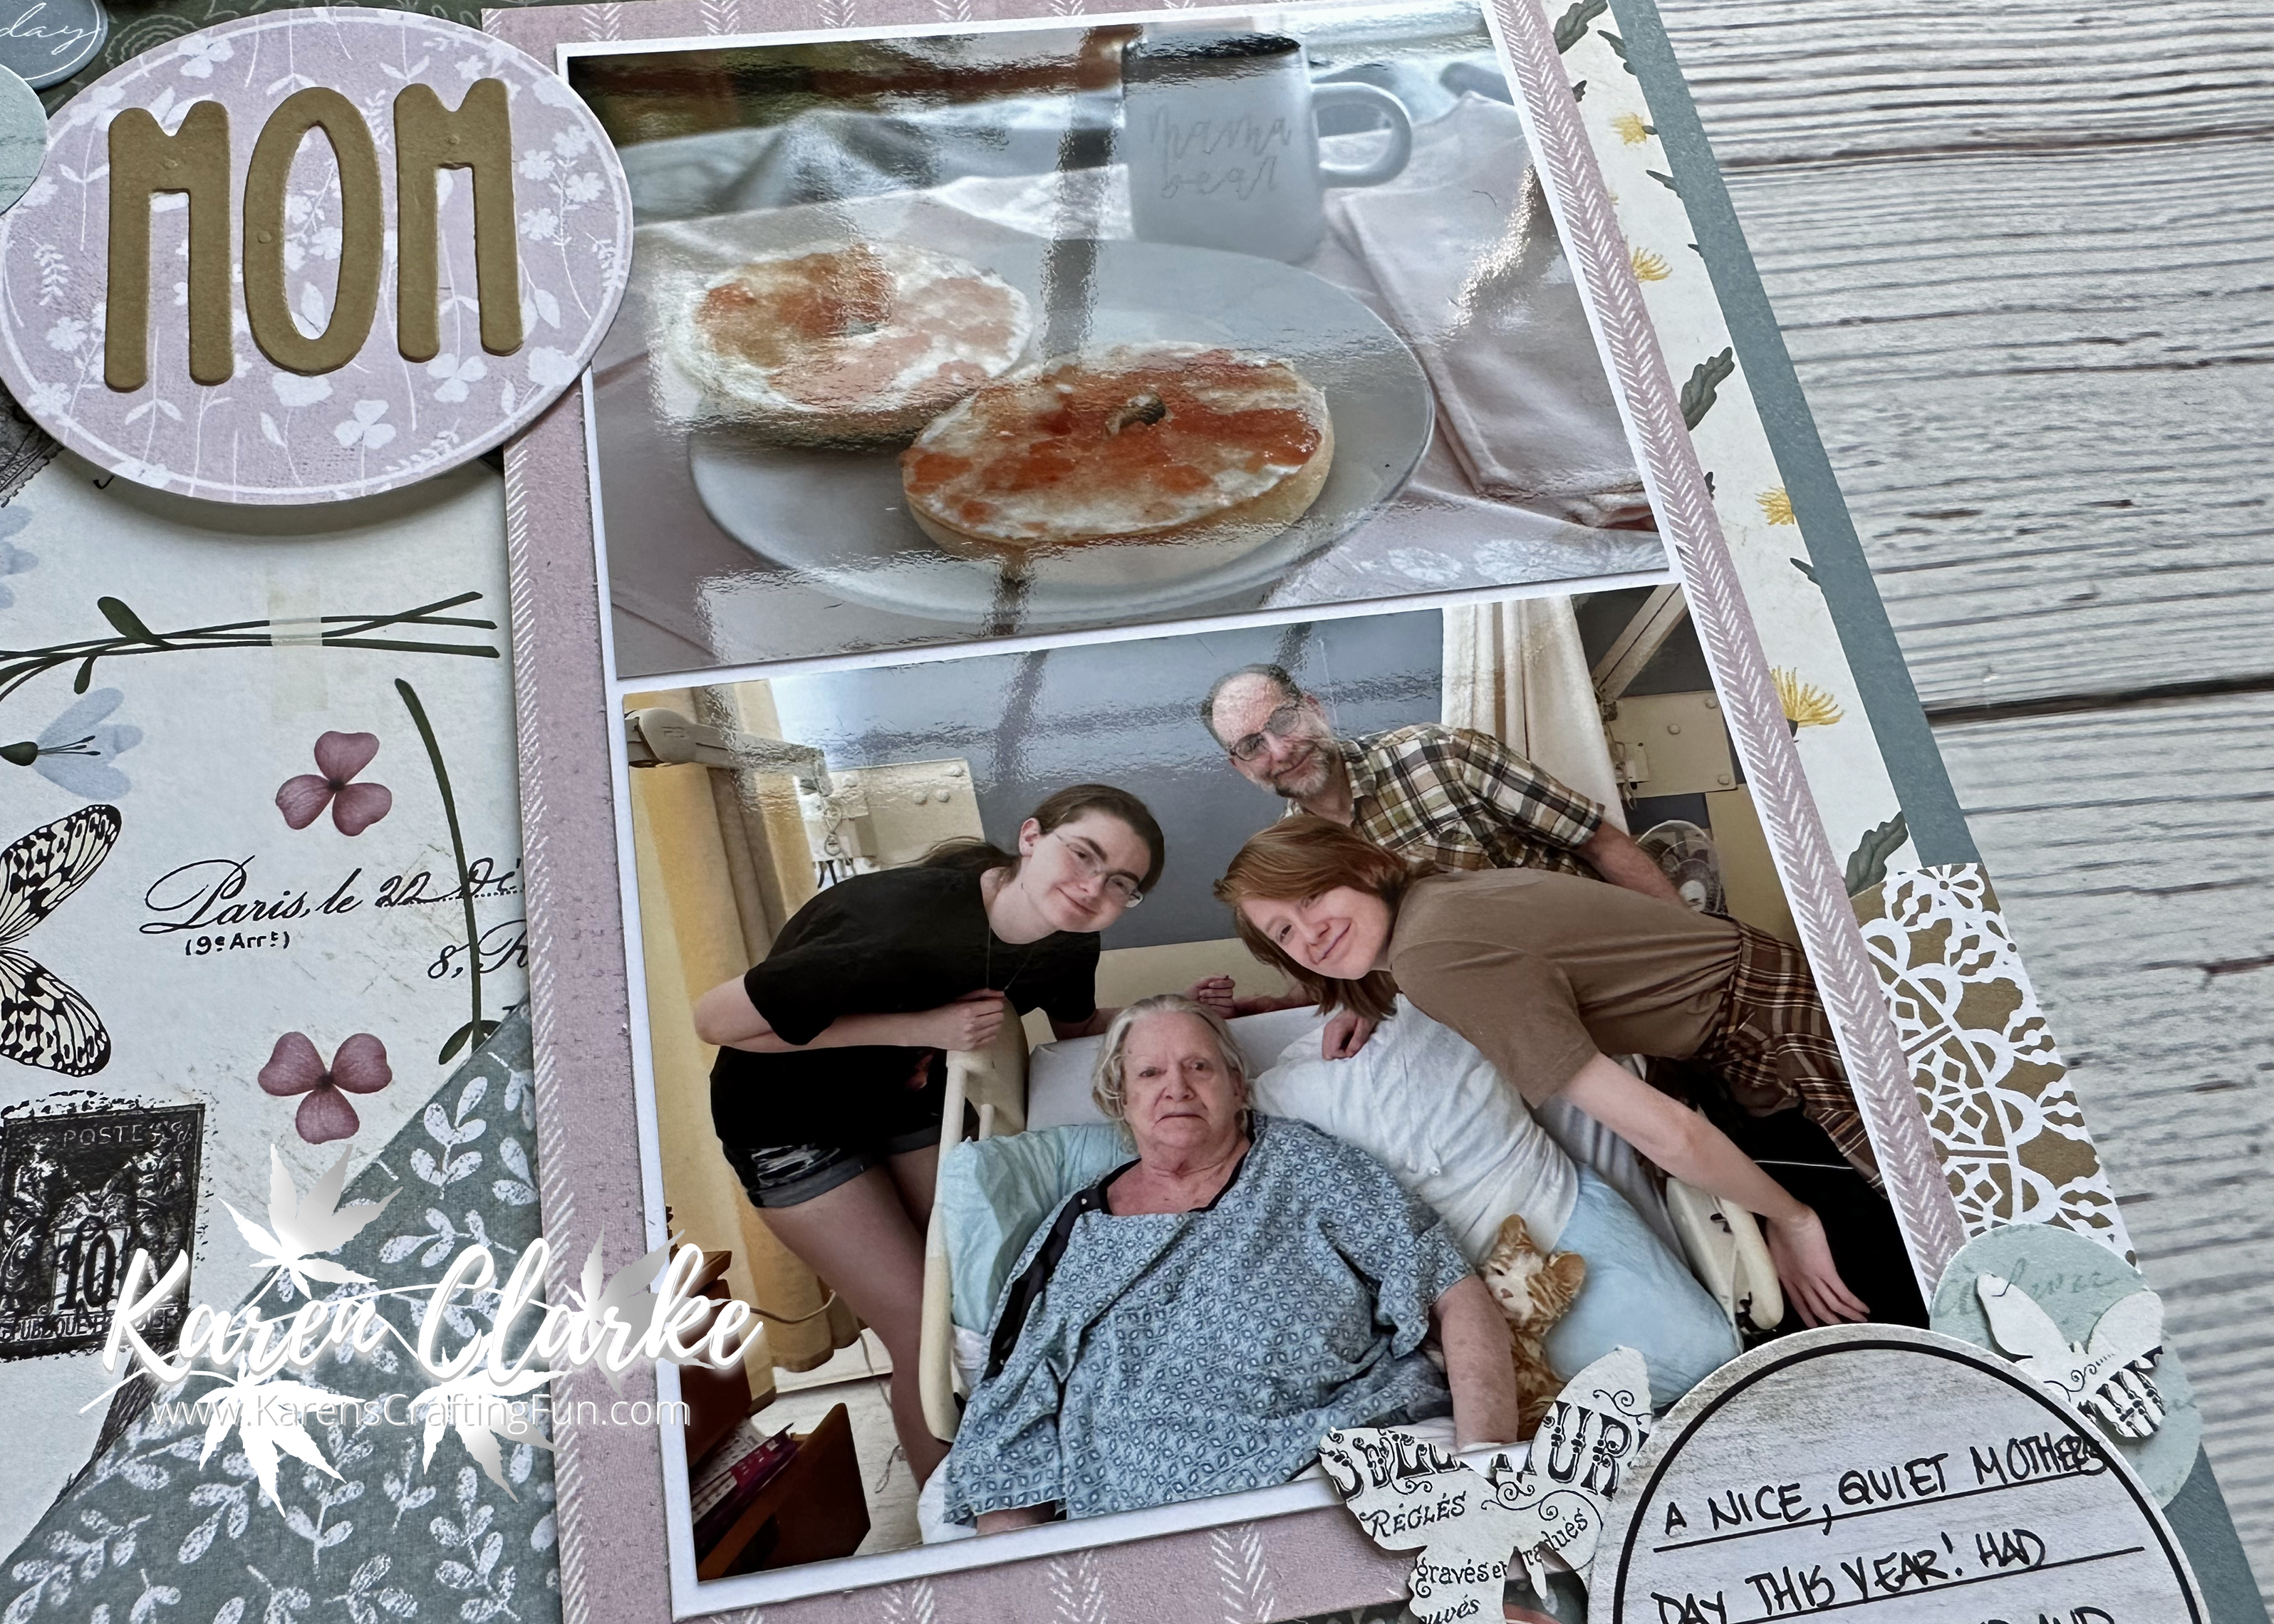
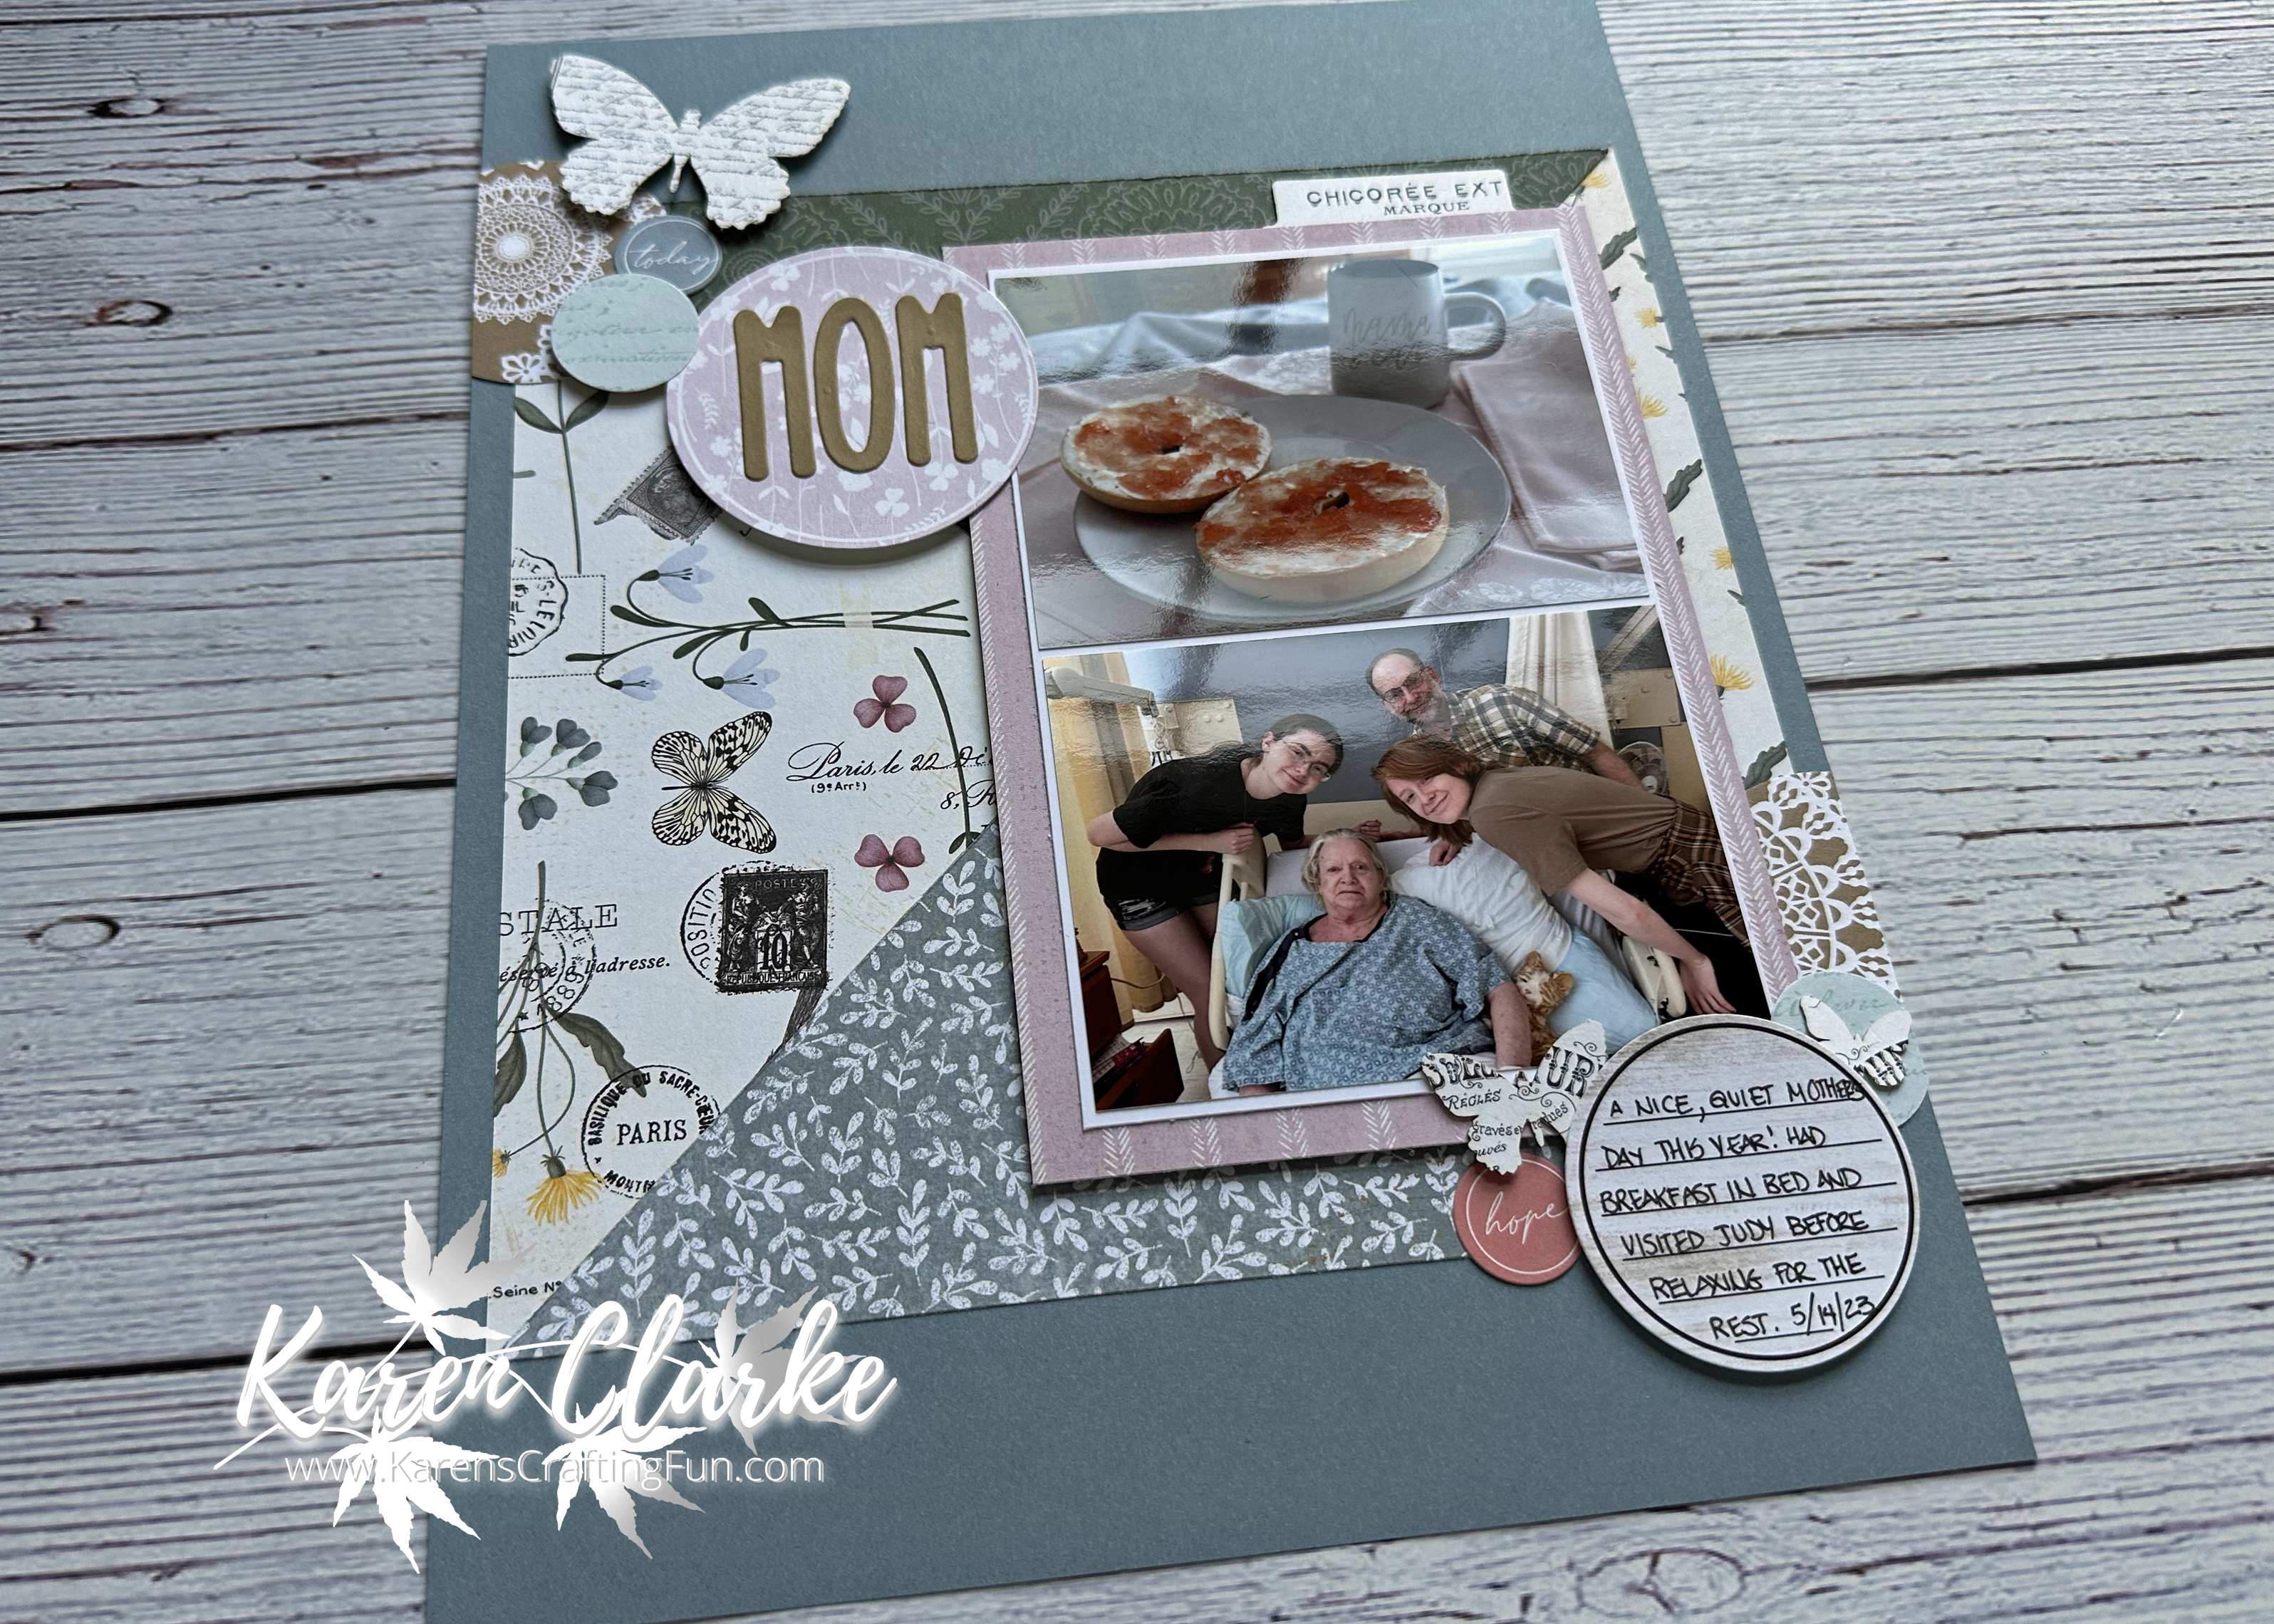
Mother's Day 2023 Layout

Continuing to catch up with my Scrapbook with me layouts with this one from Mother's Day this year. I had been using the Cosette collection for the cards and paper crafts I did for this year and wanted to continue to use it as well as use up my stash for a layout.


The inspiration for this layout came from this sketch from Page Maps. You can see this sketch along with others here.


I changed the sketch from 12" x 12" to 8 1/2" x 11". In doing this I needed to change the background papers slightly since with the changed layout size that would mean the square created with the paper triangles would end up as a rectangle but I knew I wanted to keep it as a square. I also offset the photo mat to the right slightly to allow more space for the title. The title was die cut with an alphabet from my stash. The circles were either from the sticker sheet that came with the Cosette paper pack or punched from the Cosette Picture My Life Cards. I added some Cosette Die Cut shapes to embellish the layout.


If you are interested in joining me for one of my Scrapbook with me events make sure to Like and Follow my Facebook page to get updates on upcoming events.

I hope you like these layout. Thanks for stopping by!

Supplies list:

X7291S - Cosette Paper Pack + Sticker Sheet

X7291C - Cosette Coordinating Cardstock

X7291D - Cosette Picture My Life Cards

X7291E - Cosette Die Cuts


Tuesday, May 2, 2023

Mother's Day Joy Fold Card and a Process Video

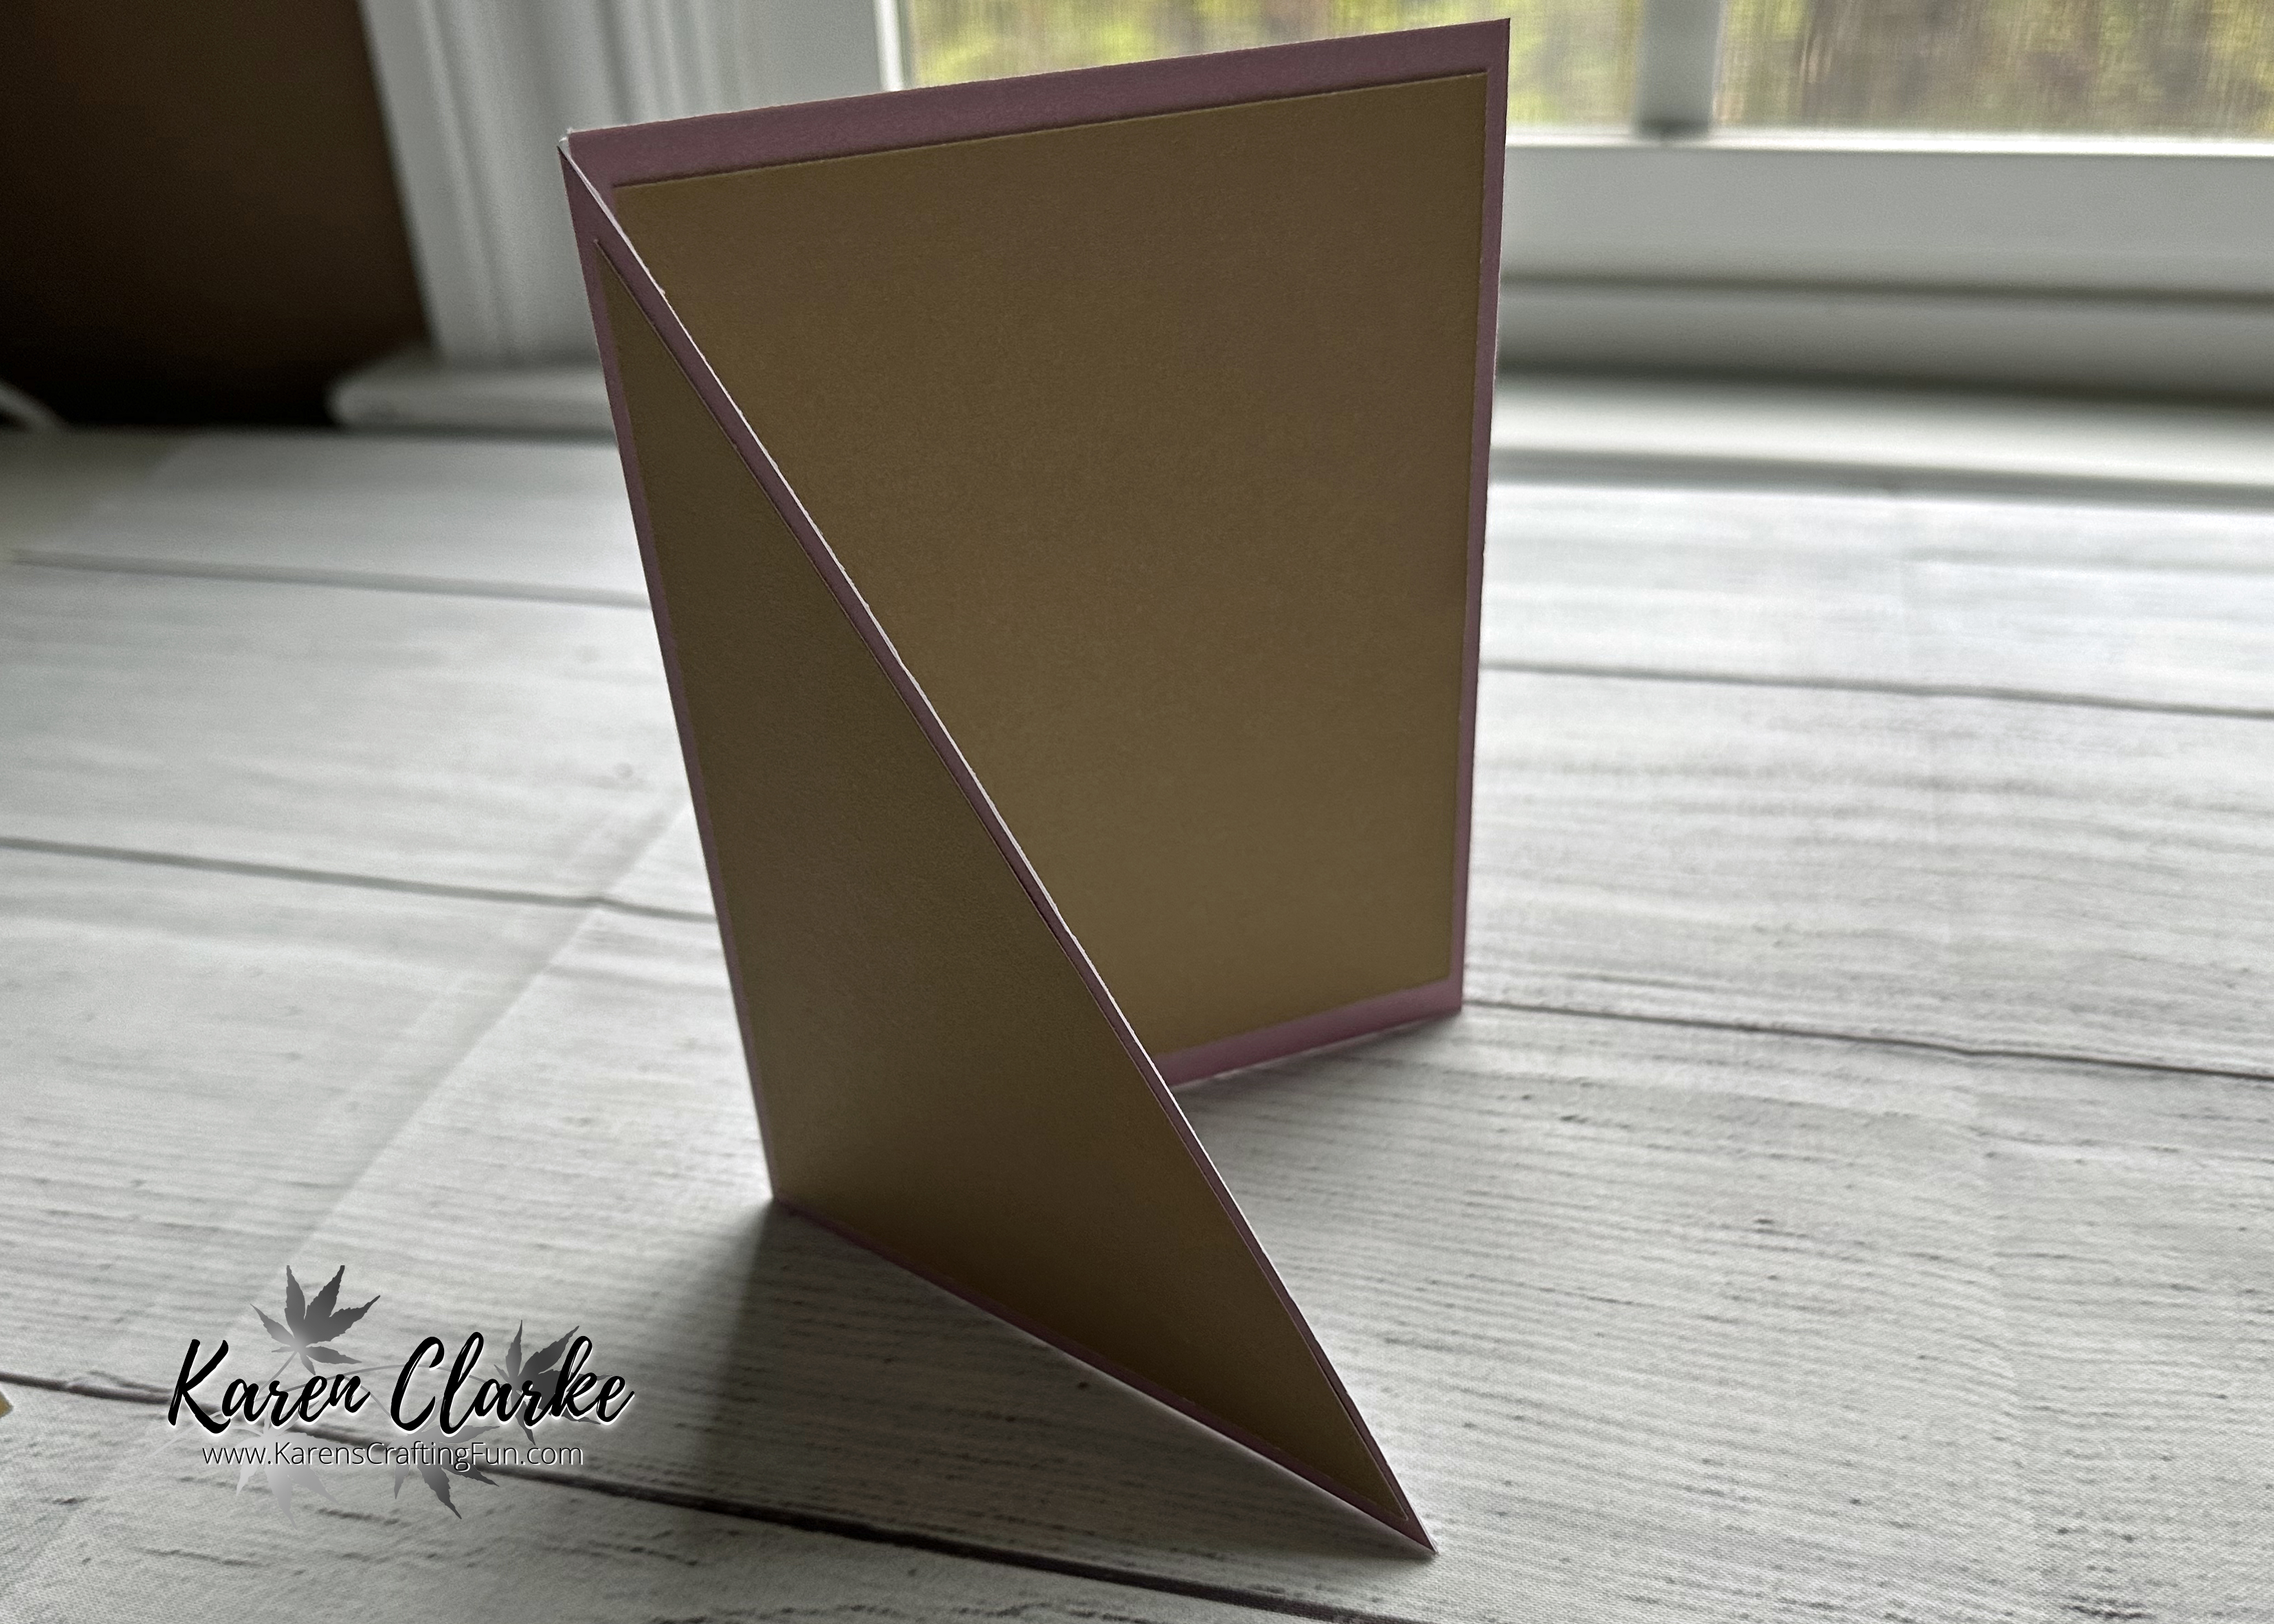
I made this Joy Fold card for Mother's Day to go with the Mother's Day Purse I shared. I had a lot of fun creating this card and working with the Cosette paper and stamps for this.

I am including a link to a downloadable PDF with instructions as well as a process video at the end of this blog post. The PDF contains cutting diagrams along with more detailed instructions on the cutting, preparation, and assembly of this card.

To make this card you will need: a card base, 2 pieces of Mulberry cardstock (layer 1) cut to 4 1/4" x 5 1/2", 2 pieces of Toffee cardstock (layer 2) cut to 4" x 5 1/4", 2 pieces of patterned paper (layer 3) cut to 3 3/4" x 5", 1 piece of Mist cardstock cut to 3" x 8" (fold piece), 2 pieces of Toffee cardstock (fold layer 1) cut to 2 7/8" x 3 7/8", and 2 pieces of White Daisy cardstock (fold layer 2) cut to 2 3/4" x 3 3/4".


Cut the front flap of the cardbase, 1 piece of Mulberry, 1 piece of Toffee, and 1 piece of patterned paper diagonally from the top left corner to the bottom right corner.


Adhere the Mulberry cardstock to the front flap and the inside of the card base.


Adhere the Toffee cardstock to the Mulberry cardstock on the front flap and inside the card base.


Adhere the patterned paper to the Toffee cardstock on the front flap and inside the card base.


Score the 3" x 8" fold piece at 4". Fold along score line and adhere the Toffee 2 7/8" x 3 7/8" pieces to the front and inside. Adhere one of the White Daisy 2 3/4" x 3 3/4" pieces to the Toffee piece on the inside.


I used the oval die from the Cosette Cardmaking Stamp Set + Thin Cuts to die cut the 2nd piece of White Daisy 2 3/4" x 3 3/4" paper. I stamped the sentiment and flowers using Intense Black Exclusive Inks and then colored in using Watercolor Pencils and a Waterbrush. I also added a small piece of Zip Strip below the flowers. I used 3-D Foam Tape to adhere this to the front of the fold piece. You can also just stamp your images and sentiment on the piece without die cutting it and adhere it to the front.


Place strong adhesive on the back of the fold piece and carefully align and adhere it to the card. I placed it about 1" down and centered.


Add some Diamond Stickles Glitter Glue to the center of the flowers to embellish.


Click here for the downloadable PDF of instructions. You can also watch the process video below.


Supplies list:

X7291S - Cosette Paper Pack + Sticker Sheet

X7291C - Cosette Coordinating Cardstock

Z4700 - Cosette Cardmaking Stamp Set + Thin Cuts

X254 - White Card and Envelopes Value Pack

Z3563 - Diamond Stickles Glitter Glue

Z5024 - Adhesive Tape

I hope you enjoy using these directions to send cards to the special moms in your life!

Thanks for stopping by! 

 

Monday, May 1, 2023

Mother's Day Purse Gift Holder and a Process Video

I was inspired to create this cute purse as a Mother's Day gift or treat holder. I knew I wanted to make something that can be used for many occasions as well as Mother's Day. I love how this came out and the Cosette collection worked perfect for this project.

I am including a link to a downloadable PDF with instructions as well as a process video at the end of this blog post. The PDF contains cutting diagrams along with more detailed instructions on the cutting, preparation, and assembly of this gift purse.

To create this purse you will need 2 pieces of cardstock (preferably a heavier weight such as 60lb), some patterned paper, a 12" trimmer, a scoring platform or blade for the trimmer, strong adhesive, a corner rounder, fringe scissors and a Velcro dot.

Cut the main piece of cardstock (for the body of the purse) you will need to cut: 2 pieces that are 5" x 4 1/2", 1 piece that is 3 1/2" x 12", and another piece that is 3 1/4" x 3 1/2". Cut the second piece of cardstock (for the straps and handles) you will need to cut: 2 pieces are 3/4" x 12", 2 pieces that are 1/2" x 12", 2 pieces that are 1/4" x 3", and 1 piece that is 3/4" x 2". 


From the patterned paper you will need to cut 2 pieces that are 5" x 2 3/4" and 1 piece that is 3" x 1".

Using a pencil and ruler mark the top of each purse side piece at 1/4" in from the edge. Cut from this mark down to the bottom outer corners to angle the purse sides.

Score the 3 1/2" x 12" purse side piece at 1/2", 1 3/4" and 3" along the 3 1/2" side. Score along the 12" side at 3 1/2" and 8 1/2". Score the 3 1/4" x 3 1/2" purse pocket piece at 1/2" and 2 3/4" along the 3 1/4" side and 3" along the 3 1/2" side. Score the 3/4" x 12" purse handle pieces along the center from 2 1/2" to 9 1/2". Fold along the score lines and cut the bottom outer corners of the pocket piece away.


Cut notches along the sides of the purse side piece at the intersection of the score lines and on either side of these notches. This will help to "curve" the sides when adhering to the front and back pieces.


Corner round the bottom corners of the purse front and back pieces along with the ends of each handle piece and one side of the clasp piece.


Adhere the patterned paper pieces to the front of each purse front and back piece, trim off excess then adhere a piece of the 1/2" x 12" purse banding just above the patterned paper pieces.


Place strong adhesive along the back of each purse front and back pieces at the lower corners. Place strong adhesive on the front of the tabs on the purse side and pocket pieces.


Remove the adhesive backing and align the purse front to the center tab on the side piece. Once done with that work your way around adhering the sides. Repeat this with the purse back piece.


Remove the adhesive backing from the tabs on the purse pocket piece, fold in and adhere to the purse back piece. Adhere some remaining banding pieces to add to the sides and the pocket piece.


Place strong adhesive on the purse handles and clasp pieces. On the handles place on 1 side of the center score line and at the ends. Remove the backing from the adhesive and fold along the score line, using your fingers to give a curve to the handles.


Starting with the purse back piece adhere a handle by aligning the ends on either side of the pocket. Use the handles on the purse back to align the handle placement on the purse front.


Adhere one end of the clasp to the back of the purse and then using a Velcro dot adhere the other end to the front of the purse.


Use fringe scissors to cut the 3" x 1" piece of patterned paper. Place strong adhesive along the back of this fringed piece and along the back of the small pieces of the strap cardstock.


Remove the backing from the adhesive on the fringe piece and roll it up. Loop one of the small pieces around a handle and adhere this to the rolled fringe. Cover the top of the rolled fringe with the other small piece.


There are so many ways you can add your own details to this fun purse. Try adding some faux-stitching to the handles and straps. You can even emboss the cardstock on either (or both) the purse or straps and handles to give it a textured look. You can even add some metal embellishments for the clasp and at the end of the handles. The possibilities are endless!

Click here for the downloadable PDF of instructions. You can also watch the process video below.


Supplies list:

X7291S - Cosette Paper Pack + Sticker Sheet

X7291C - Cosette Coordinating Cardstock

Z5024 - Adhesive Tape

I hope you enjoy using these directions to send some gifts to the special moms in your life!

Thanks for stopping by!