I made this Joy Fold card for Mother's Day to go with the Mother's Day Purse I shared. I had a lot of fun creating this card and working with the Cosette paper and stamps for this.
I am including a link to a downloadable PDF with instructions as well as a process video at the end of this blog post. The PDF contains cutting diagrams along with more detailed instructions on the cutting, preparation, and assembly of this card.
To make this card you will need: a card base, 2 pieces of Mulberry cardstock (layer 1) cut to 4 1/4" x 5 1/2", 2 pieces of Toffee cardstock (layer 2) cut to 4" x 5 1/4", 2 pieces of patterned paper (layer 3) cut to 3 3/4" x 5", 1 piece of Mist cardstock cut to 3" x 8" (fold piece), 2 pieces of Toffee cardstock (fold layer 1) cut to 2 7/8" x 3 7/8", and 2 pieces of White Daisy cardstock (fold layer 2) cut to 2 3/4" x 3 3/4".
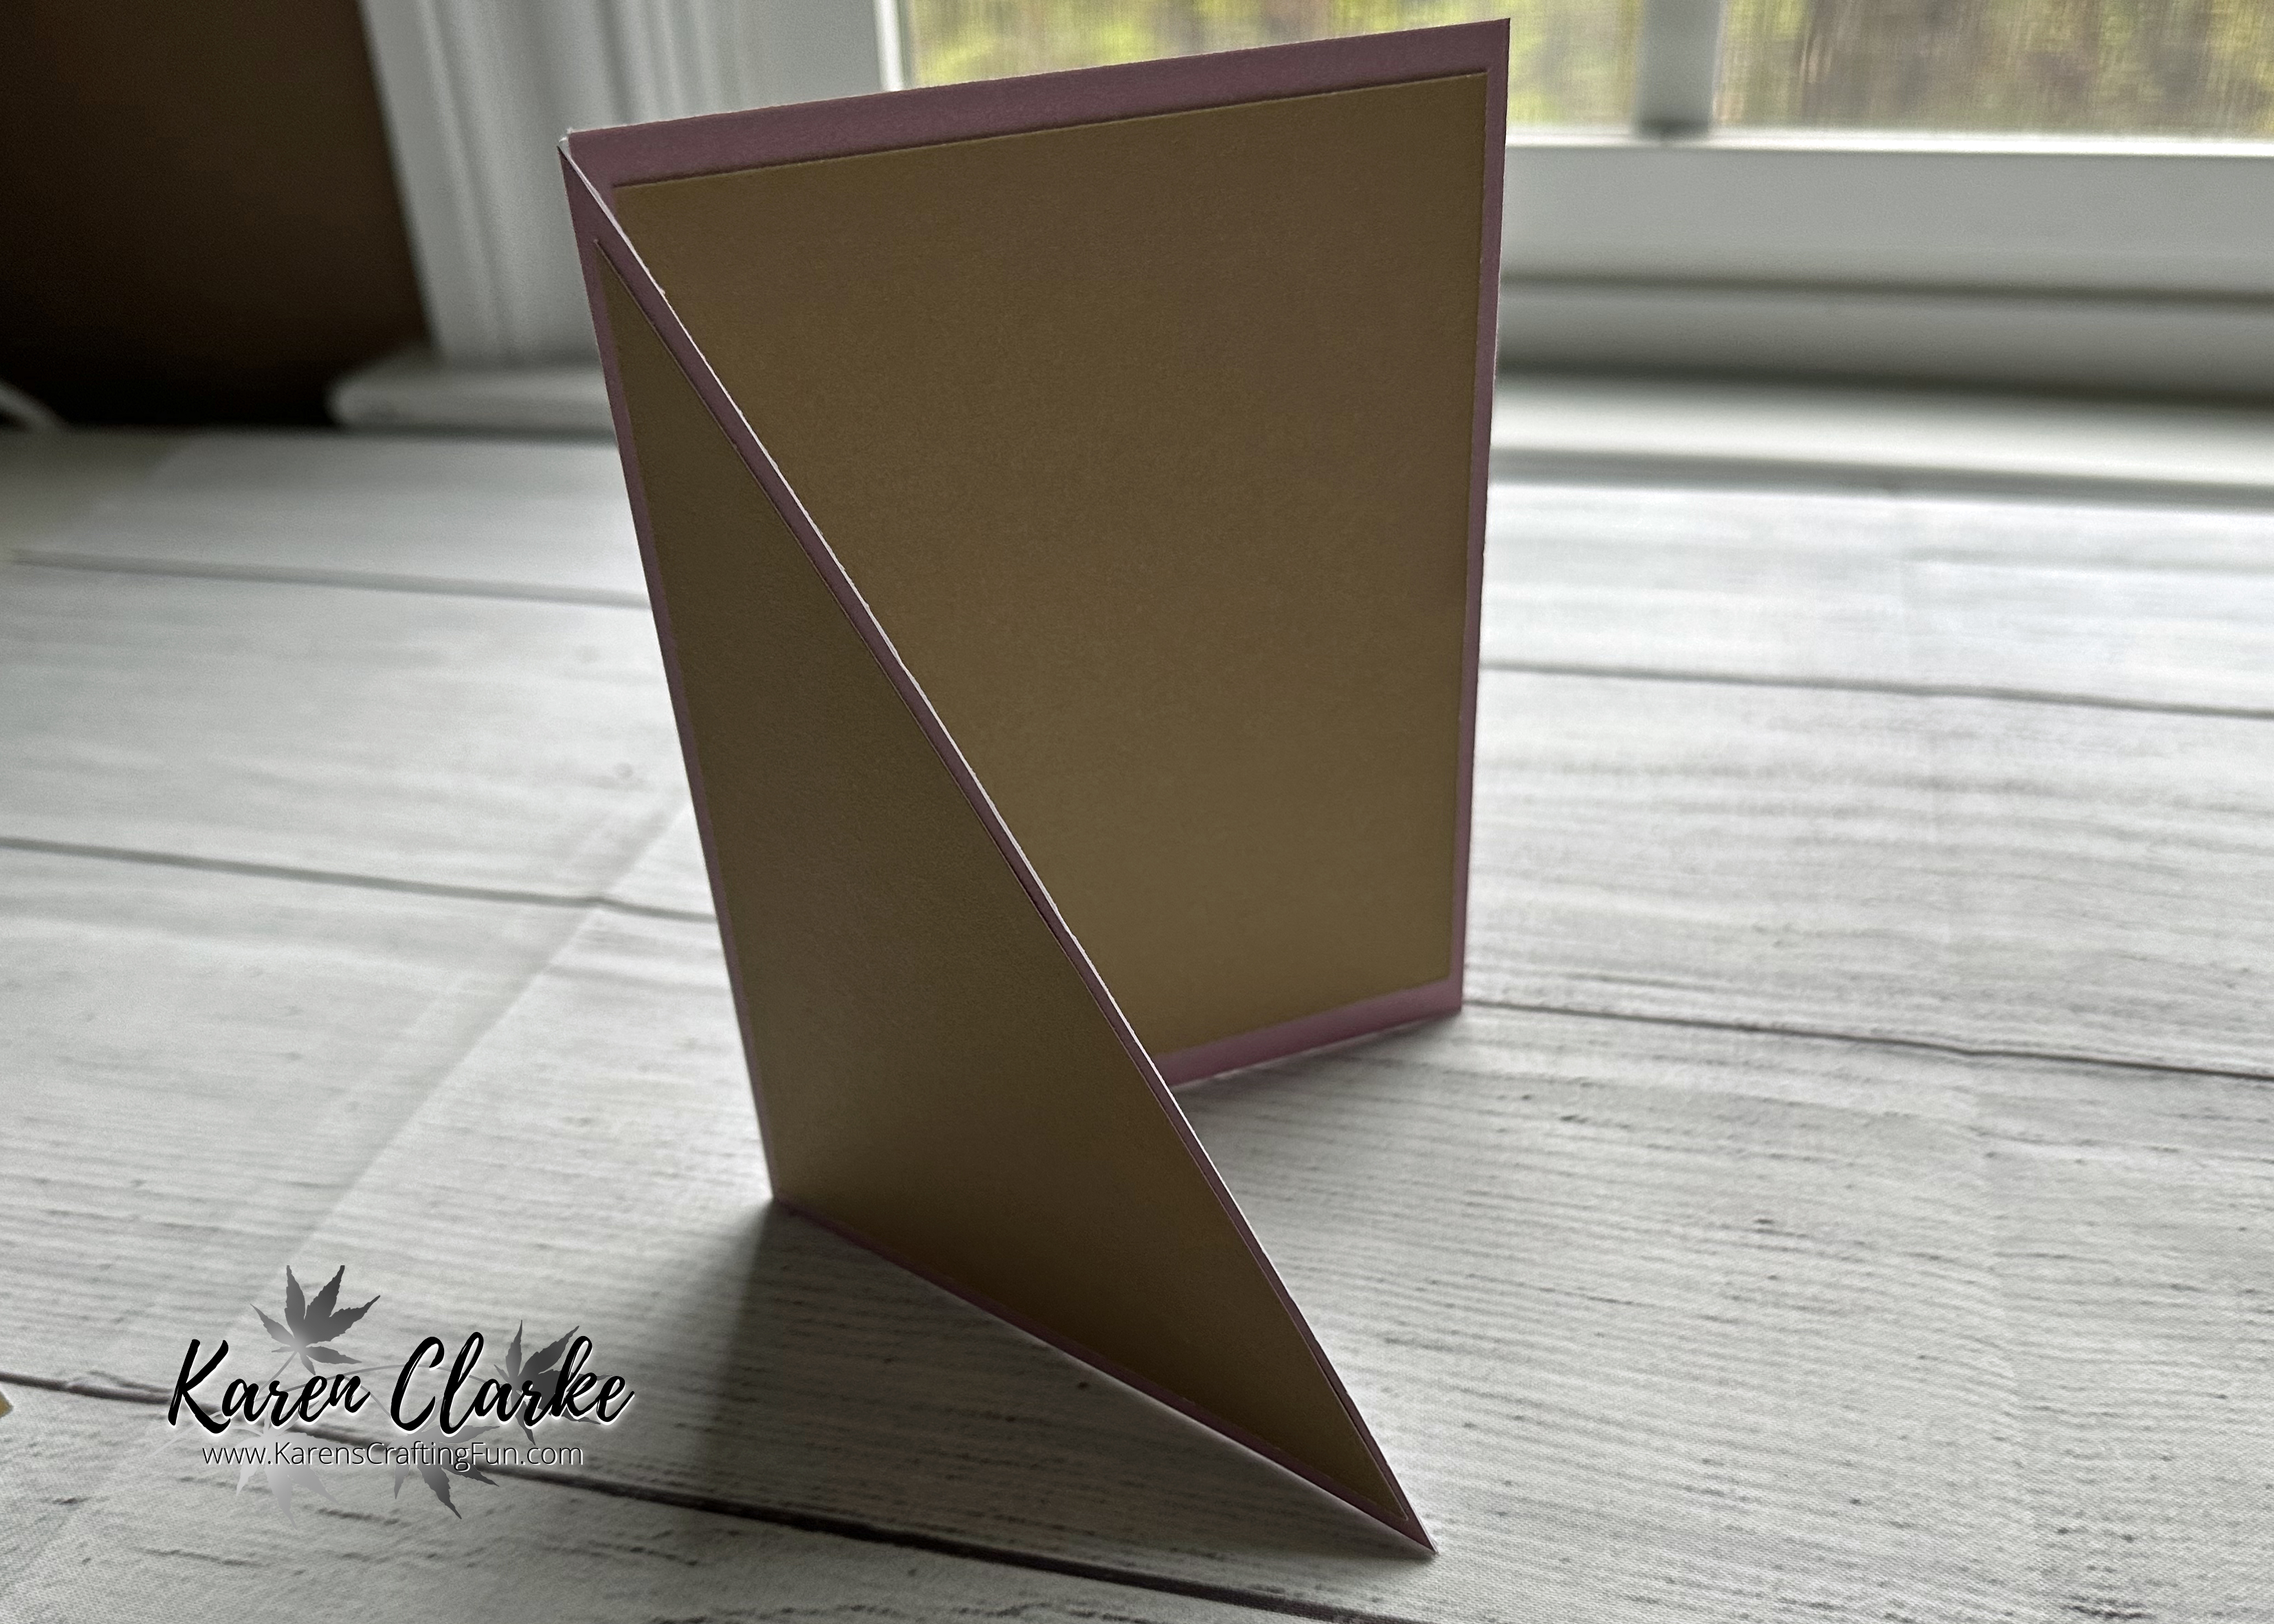
Cut the front flap of the cardbase, 1 piece of Mulberry, 1 piece of Toffee, and 1 piece of patterned paper diagonally from the top left corner to the bottom right corner.
Adhere the Mulberry cardstock to the front flap and the inside of the card base.
Adhere the Toffee cardstock to the Mulberry cardstock on the front flap and inside the card base.
Adhere the patterned paper to the Toffee cardstock on the front flap and inside the card base.
Score the 3" x 8" fold piece at 4". Fold along score line and adhere the Toffee 2 7/8" x 3 7/8" pieces to the front and inside. Adhere one of the White Daisy 2 3/4" x 3 3/4" pieces to the Toffee piece on the inside.
I used the oval die from the Cosette Cardmaking Stamp Set + Thin Cuts to die cut the 2nd piece of White Daisy 2 3/4" x 3 3/4" paper. I stamped the sentiment and flowers using Intense Black Exclusive Inks and then colored in using Watercolor Pencils and a Waterbrush. I also added a small piece of Zip Strip below the flowers. I used 3-D Foam Tape to adhere this to the front of the fold piece. You can also just stamp your images and sentiment on the piece without die cutting it and adhere it to the front.
Place strong adhesive on the back of the fold piece and carefully align and adhere it to the card. I placed it about 1" down and centered.
Add some Diamond Stickles Glitter Glue to the center of the flowers to embellish.
Click here for the downloadable PDF of instructions. You can also watch the process video below.
Supplies list:
X7291S - Cosette Paper Pack + Sticker Sheet
X7291C - Cosette Coordinating Cardstock
Z4700 - Cosette Cardmaking Stamp Set + Thin Cuts
X254 - White Card and Envelopes Value Pack
Z3563 - Diamond Stickles Glitter Glue
Z5024 - Adhesive Tape
I hope you enjoy using these directions to send cards to the special moms in your life!
Thanks for stopping by!


No comments:
Post a Comment