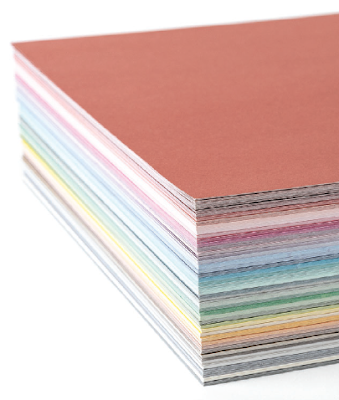
With Easter being just around the corner and the In Full Bloom collection from the March/April catalog I could not wait to make this woven treat basket featuring these papers along with the Some Bunny Loves You Stamp Set. I cannot wait to fill this with some Easter treats for my family and coworkers.
The treat bag uses cardstock for the basket base and handle. The woven parts of the sides and the trim piece are from patterned paper. I also stamped some fun images to add to the front of the basket. I have included a link to a PDF of instructions at the end of this post as well as a process video.
To create this treat basket you will need 1 piece of cardstock and 1 piece of patterned paper. Cut the cardstock into an 8 1/2" x 8 1/2" square and a 3/4" x 12" strip. From the patterned paper cut 5 strips that are 1/2" x 12" and 1 strip that is 3/4" x 12"
Use the following diagram to score and cut the 8 1/2" x 8 1/2" piece of cardstock.
After you have scored and cut the basket base it will look like this.
Fold the 3/4" x 12" trim stip of patterned paper in 1/2 lengthwise. Put strong adhesive on the backside of this on either side of the fold. Put a small piece strong adhesive on the front side of each weaving strip and the handle piece.
Fold the right-hand side of each weaving strip in by about 1/2". Taking one strip at a time, remove the adhesive backing and adhere it behind one of the left-hand side vertical strips. Work your way in a clockwise fashion around the basket weaving the strips over and under the vertical strips. Create a crease each time you come to a corner. I do add a little bit of adhesive to the back of some vertical strips to adhere them to the front of the weaving strips for added stability. At the end of the a strip, remove the adhesive backing and tuck it inside the basket adhering it to the starting point.
Follow this same process for each row as you work your way to the top. It is a good idea to use your fingers to nudge the strips in tight with the row below and add some bits of adhesive to secure the woven strips to the vertical strips as you go. When you reach the top there will be some bits of the vertical strips leftover, use your scissors to trim these back to the top of the last woven row.
Remove the adhesive back from one side of the trim strip and adhere to the front of the basket working your way around aligning the fold line with the top of the woven strips. Use scissors to cut each corner down to the score line from the top to make folding this inside.
Remove the adhesive backing from the other side of the trim strip and fold it inside to cover the tops of the woven strips.
Adhere the handle to the inside of the basket to complete it.
Add some stamped elements and a bow to embellish. Fill with candy or gifts and share for a fun Easter treat. I hope you have fun with this!
You can download the PDF of instructions here. This process video walks you through the steps as well.
I hope you like the treat basket. Thanks for stopping by!
I completed this layout during my most recent Scrapbook with me event and wanted to share it with you here. We have been dealing with some medical issues with my youngest daughter and during a recent doctor appointment she passed out cold after having blood drawn. A very scary thing to see happen and I am glad she is ok but knew I needed to scrapbook this event as I know I am not always that good about scrapbooking the not-so-good things that happen in our lives.
This 8 1/2" x 11" layout is based on this 12" x 12" sketch from Scrapbook Challenges I found on Pinterest.
The papers are from the March/April Mix In Paper pack. I love how versatile the Mix In papers are that they can be used on their own as well as with the other paper collections from the catalog. The title was stamped using Sundance Exclusive Inks and the Simple Serif Uppercase Alphabet set on die cut pieces cut using the Simple Serif Uppercase Thin Cuts set.
I like added some dimension to my layouts so I used 3-D Foam Tape to lift up the ends of the banner strips as well as the title. I also added some machine stitching along the tops of the banner strips. I added some sequins from my stash along with a wooden heart that I sponged some Sundance ink onto.
I knew I wanted to tell the story in more detail so I created a pocket for a hidden journal box that I added a tab to the top of using the Tags & Tabs Thin Cuts set and reinforced using the mini stapler.
If you are interested in joining me for one of my Scrapbook with me events make sure to Like and Follow my Facebook Page to get notifications for upcoming events.
I hope you like the layout. Thanks for stopping by!
Supplies list:
X9038 - Mix In Paper Pack (March/April) X9039 - Mix In Coordinating Cardstock (March/April) D1966 - Simple Serif Uppercase Stamp Set Z3760 - Simple Serif Uppercase Thin Cuts Z3726 - Tags & Tabs Thin Cuts Set Z6012 - Wood Hearts Z6521 - Sundance Exclusive Inks Z697 - Round Sponge
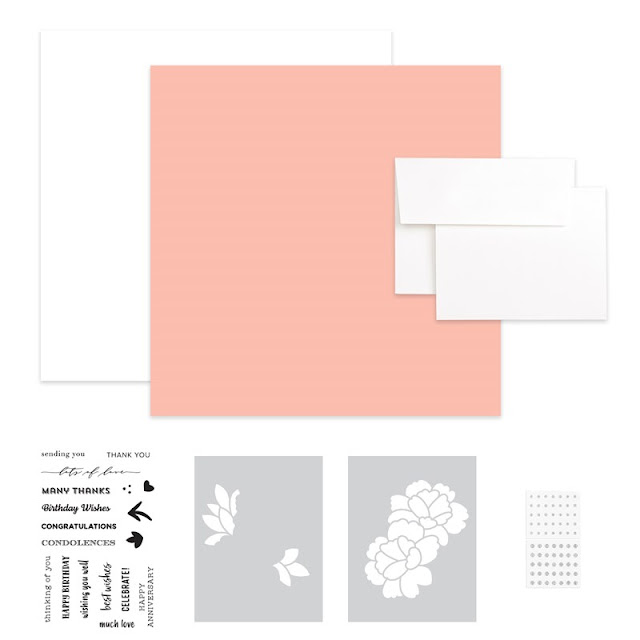
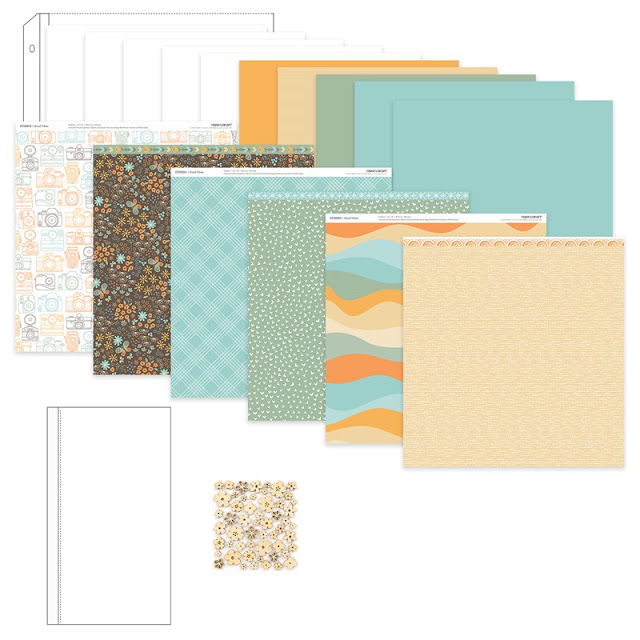
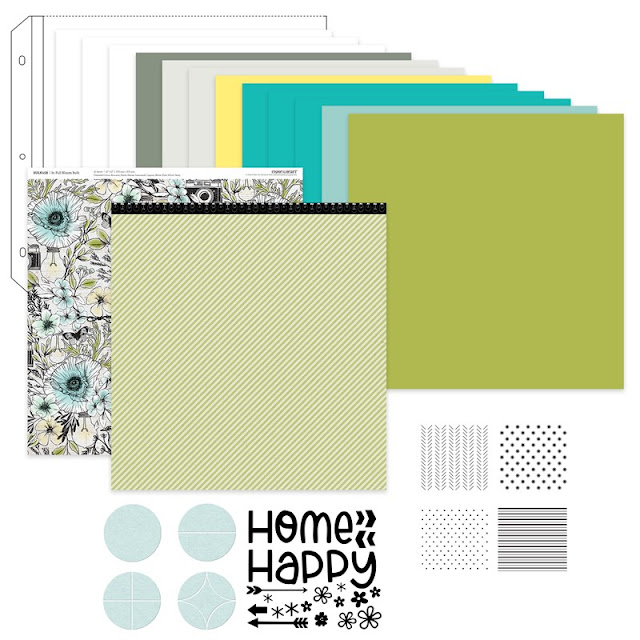
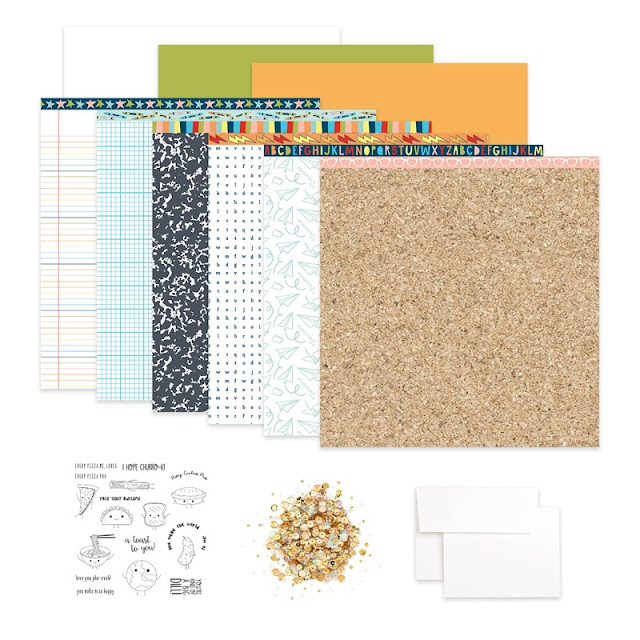
On May 6th and 7th Close To My Heart will be hosting some Live events over on their Facebook Page for National Scrapbooking Day. In anticipation of these events they have released some incredible workshop kits that they will be featuring during these events.
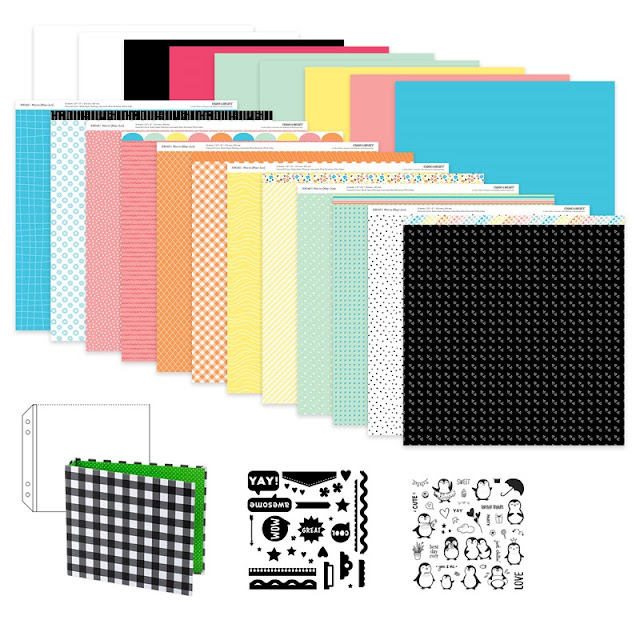
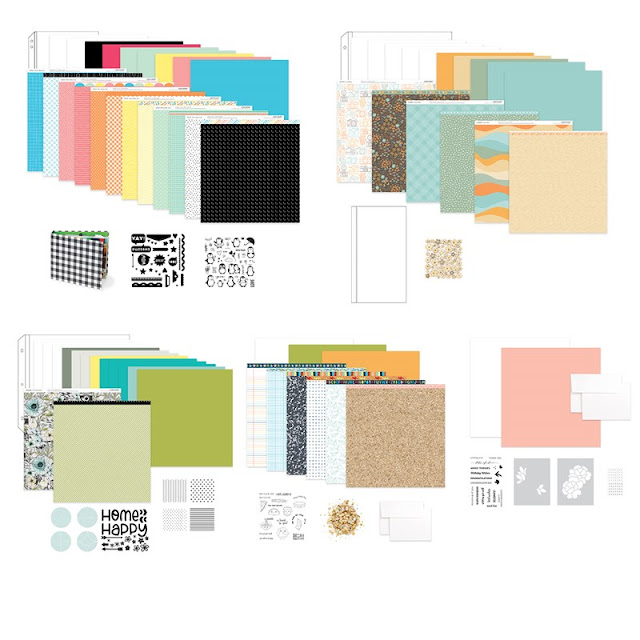
There are 5 fantastic kits available - 3 scrapbooking and 2 cardmaking workshop kits. Each kit features exclusive stamps, embellishments and/or papers. Here is a quick peek at the kits:
Little Penguins Album Workshop Kit
Many Wishes Cardmaking Workshop Kit
Good Vibes Scrapbooking Workshop Kit
Circles and Patterns Scrapbooking Workshop Kit
A Toast to You Cardmaking Workshop Kit
You can purchase each kit individually or all 5 kits as a bundle for a 30% discount.
National Scrapbooking Day Workshop Bundle
These kits are available now through May 31st. Head on over to my website today to shop this special.
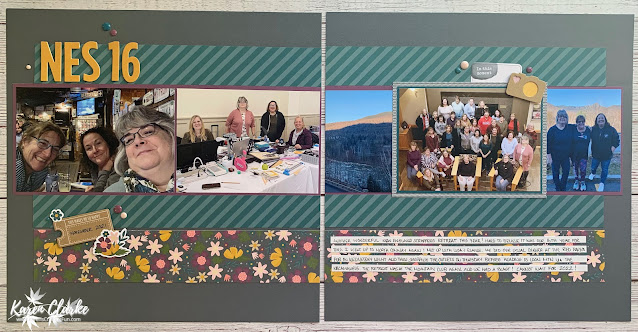
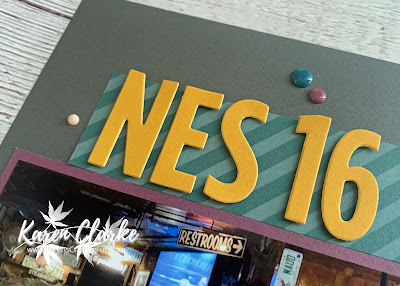
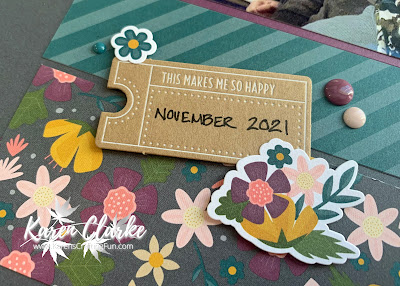
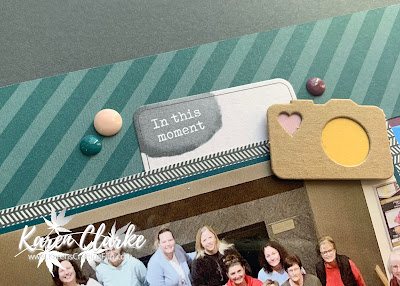
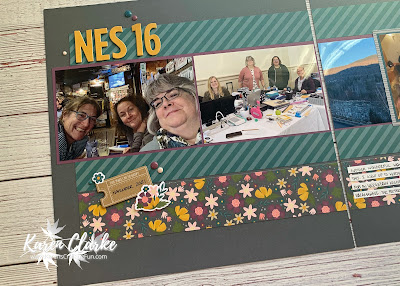
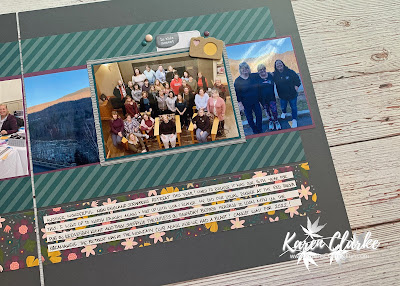
I am excited to finally get around to starting a scrapbook album for the various scrapbooking and cardmaking events I have been to over the years. I have had this project on the back burner for a long time and with continuing to do my Scrapbook with me events each week I am pretty caught up with my family albums so now is a perfect time to start this project. I am working my way back in time as I do these layouts. Here is the first layout for this album from last year's New England Scrappers Retreat.
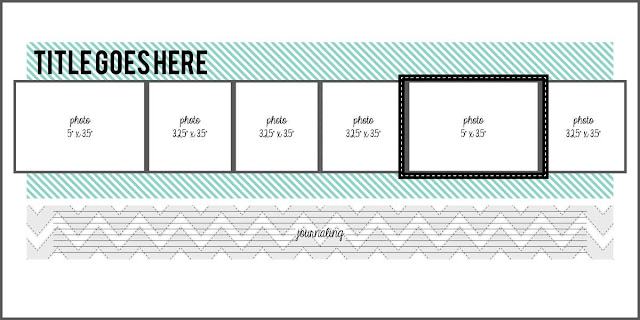
This layout was based on this sketch from Scrapbook Challenges. I wish their website was still around but I can still find their sketches like this one on Pinterest.
I pulled out my stash of retired Documented papers and embellishments to do this layout. I added some of the chipboard pieces as well as some of the stickers and enamel dots. I die cut the title using the Block Alphabet and Block Numbers Thin Cuts sets.
If you are interested in joining me for one of my Scrapbook with me events make sure to Like and Follow my Facebook Page for notifications on upcoming events.
I hope you like the layout. Thanks for stopping by!
I had so much fun creating this One Sheet Wonder Card Workshop featuring the Cake Day collection from the March/April Close To My Heart Catalog. I knew when I saw the vibrant colors and patterns in this collection that it would be perfect for creating some fun cards to send some birthday cheer with.
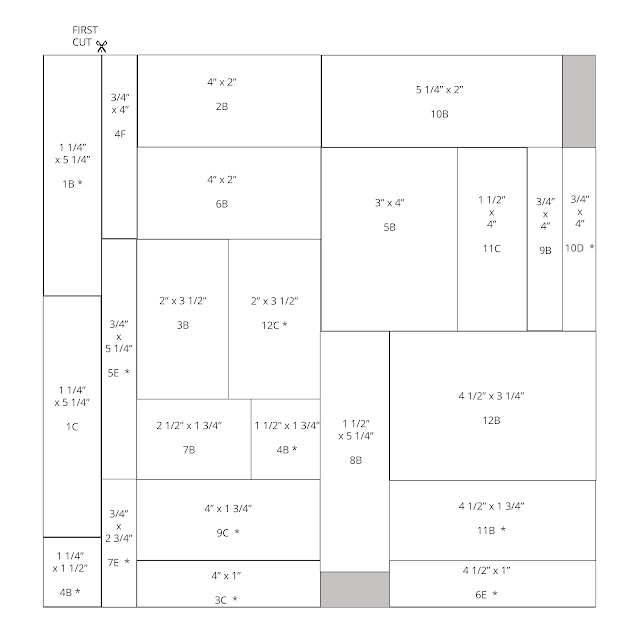
This workshop creates 12 cards from the 1 sheet of patterned paper plus 6 sheets of cardstock. This is the cutting diagram for the patterned paper.
The stamped images and sentiments come from the Cake Day Cardmaking Stamp Set + Thin Cuts. I used the Stitched Rectangle Frames and Stitched Square Thin Cuts sets to add some extra dimension to the sentiment pieces and then added some Bitty Sparkles to finish off the cards.
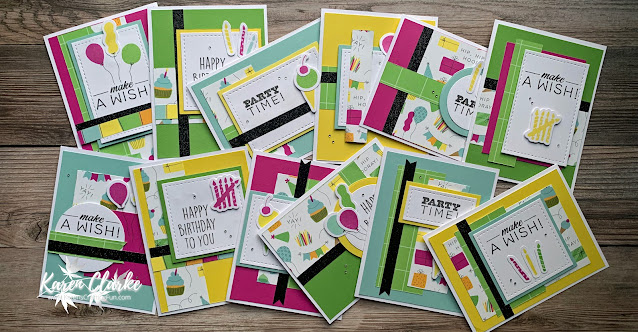
These are the 12 card designs you will be able to create with this workshop.
If you are interested in creating this workshop for yourself or with your customers, there are 4 ways to get the files:
1. Follow the Buy Now link on the bottom of this post. The files are $11.50 (USD).
2. Place a purchase on my Close To My Heart website for $35 or more (before taxes and shipping).
3. Join the VIP Program from Close To My Heart under me. All my VIPS get FREE access to my workshop files.
4. Join my Close To My Heart team, all team members have access to my workshop files.
Supplies Needed for this Workshop:
X7277B - Cake Day Paper Pack X7278C - Cake Day Coordinating Cardstock
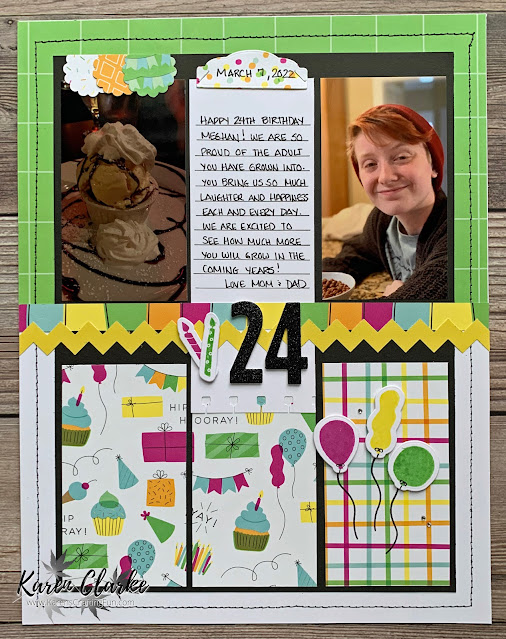
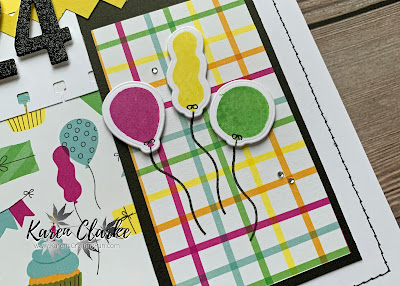
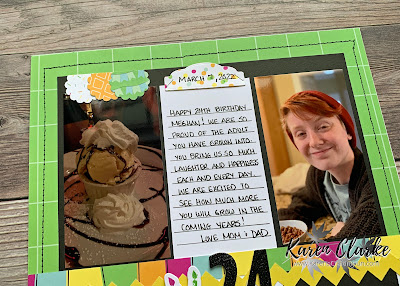
I had fun creating this layout during a recent Scrapbook with me event. This layout is to celebrate my daughter, Meghan's, 24th birthday. I knew when I saw the sketch that I wanted to use the Cake Day Collection which is the featured collection for the month of March. I love working with the vibrant colors and patterns of this collection.
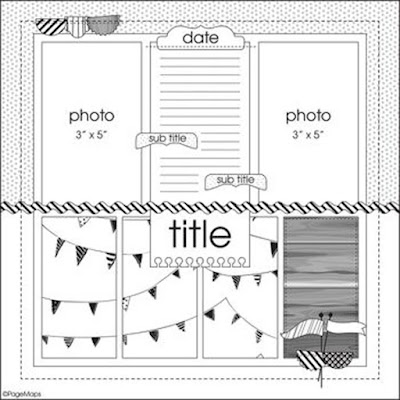
The layout is based on this sketch from Page Maps. I converted the sketch from 12x12 to 8 1/2x11 for my 2022 album. You can see this sketch along with others here.
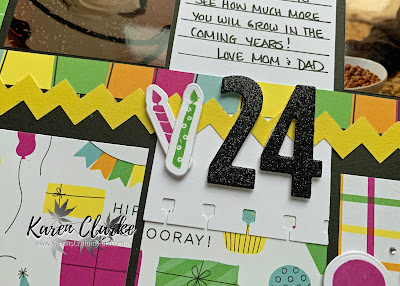
The title was die cut from Black Glitter paper using the retired Block Number Thin Cuts set. I added some punched scalloped circles cut from a few Picture My Life Cards. The date tab is die cut from another Picture My Life Card using the Tags & Tabs Thin Cuts set. The balloons and candles were die cut and stamped using the Cake Day Cardmaking Stamp Set + Thin Cuts. I added some machine stitching as a border and also added some bling using the Bitty Sparkles.
If you are interested in joining me for one of my Scrapbook with me events make sure to Like and Follow my Facebook Page to get notifications for upcoming events.
I hope you like the layout. Thanks for stopping by!
March is starting out to be an awesome month! Not only is there a new catalog with some great new collections but Close To My Heart is also having a Cardstock Carnival Special during this month!
There are some amazing deals on all of your favorite cardstock colors in this special! You can save up to 30% on individual cardstock packs and exclusive bundles, including a selection of special, UV-coated cardstock. This is a great time to stock up on an essential crafting staple for every paper crafter!
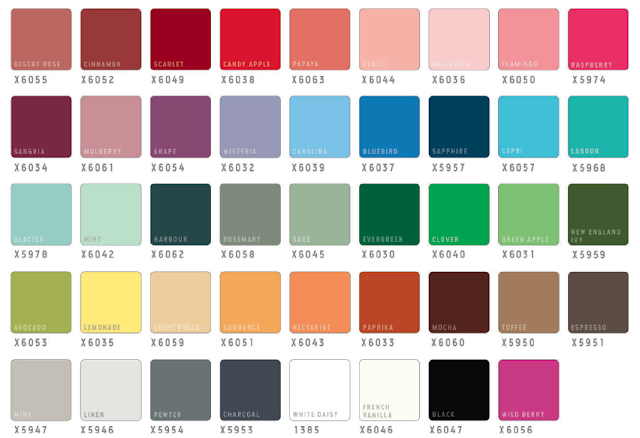
The following cardstock colors are available in packs of 24 at a 15% discount!
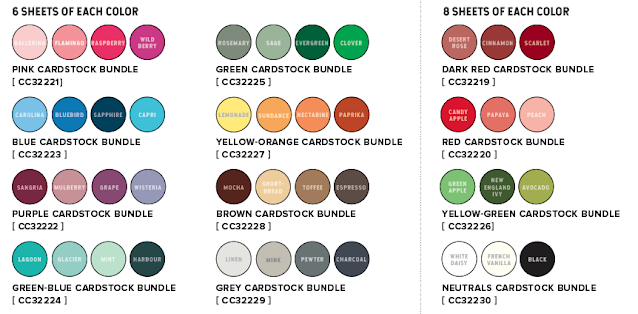
Just for this special Close To My Heart has added some cardstock bundles available at a 20% discount!
This awesome bundle includes 24 sheets of colored cardstock with one side flooded with UV coating. 2 sheets of each color at a 20% discount!
The final bundle includes seven sheets each of all Close To My Heart colored cardstock. This bundle is at an awesome 30% savings!
You can see all of cardstock colors and bundles available on my website today! Head on over to my website to shop the Cardstock Carnival !
It's a new month and with the start of March I have a new Catalog from Close To My Heart to share with you. The March/April catalog features 2 new collections along with some fantastic new stamp sets and embellishments.
The first collection from this new catalog is the Cake Day collection. With lots of bright colors and patterns this collection is perfect for celebrating birthdays but also for many other crafting projects with the versatility of the patterns.
I love the options with this collection! There are 2 choices for the paper pack - each pack has 6 sheets, 2 each of 3 double-sided designs, you can choose the pack by itself or with a coordinating sticker sheet. In addition to the paper pack there is also a Coordinating Cardstock pack, Enamel Dots, Picture My Life Cards and a Digital Art Collection. If you are also into stamping this collection also offers a scrapbooking stamp set and a cardmaking stamp set.
In addition to the paper packs, stamp sets and embellishments, there are also 2 workshop kits available with this collection. Each workshop kit features exclusive elements that are only available through the kit. Exclusive patterned papers and die cuts in the scrapbooking workshop kit and an exclusive stamp set with coordinating Thin Cuts in the cardmaking kit.
I hope you are in love with this collection as much as I am! I am planning on spending some fun time this coming weekend in my scrap room crafting with this collection and will share the results with you!
You can see and shop this collection on my website today - here!