Valentine's Hexagon Explosion Treat Box Tutorial and Process Video
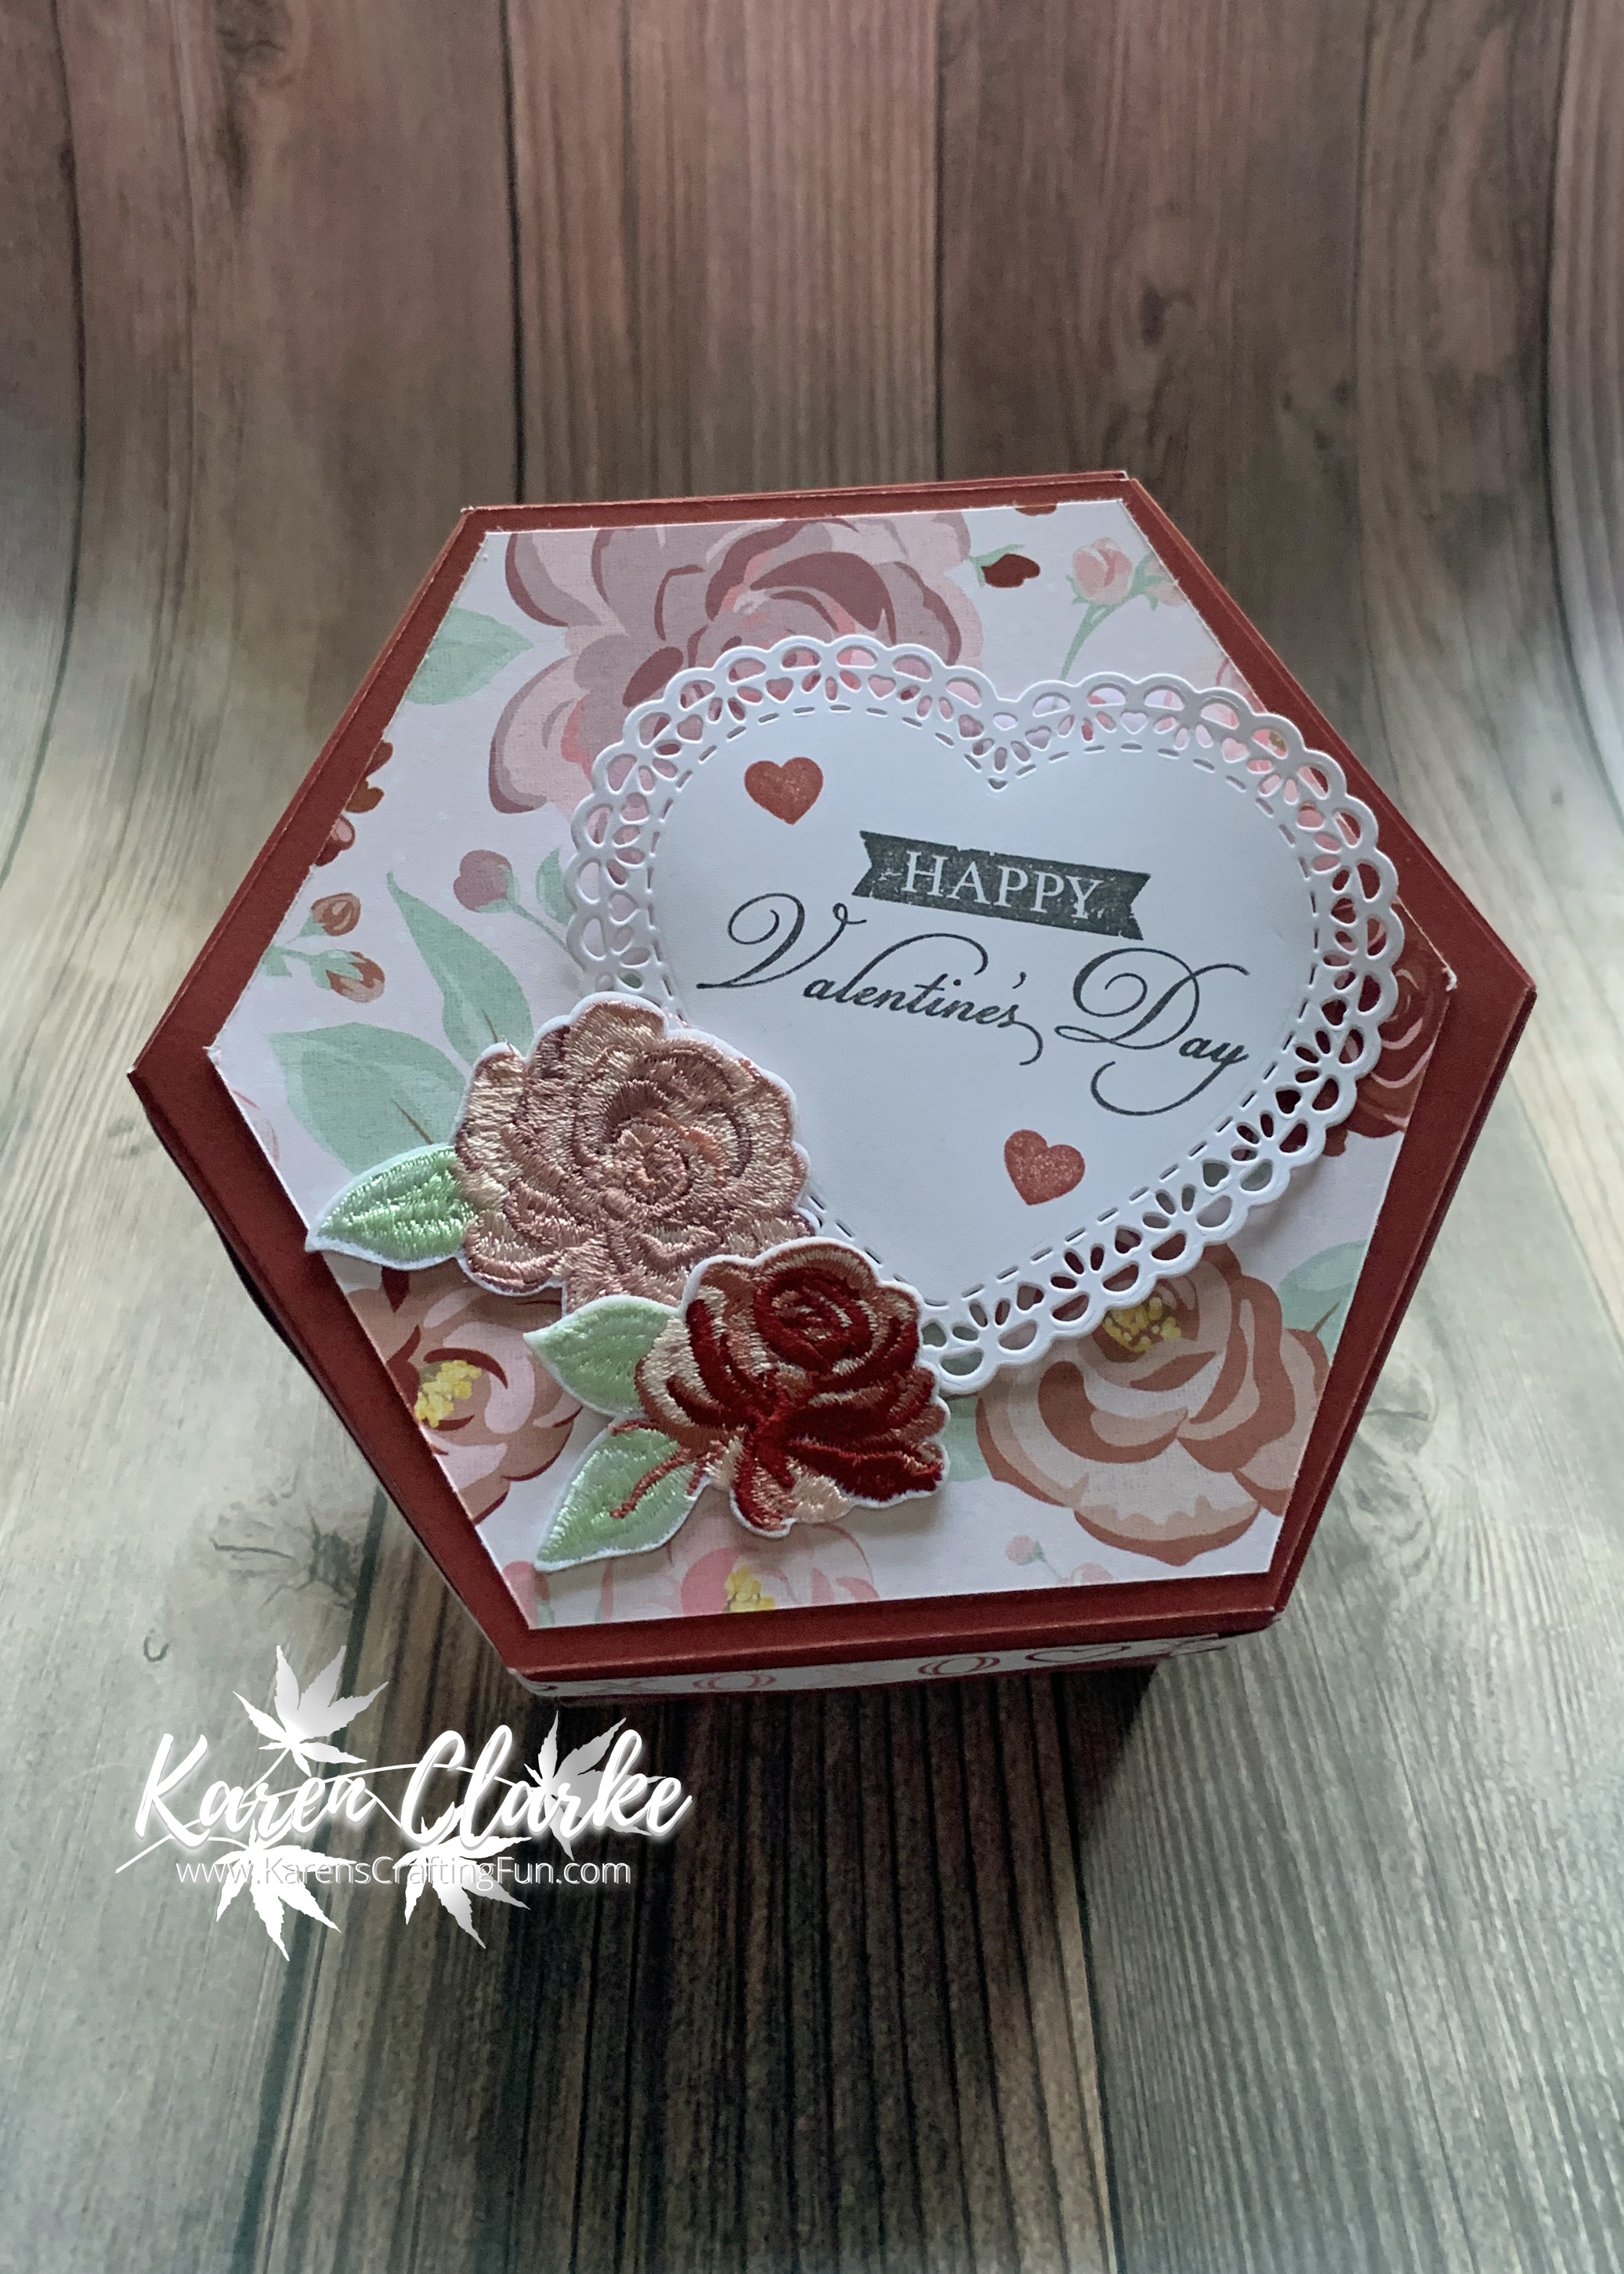
I am so excited to share this treat box with you today! I created this explosion box to hold some treats for my coworkers for the upcoming Valentine's Day. The box features the Now & Forever Collection which is a current special from Close To My Heart.
I am including a link to a downloadable PDF with instructions as well as a process video at the end of this blog post. The PDF contains cutting diagrams along with more detailed instructions on the cutting, preparation, and assembly of this treat box.
Cut cardstock for large box into 4 6" x 5 1/4" pieces for hexagons, 6 3" x 3 1/2" pieces for bottom sides, 6 3 1/2" x 1 1/2" pieces for the lid sides, and 6 4 1/4" x 3" pieces for the pockets.
Cut cardstock for the medium box into 4 4" x 3 1/2" pieces for hexagons, 6 2" x 2 1/2" pieces for bottom sides, and 6 2 1/2" x 1 1/4" pieces for the lid sides.
Cut the cardstock for the small box into 1 5 1/4" x 5 1/4" piece for the box bottom and 1 2 7/8" x 2 7/8" piece for the box lid.
Using a pencil and ruler or grid mat mark the long and short sides of the cardstock pieces for the hexagons. Align the marks with your trimmer cutting line to cut 4 corners off each piece to make the hexagons.
Score at the 1/2" mark on the 3 1/2" side of each box base side piece. Score at the 3" mark on the 3 1/2" side of each box lid side piece and then at the 1" mark on the 1 1/2" side. Score at the 1/2", 1", 3 1/4" and 3 3/4" marks on the 4 /14" side of each pocket piece and then at the 1/2" and 1" marks in the 3" side. Fold all along the score lines. Cut away the bottom right tab on the lid side pieces and the 2 bottom tabs on the pocket pieces.
Score at the 1/2" mark on the 2 1/2" side of each box base side piece. Score at the 2" mark on the 2 1/2" side of each box lid side piece and then at the 3/4" mark on the 1 1/4" side. Fold all along the score lines. Cut away the bottom right tab on the lid side pieces.
Score at the 1 3/4" and 3 1/2" marks on two sides of the small box base piece. Score at 1/2" and 2 3/8" on two sides of the small box lid piece. Fold along the score lines then cut in along one score line on each side of the base and lid pieces to create tabs.
Place strong adhesive tape on the tabs on each of the scored pieces along with 2 of the hexagons for each box size.
Beginning with the large box, remove the adhesive backing from each tab on the 3" x 3 1/2" box base side pieces, adhere each one to the box base hexagon aligning the fold line with the side of the hexagon. Adhere one hexagon on the inside to cover the tabs.
Create a chain with the lid side pieces by adhering one next to the other using the small tabs. Working around the box lid hexagon adhere the chain by aligning the fold line with the side of the hexagon. Tuck the last tab in behind the first piece. Adhere the other hexagon on the inside to cover the tabs.
Create the pockets by folding the outer tabs in and adhering to the next tab then folding this in and adhering to the next tab. Once the "pocket" is created adhere this to the inside of each side of the box keeping it about 1/4" above the bottom fold line.
Follow the same above steps for the medium box to assemble the base and lid.
Create the small box by adhering each tab behind each side to create the box base and lid.
Adhere the medium box inside the large box and then the small box inside the medium box to create the explosion "stack".
Decorate the sides and lid with patterned paper, stamped images, and embellishments. Fill it with some candy or other treats and send some love to someone!
Click here for the downloadable PDF of instructions. You can also watch the process video below.


No comments:
Post a Comment