

I am including a link to a downloadable PDF with instructions as well as a process video at the end of this blog post. The PDF contains cutting diagrams along with more detailed instructions on the cutting, preparation, and assembly of this gift card holder.
To create this purse you will need 1 piece of cardstock for the toolbox and a smaller piece for the decorations and handle. I prefer to use a heavier weight cardstock such as 60lb for my paper crafting projects. You will also need a 12" trimmer, a scoring platform or blade for the trimmer, strong adhesive, and a Velcro dot.
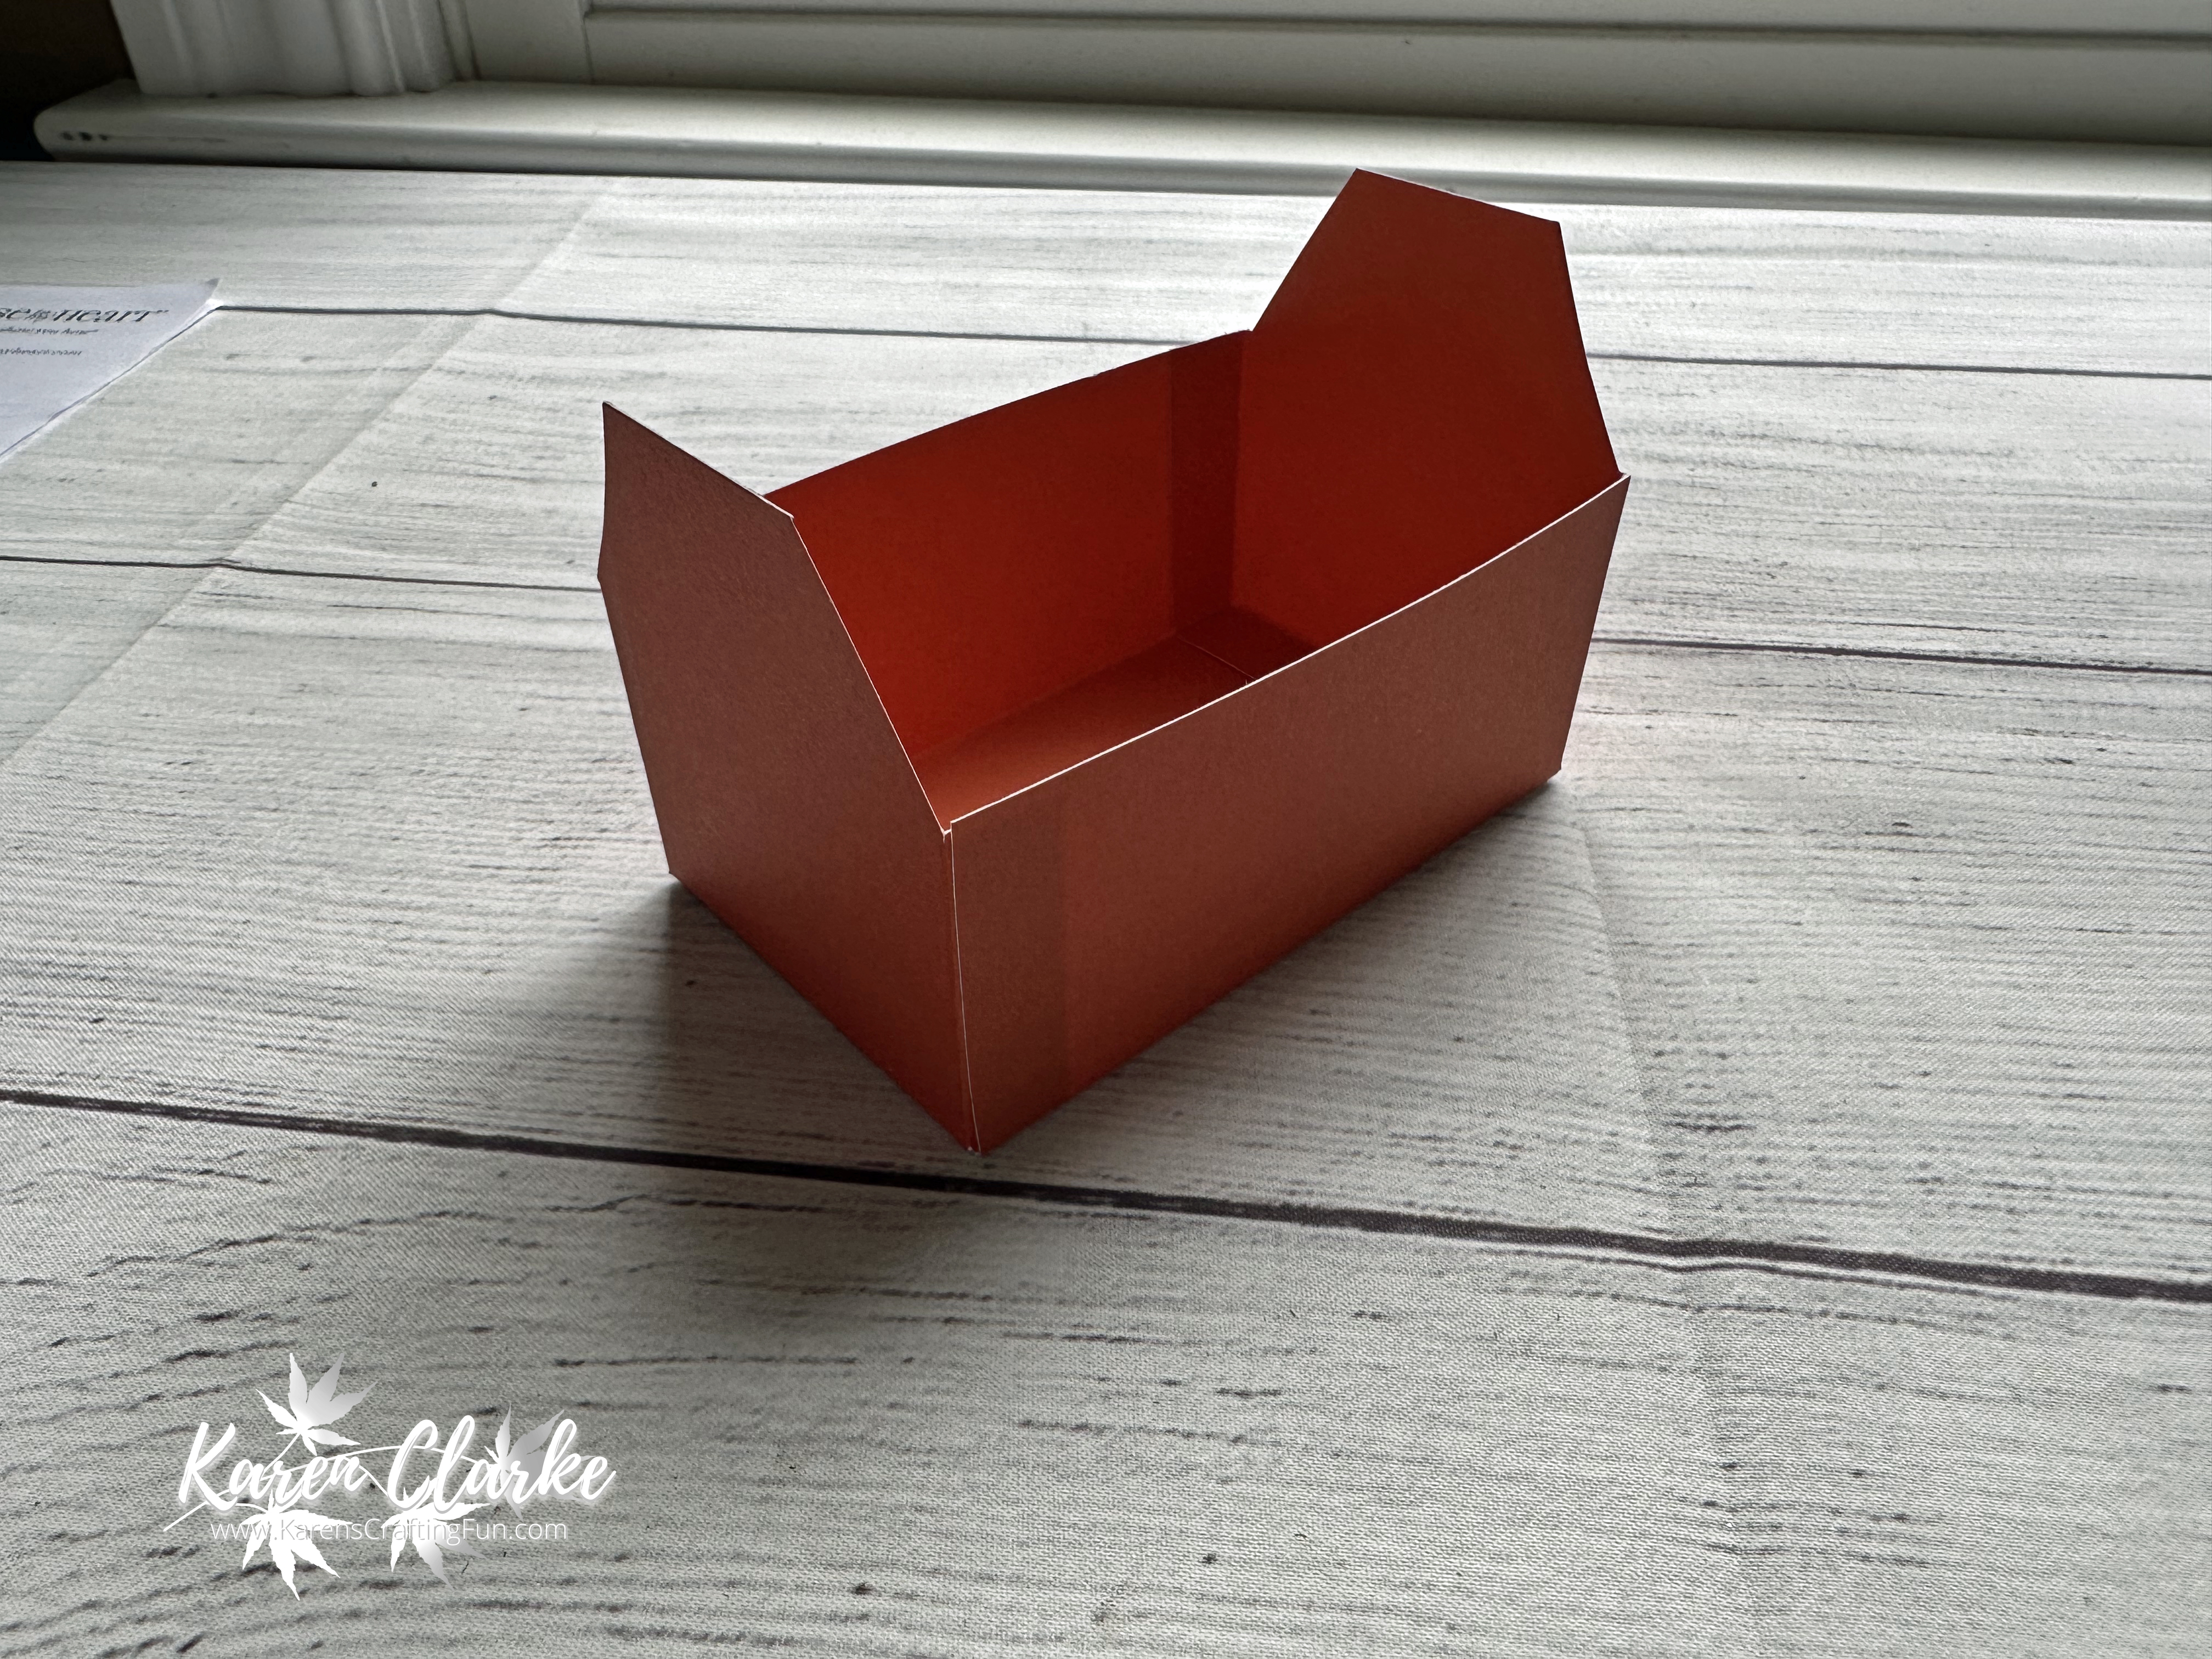
Cut the main cardstock into the following pieces:
- 4 1/4" x 4 5/8" for the lid
- 4" x 6" for the base
- 3 1/2" x 3 1/4" (2 pieces) for the sides
Cut the accent cardstock into the following pieces:
- 1/2" x 12" (2 pieces) for the straps
- 2" x 2" for the handle

Score the cardstock pieces according to the following diagram. On the side pieces and handle piece cut away the grey areas as shown.

On the two side pieces cut the angled tops by marking 1 1/8" in from either end along the top of the piece using a ruler and pencil. The cut at an angle from the mark to the corner of the tab and side as shown.


There are so many fun ways to decorate this toolbox and so many uses for it! Have fun!


There are so many ways you can add your own details to this fun purse. Try adding some faux-stitching to the handles and straps. You can even emboss the cardstock on either (or both) the purse or straps and handles to give it a textured look. You can even add some metal embellishments for the clasp and at the end of the handles. The possibilities are endless!
Click here for the downloadable PDF of instructions. You can also watch the process video below.
Supplies list:
X7292C - Hey Handsome Coordinating Cardstock
Z5024 - Adhesive Tape
Z4579 - Liquid Gold Metallic Paint Markers
I hope you enjoy using these directions to send some gifts to the wonderful dads in your life!
Thanks for stopping by!

No comments:
Post a Comment